Supplies needed
- Printable vellum (translucent) paper.
- Sharp paper scissors
- Gift wrap transparent tape
- Large working surface such as a long countertop or table.
- Computer color printer
Printing the Pattern
Once you have downloaded the pattern to your computer, you need to be sure and calibrate the printer to 100% and check against the guide provided. Load the vellum in the printer and print per instructions provided by the pattern maker.
Trimming the Pattern Pieces
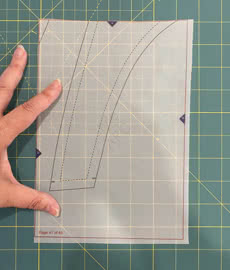
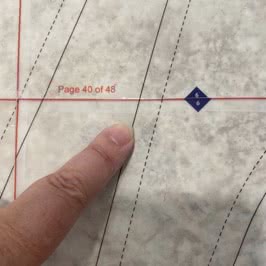
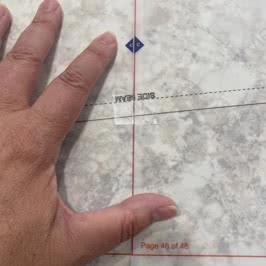
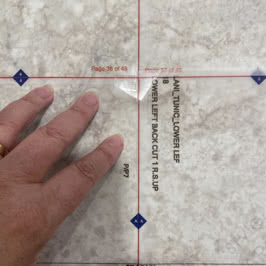
Trim all pattern pieces as shown below, keeping them in order. On the top and left edges, trim to the red line. On the bottom and right edges, trim to a scant 1/4″. This will reduce the bulk of the pattern and enable you to visualize an exact layout onto your fabric.
Constructing the Pattern
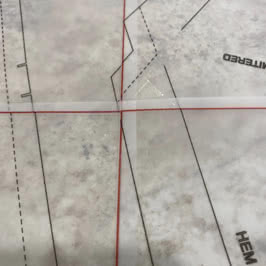
Starting with the first two pattern pieces, follow the directions to align the pattern marks. Use small pieces of gift wrap tape over the marks. It is also important to align the seam allowances properly.
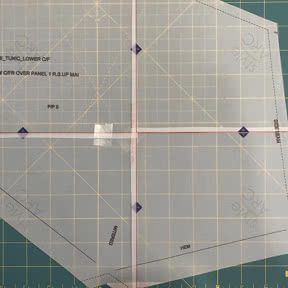
As you continue adding pattern pieces, you may find the markings becoming a bit ‘off’. The gift tape allows you to keep the seam allowances aligned, but you can lift and realign the center sections of the pattern pieces. A larger piece of tape should be aligned over the four corners of the pattern pieces.
Take care to ensure that small detail, such as notches and other pattern details, are aligned and secured.
As you tape together the printed pattern pieces, you may find it easier to cut the completed pieces as you go. Once the piece has been cut, flip it over and tape the seam allowances and where four corners meet. The finished piece should look something like this:
Note the edges of the printed pieces now have little bulk, and it is very easy to lay out your pattern onto the fabric.
And now you have a pattern!

