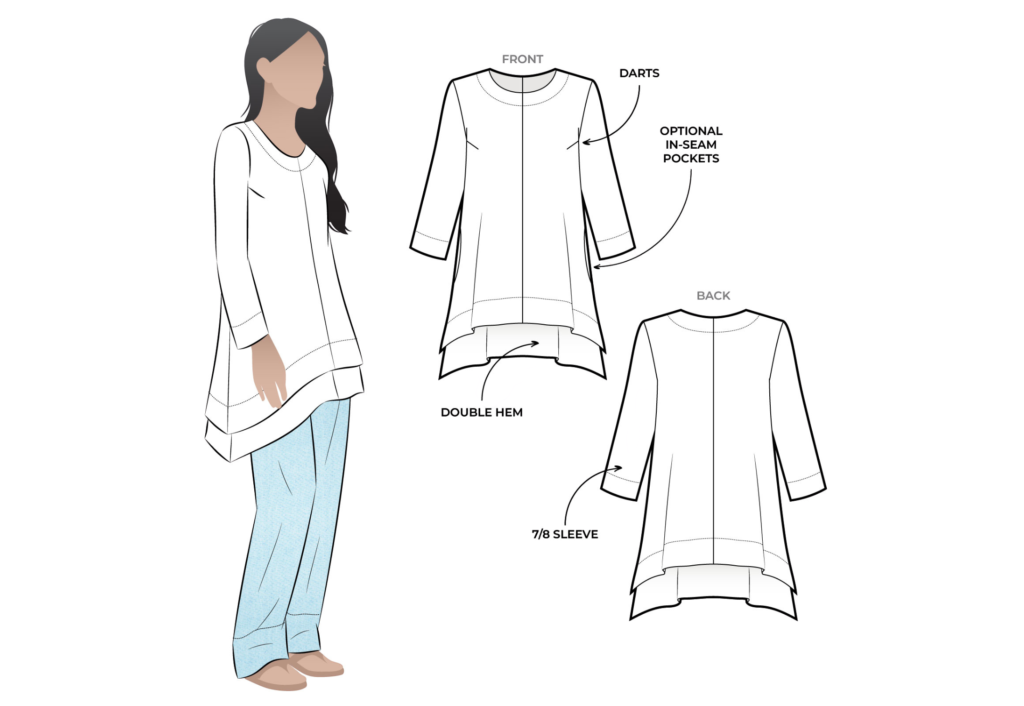
CONSTRUCTION:
BODY:
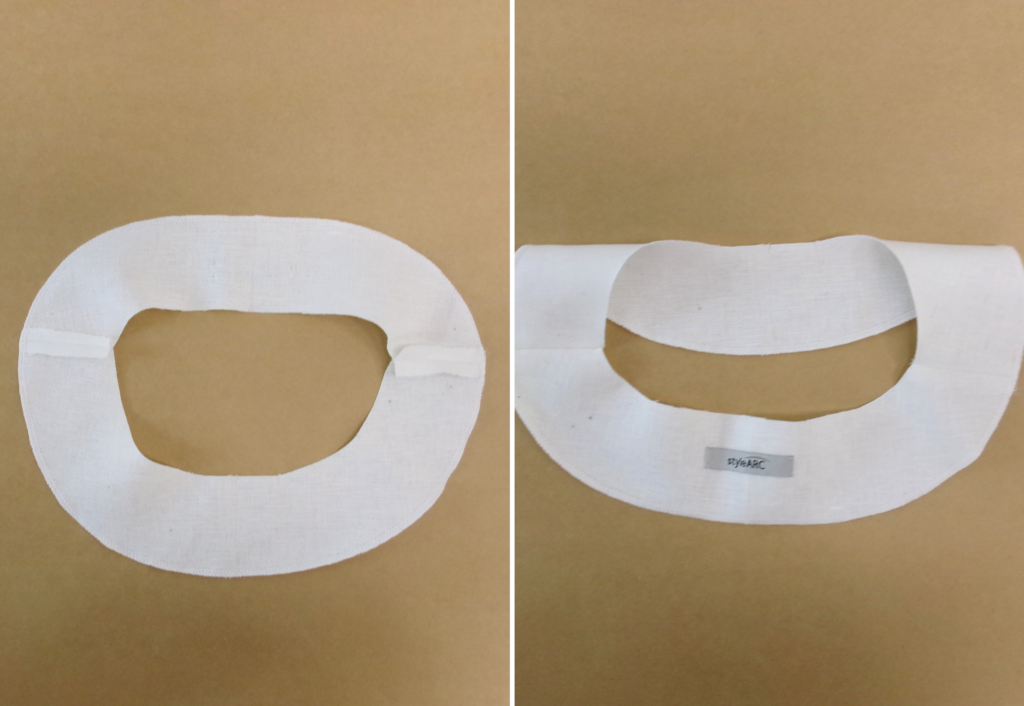
Fuse/interface the Back Neck Facing (7) and Front Neck Facing (8).
Stay stitch the Back (1) and Front (2) necklines using a small stitch length to prevent stretching.
With right sides together (RST), sew the shoulder seams of the Back Neck Facing (7) and Front Neck Facing (8) together and press open. Neaten the outer edge of the facing with an overlocker/serger.
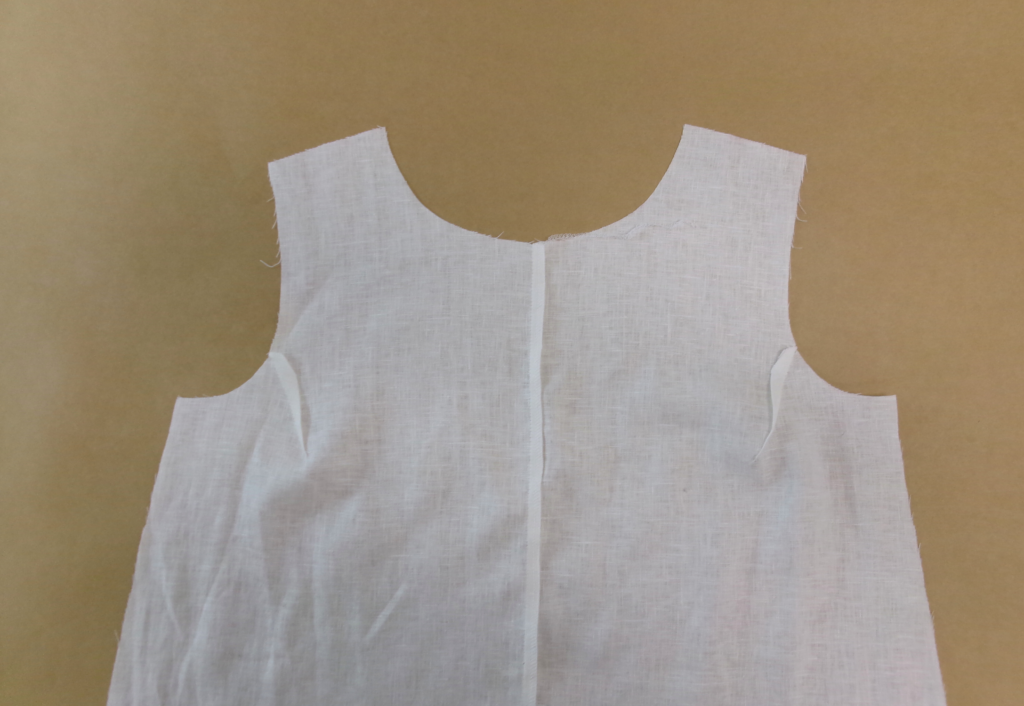
Stitch the armhole bust darts and press down.
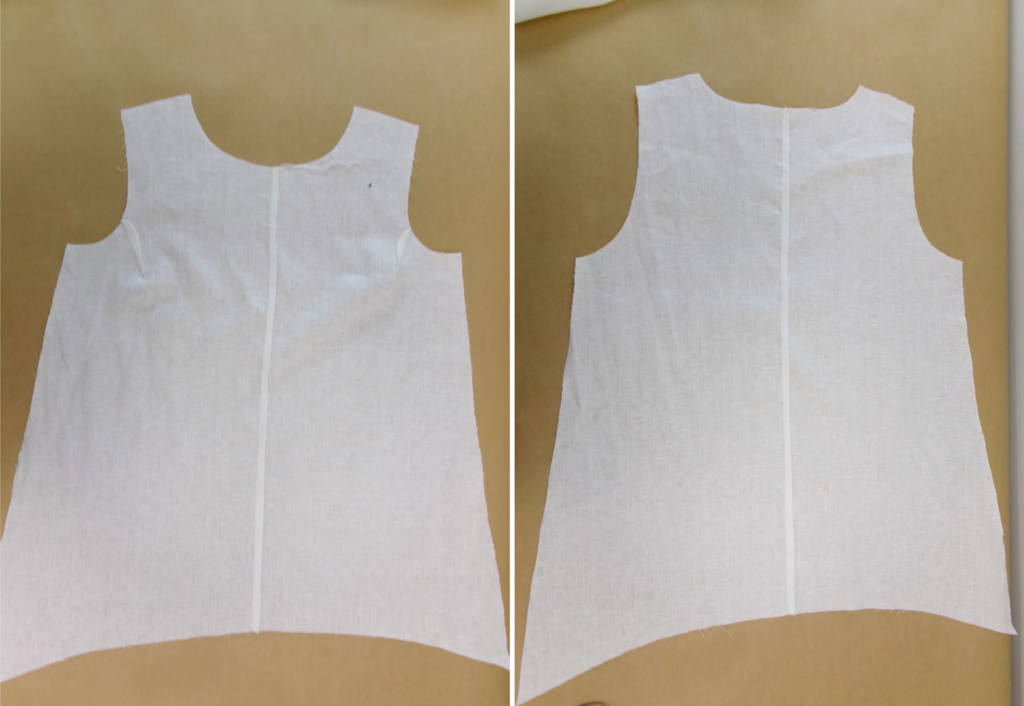
With RST sew the centre Front (2) body seam together. Neaten with an overlocker/serger and press to the side.
With RST sew the centre Back (1) body seam together. Neaten with an overlocker/serger and press to the side.
With RST, sew the Back and Front shoulder seams together. Neaten with an overlocker/serger and press to the back.
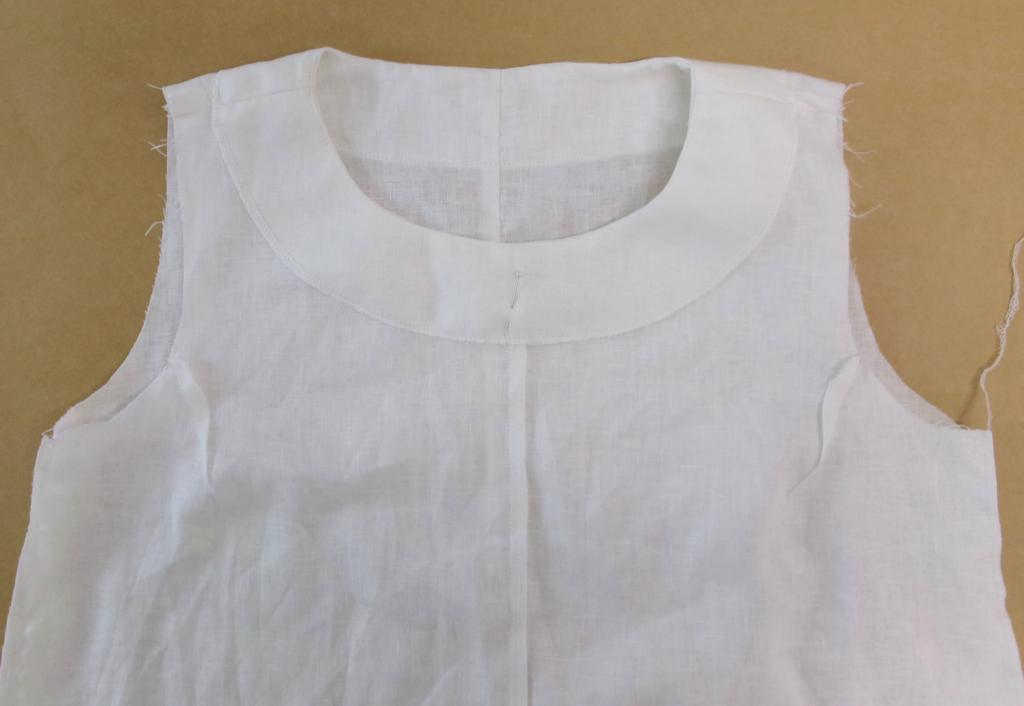
With RST, pin and stitch the neck facing to the neckline using a 6mm (1/4″) seam. Understitch the seam on the side of the facing, then turn the neck facing to the inside and press.
Pin the neck facing to the body and sew a topstitch around the outer edge of the facing, using the overlocking as a guide.
POCKETS:
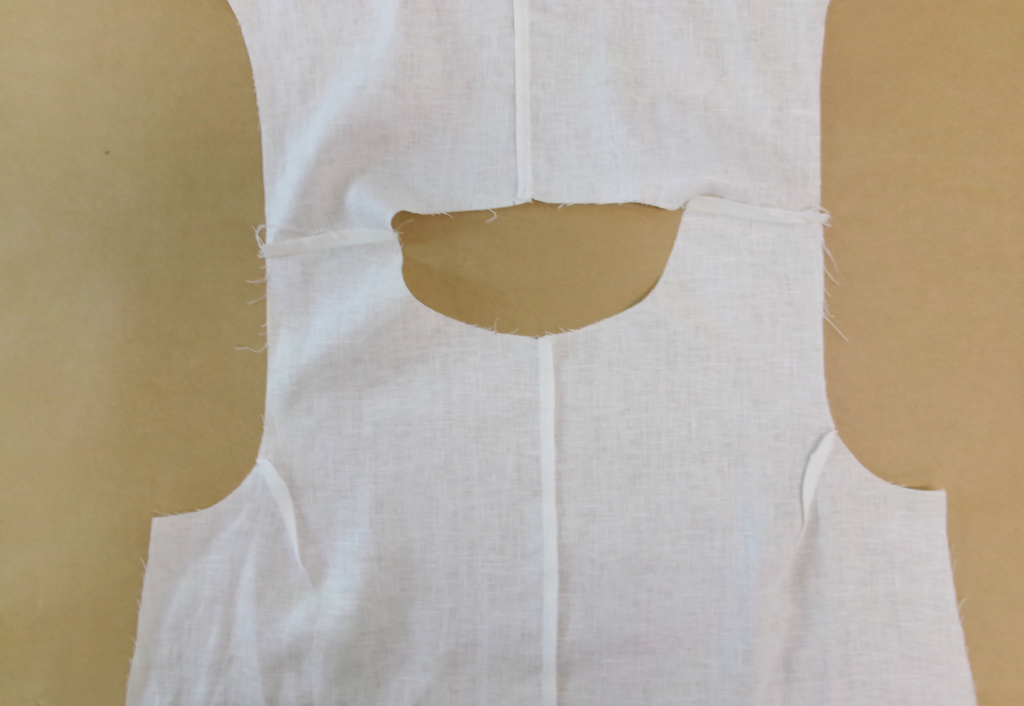
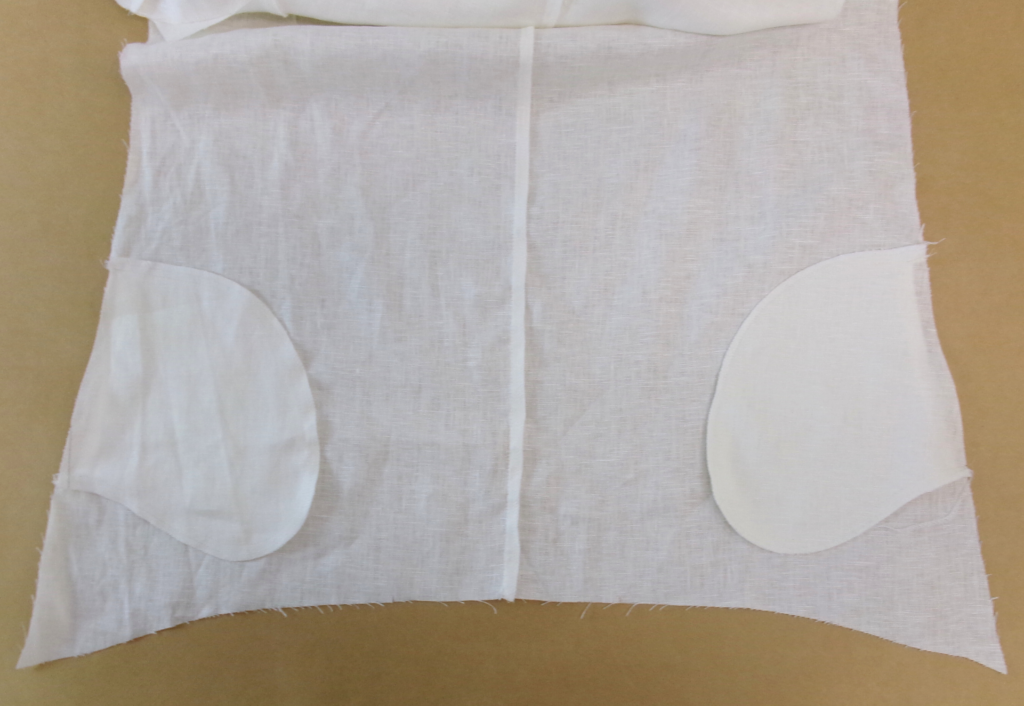
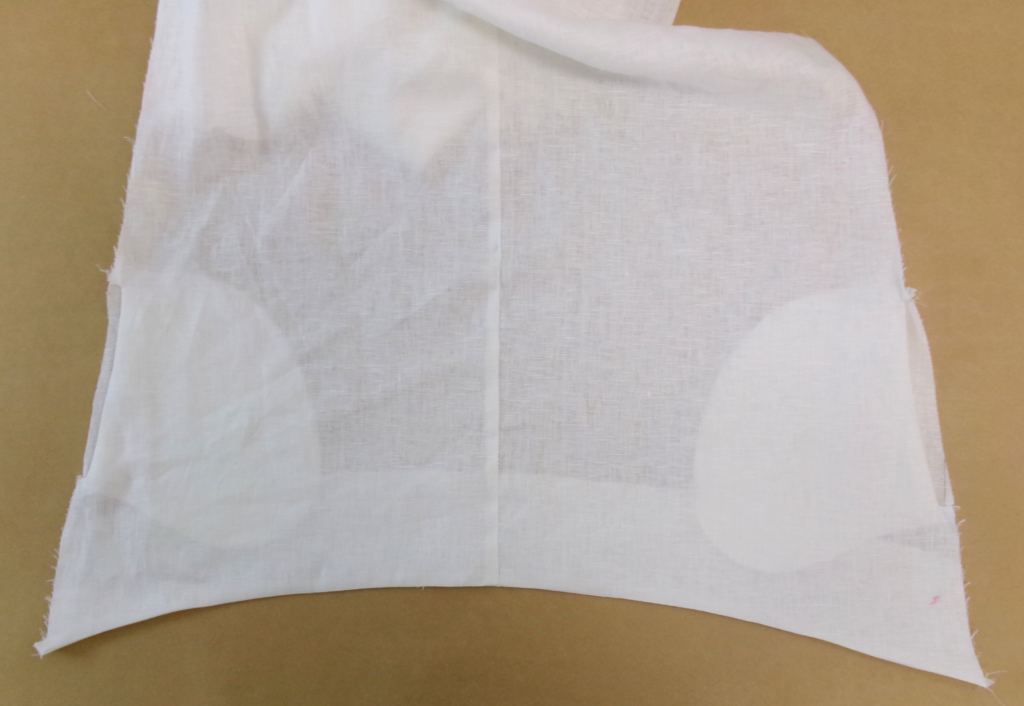
With RST sew one set of the pockets to the front side seam, matching at the notches as marked on the pattern. Sew between the notches only. Clip at the notches and then understitch on the side of the pocket bag.
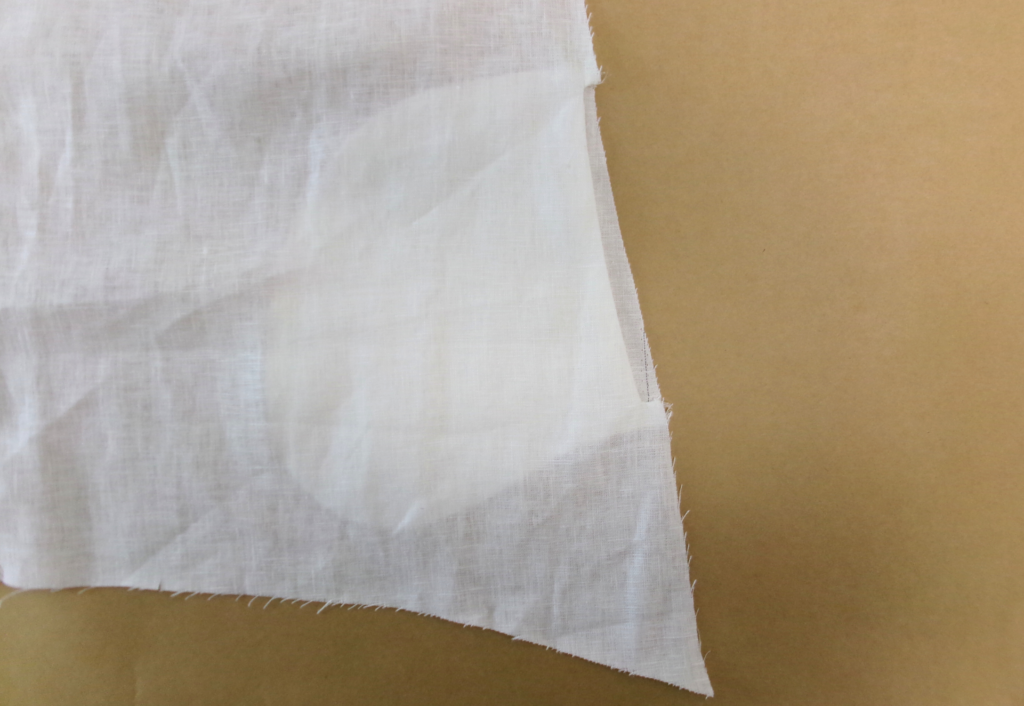
With RST sew the second set of pockets to the pockets that are sewn to the front side seam. Sew around the outer edge, stitching the two pocket bags together to create a pocket. The straight edge of the under pocket is left free to sew to the back side seam. Neaten the outer edge of the pocket with an overlocker/serger.
HEM & HEM FACING:
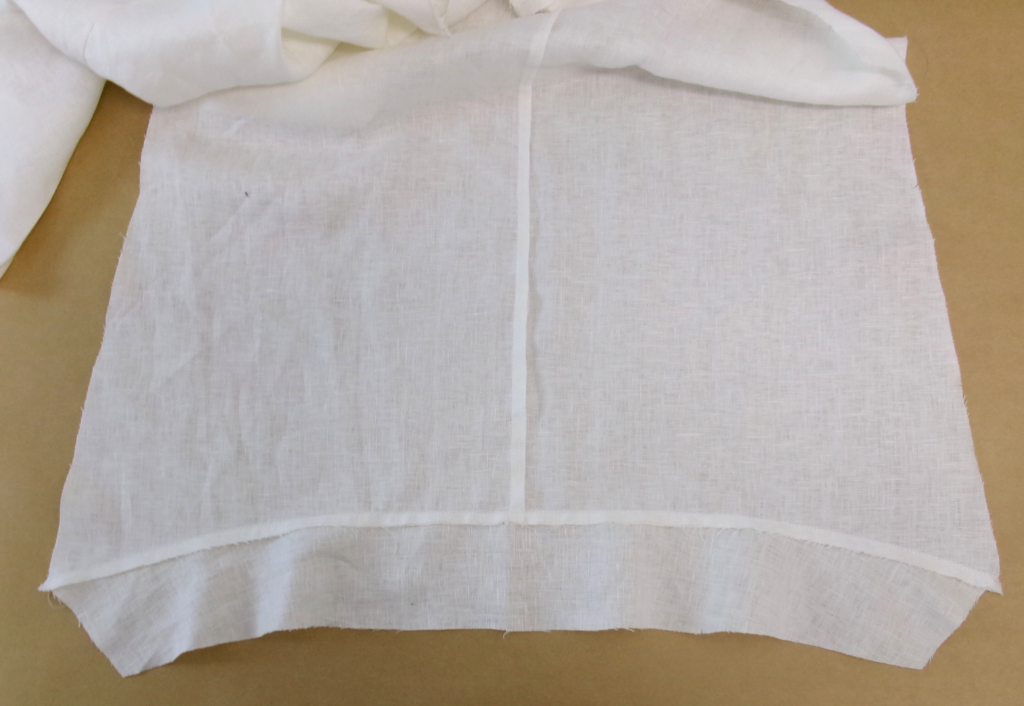
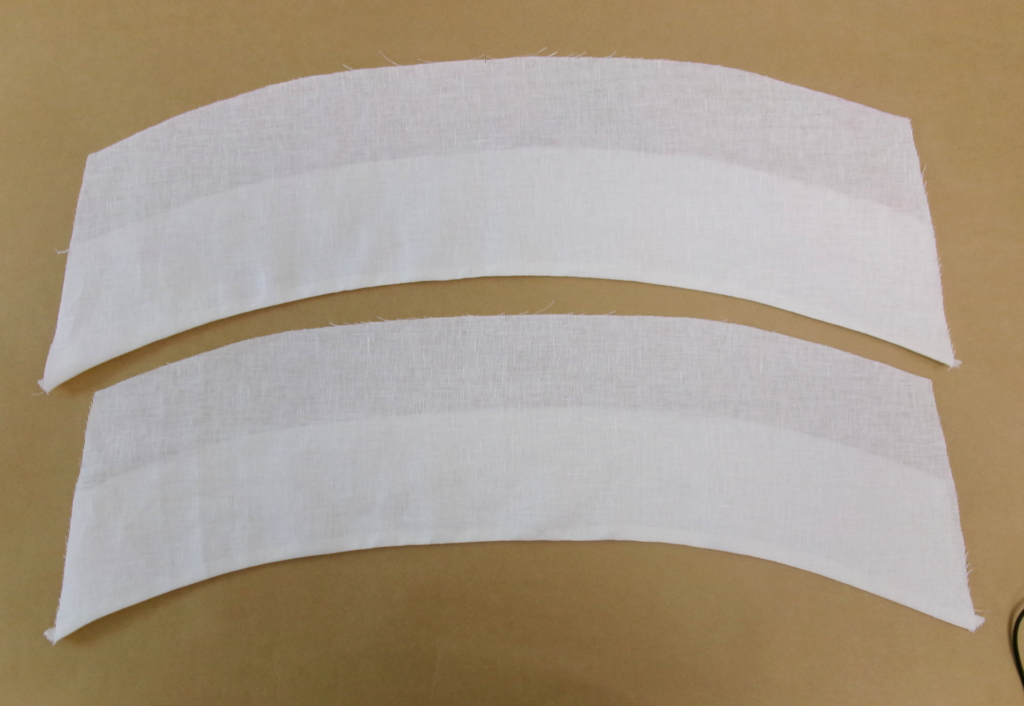
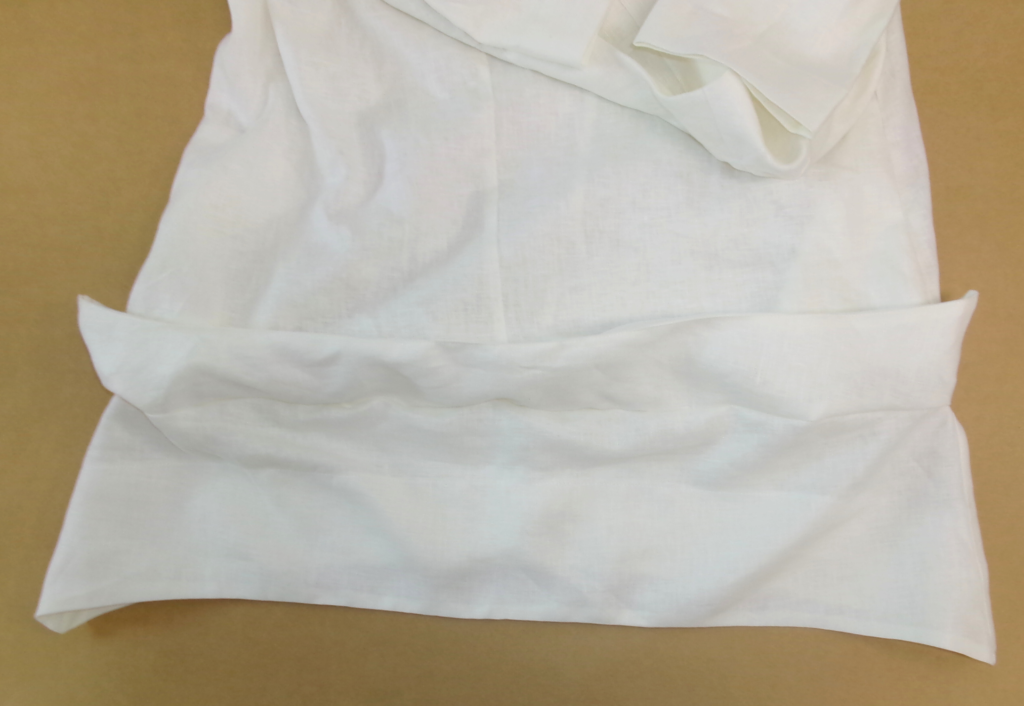
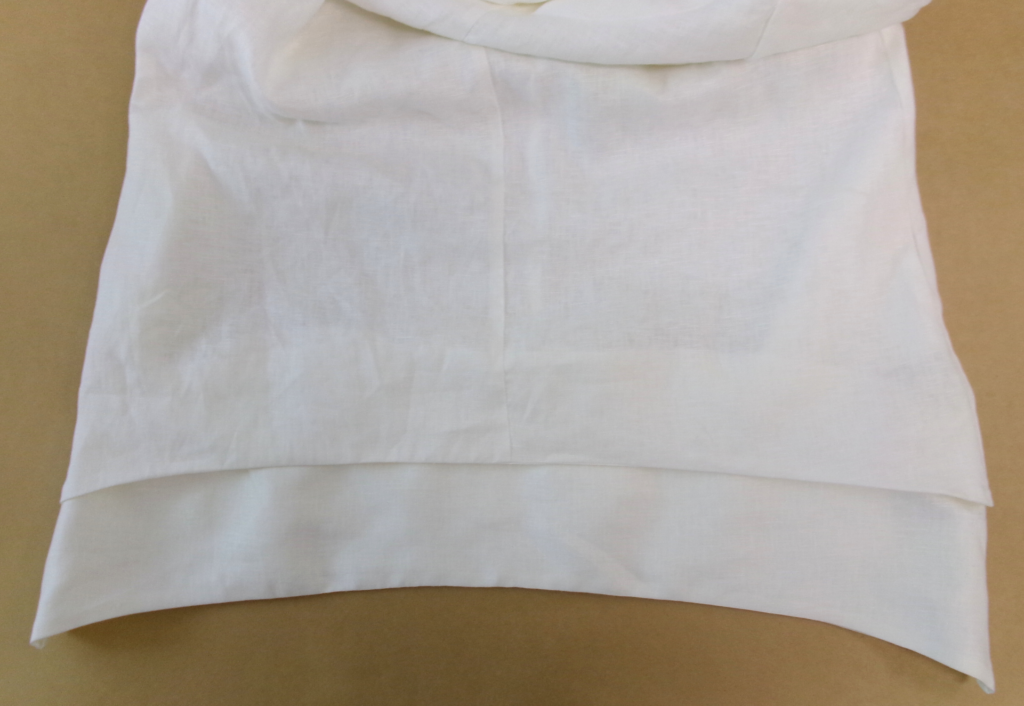
With RST pin the hem of the body to the Hem Facing (4). Be sure to match “a” to “a”, aligning the notches as marked on the pattern. Turn out to the right side and understitch on top of the seam on the side of the facings (refer to diagram).
With RST sew the front and back side seams together. Start sewing at the underarm, sewing through the back of the pocket and being careful not to catch the front pocket. When arriving at the body and hem facing seam, keep the needle down, lift the presser foot and pivot at the seam, and continue sewing to the end of the hem facing. Turn out to the right side and press.
NOTE: do not stitch Hem Facing (4) to the body at this stage.
HEM BAND & HEM BAND FACING:
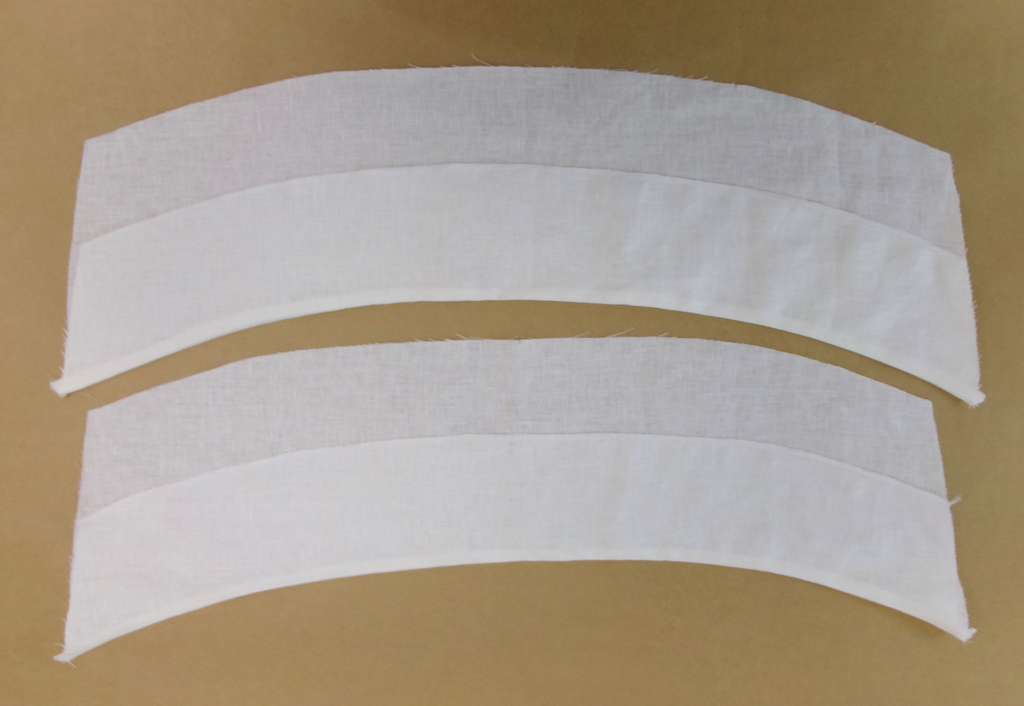
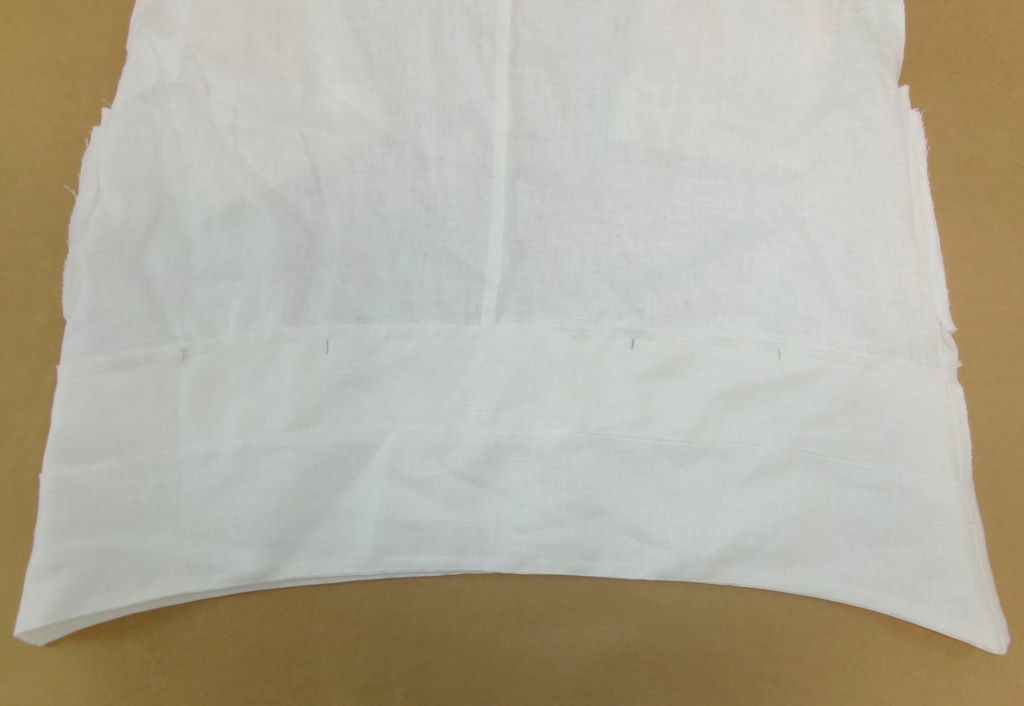
With RST sew the Hem Bands (5) to the Hem Band Facings (6); take care to match “b” to “b” aligning the notches marked on the pattern. Turn to the right side and understitch close to the seam on the side of the facing.
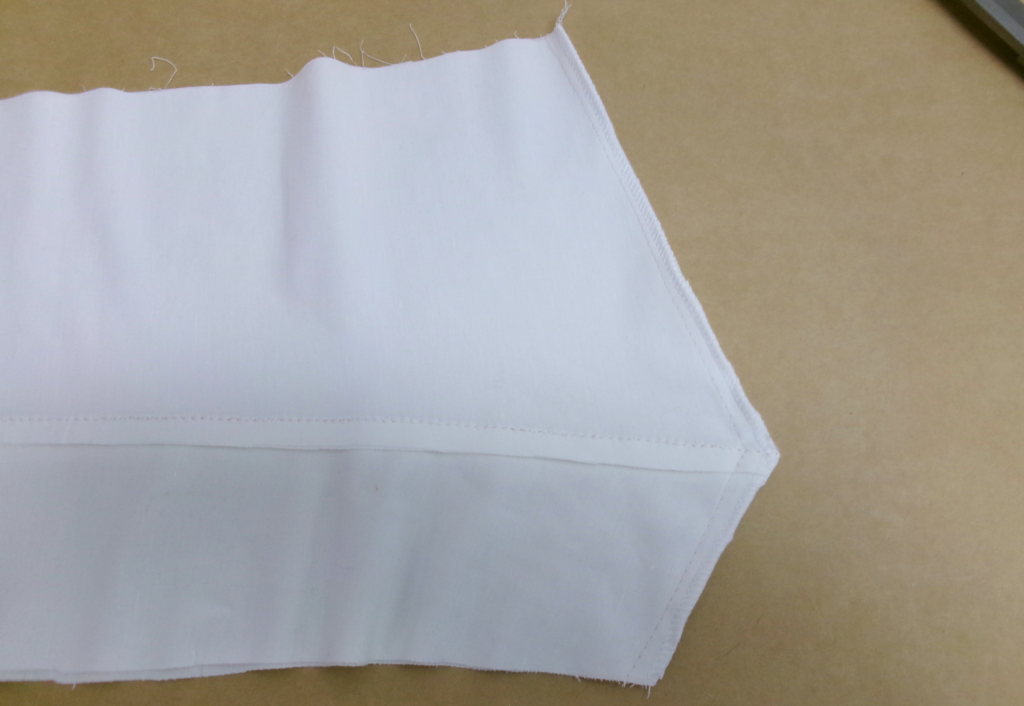
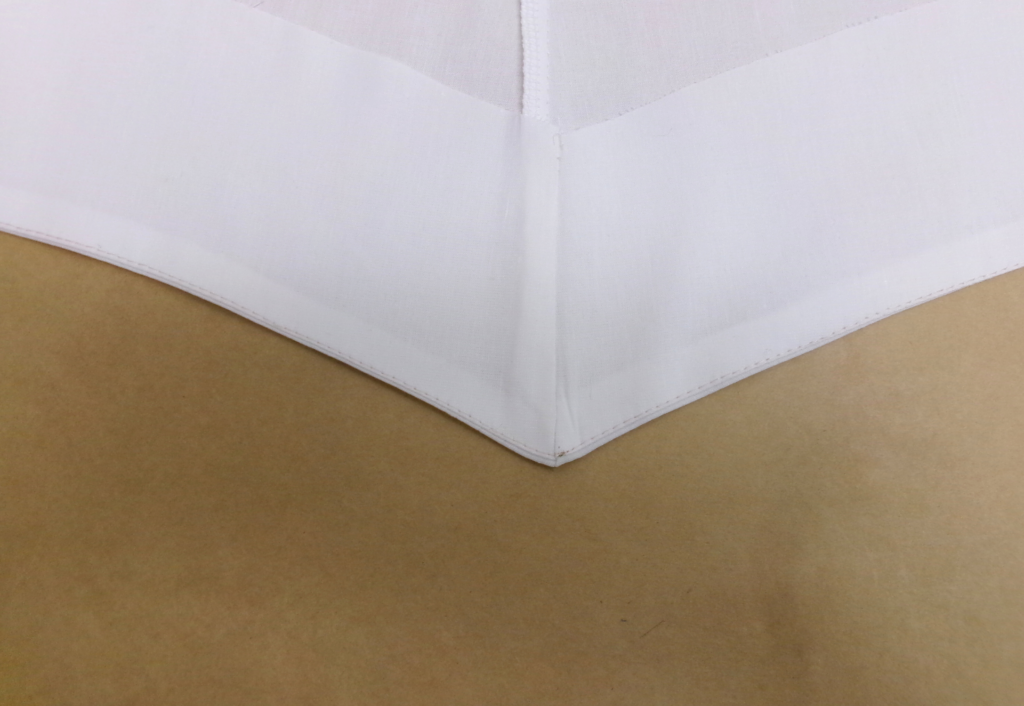
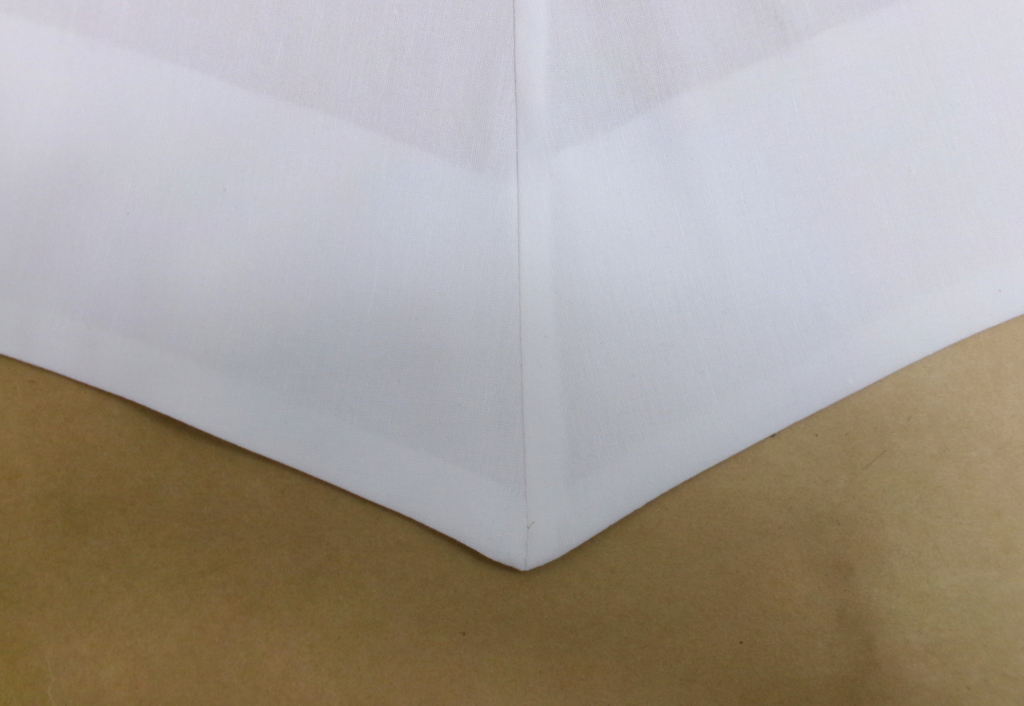
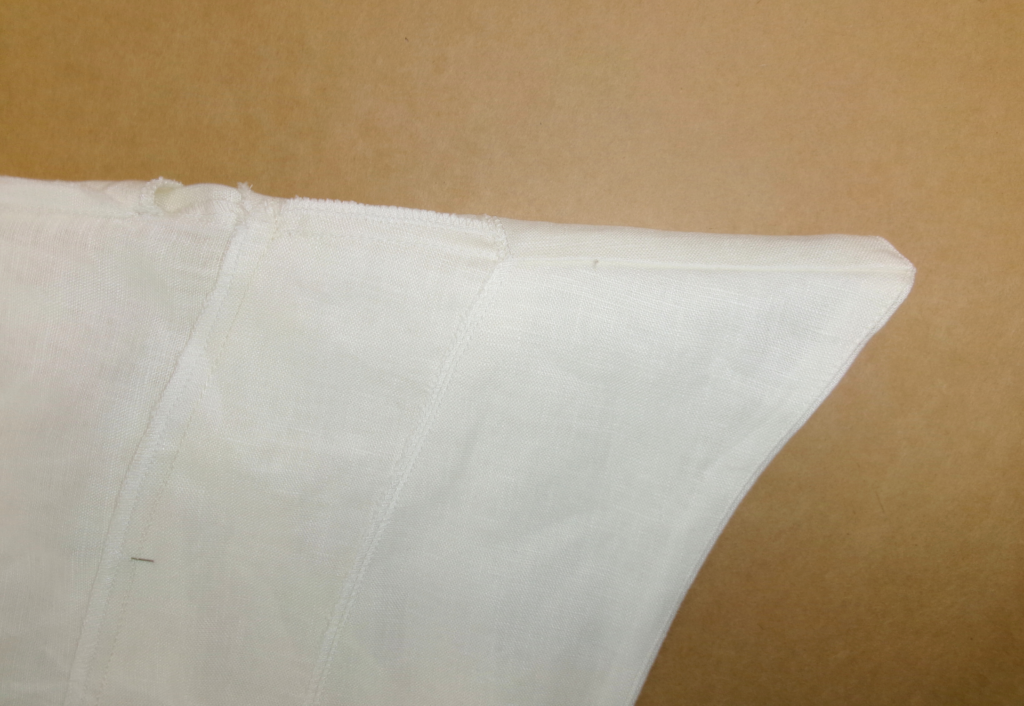
Sew the side seams of the Hem Band (5) and the Hem Band Facing (6); when arriving at the angled seam, keep the needle down, lift the presser foot, pivot and continue sewing to the end of the facing. Press towards one side.
Turn the hem band facing to the right side and press.
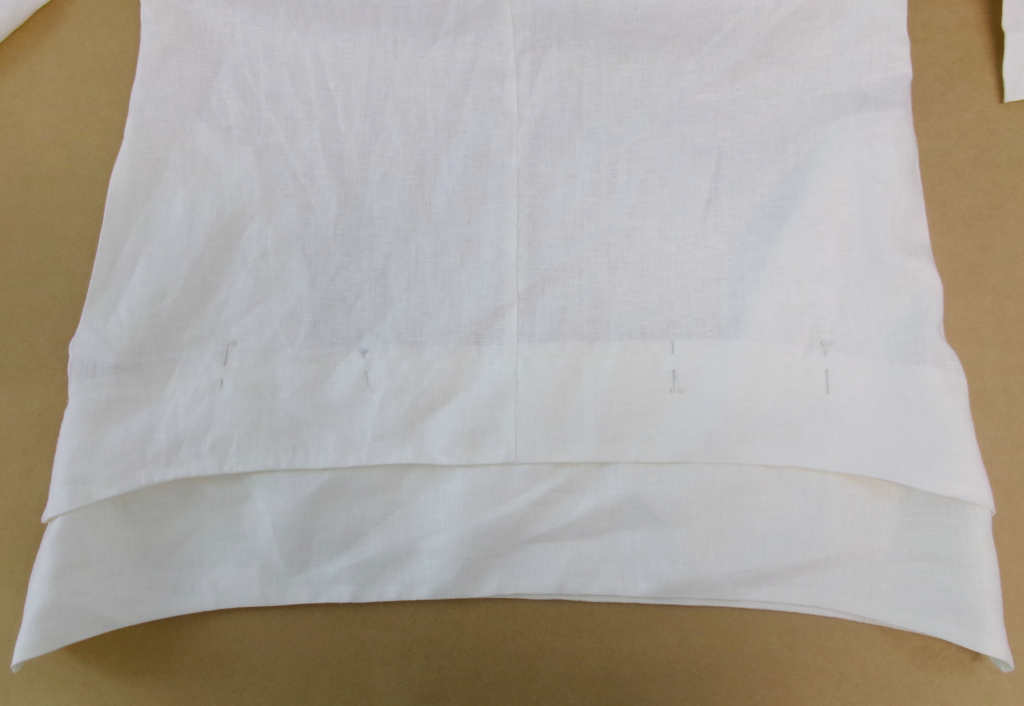
With RST pin the hem facing to the hem band once in place top stitch it in place.
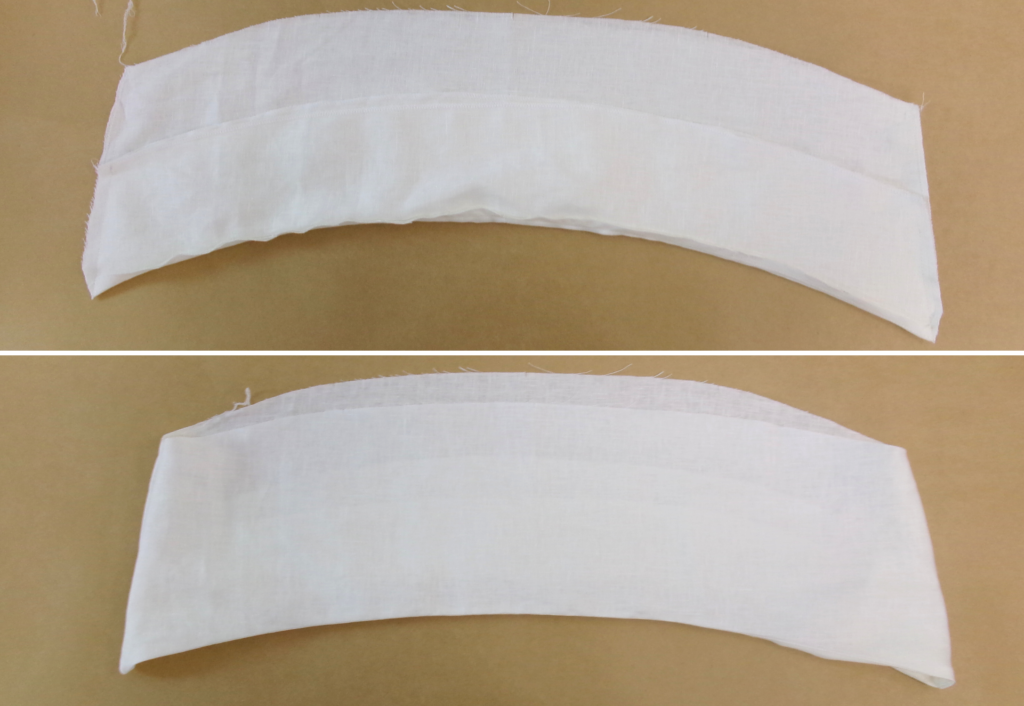
Lay the Hem Band (5) and the Hem Facing (4) on a flat surface and with right sides facing outward, pin the top edge of the hem band to the top edge of the hem facing along the edges marked “c”. Be sure to match “c” to “c” using the notches as marked on the pattern. Neaten with an overlocker/serger. Sew a single row of stitching around the top edge to secure the two layers together (see diagram).
SLEEVES OR SLEEVE BINDING:
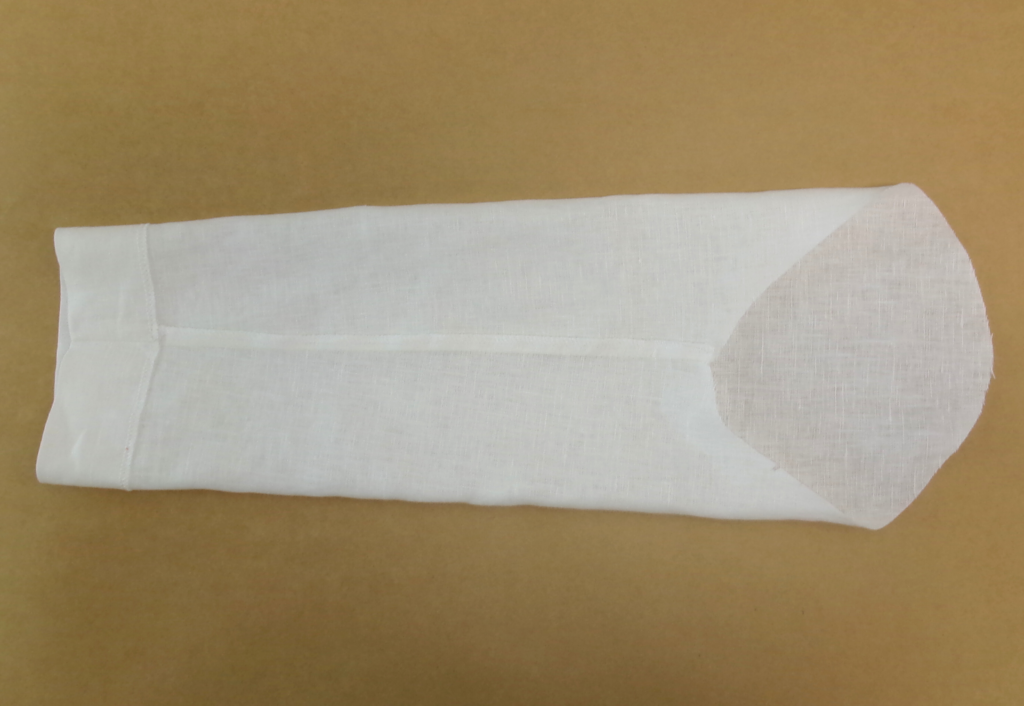
With RST sew the under-arm sleeve seams together. Neaten seam with an overlocker/serger and press to the back. Sew a large stitch around the head of the sleeve and slightly ease in as this makes it easier to sew the sleeve into the armhole.
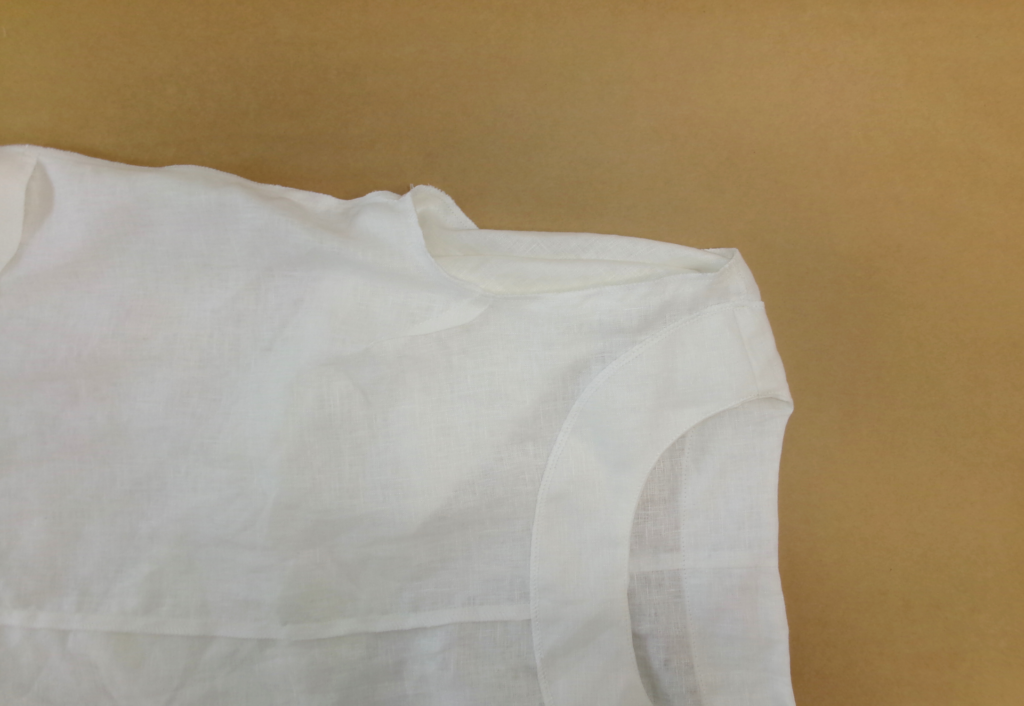
With RST sew the sleeves into the armholes, aligning the notches as you sew. Neaten with an overlocker/serger and press towards the sleeve.
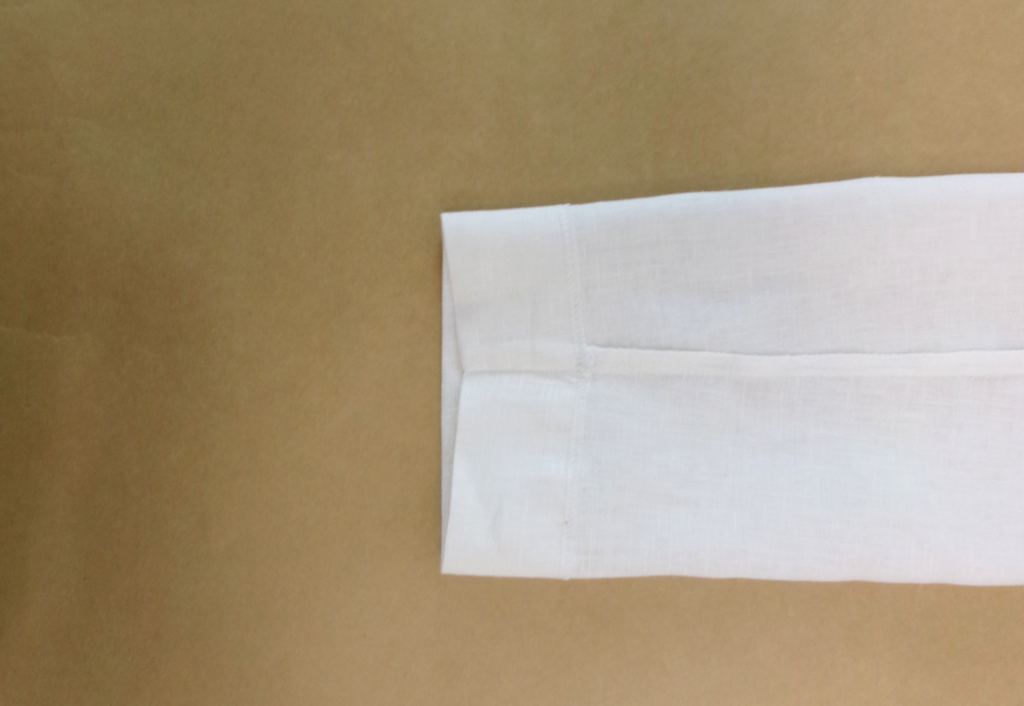
Neaten the sleeve hem with an overlocker/serger. Turn the sleeve hem up at the notch, and stitch into place. Press.
Sleeveless with binding (Optional): stitch the short ends of the bind piece together. Press the seam open and with WST fold the armhole binding in half lengthways. Sew a basting stitch to the raw edges to hold in place.
With RST sew the raw edge of the armhole bind to the raw edge of the armholes, stretching slightly as you sew. Understitch the seam on the side of the bind.
Turn the binding to the inside of the body, pin, then stitch down with a 6mm (¼”) topstitch.
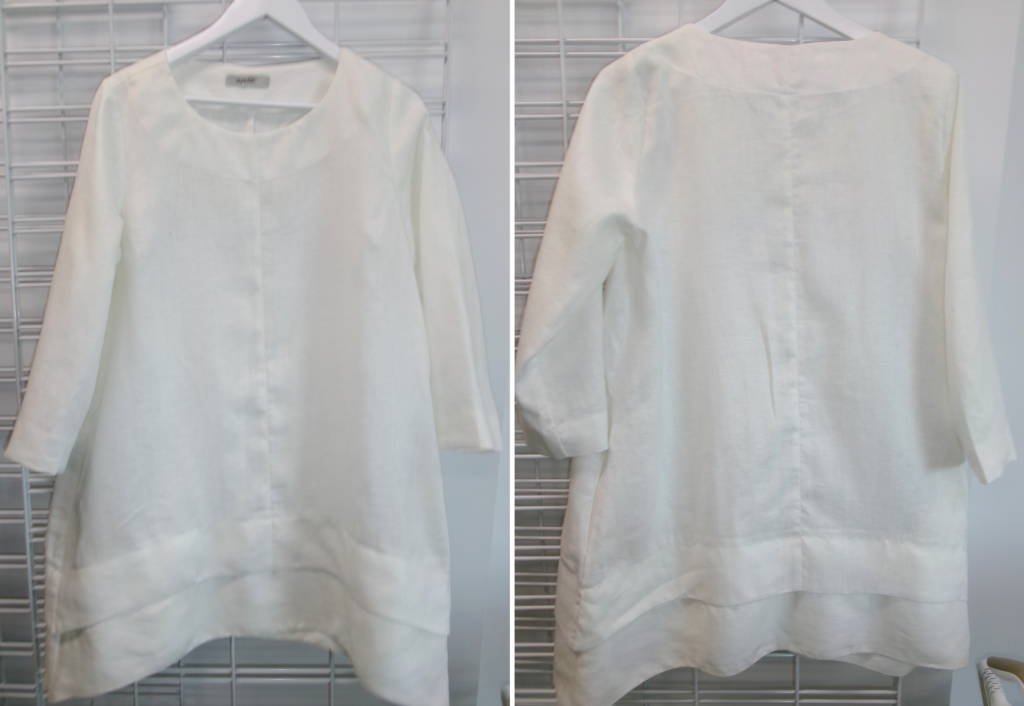
Press your completed garment.

