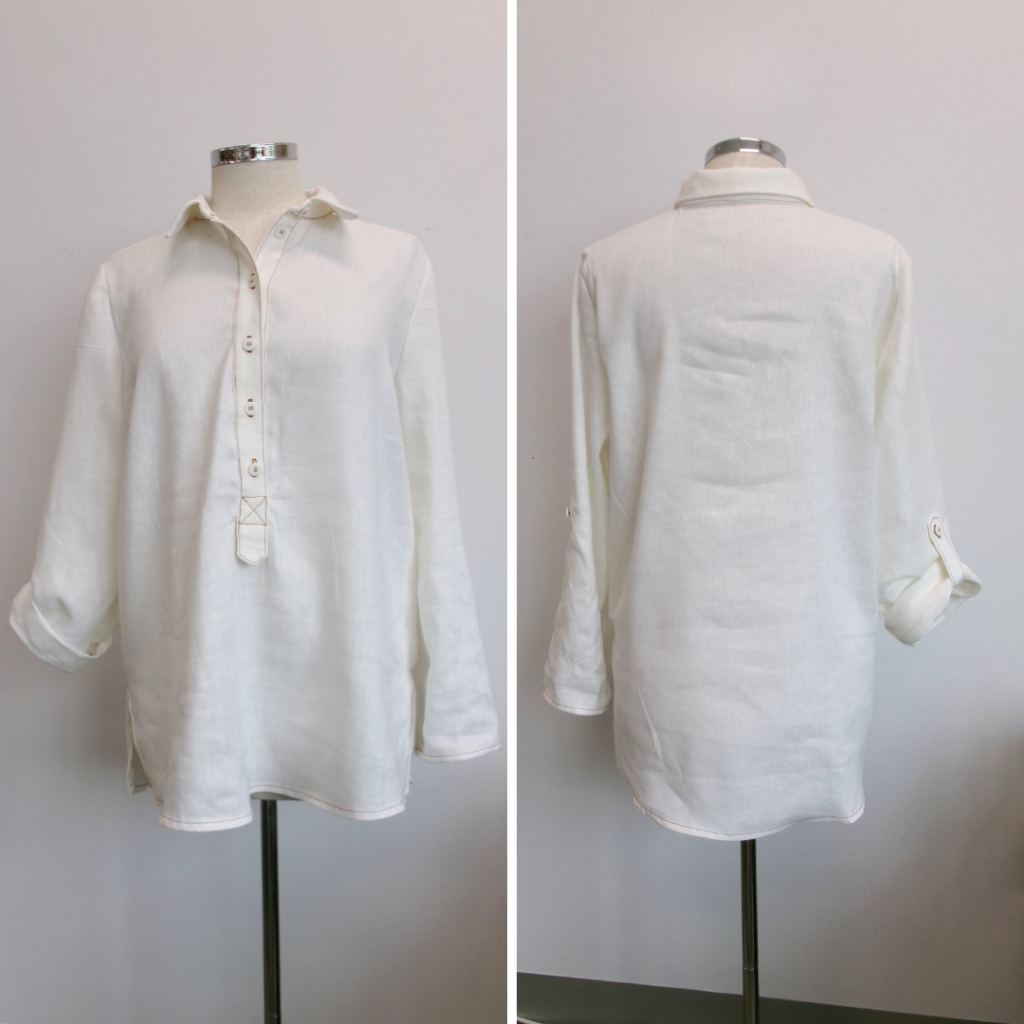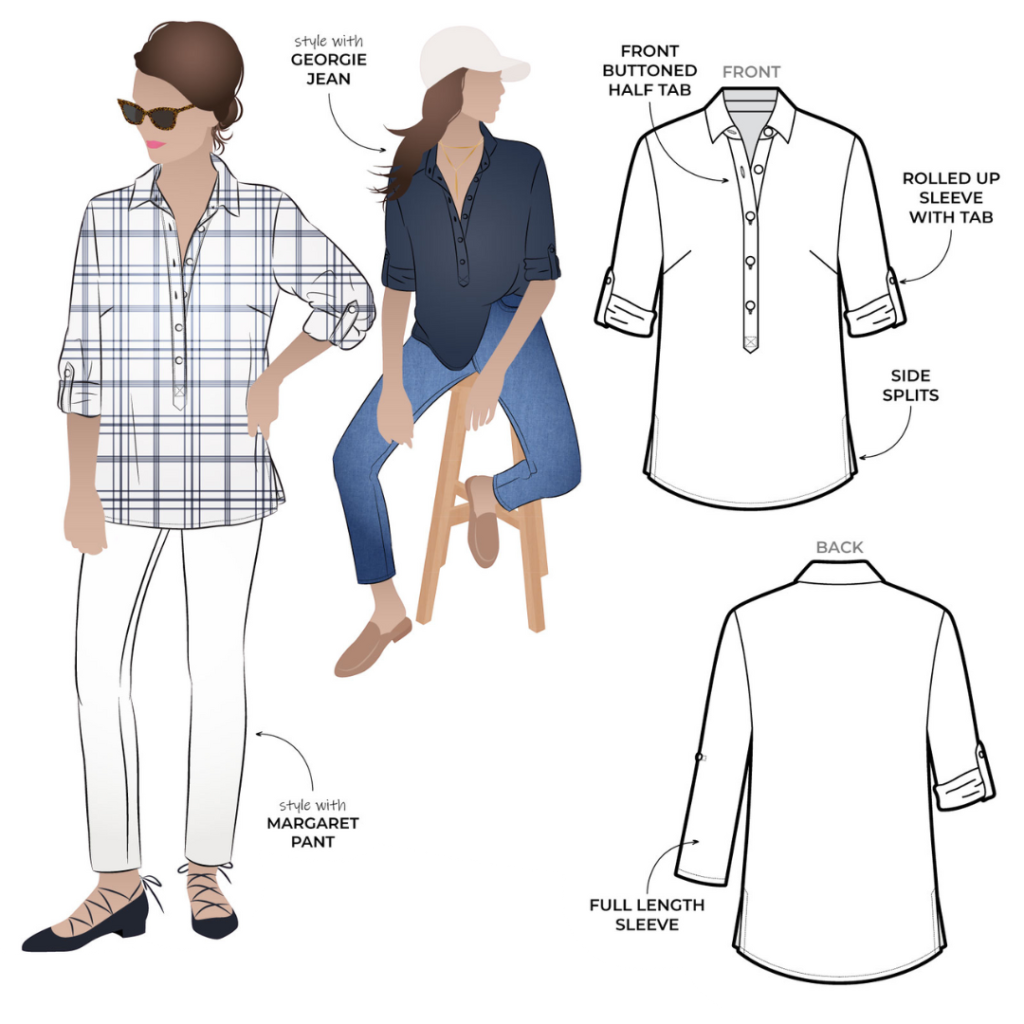
CONSTRUCTION:
COLLAR AND COLLAR STAND:
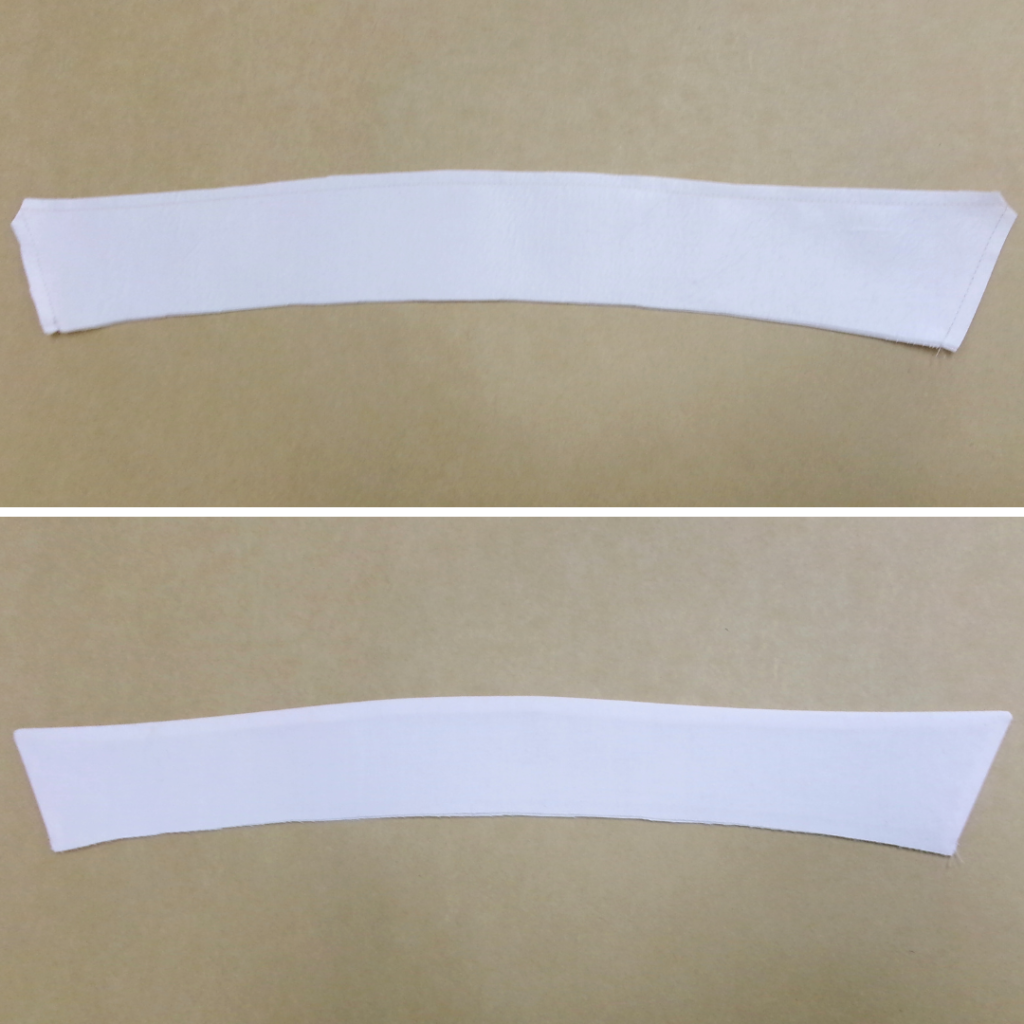
With RST sew the outer and side edges of the collar (6) together with a 6mm (1/4”) seam. Clip the corners and turn to the right side. Press.
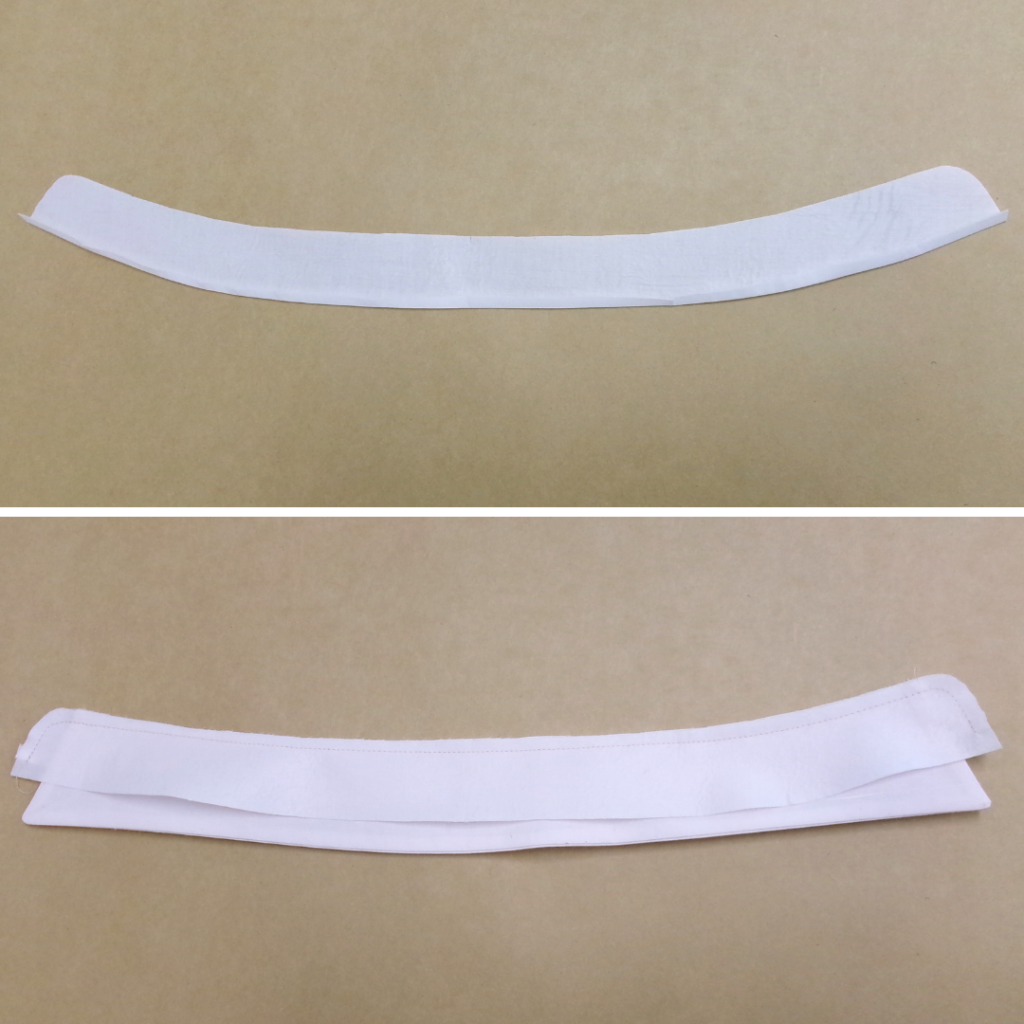
Press the lower edge of the outer collar stand under 6mm (1/4”).
With RST and notches aligned, place the collar between the two collar stands and sew with a 6mm (1/4”) seam, sandwiching the collar in between. Turn out and press. Under stitch the inside of the collar stand. Set aside until arriving at step 11.
FRONT TABS:
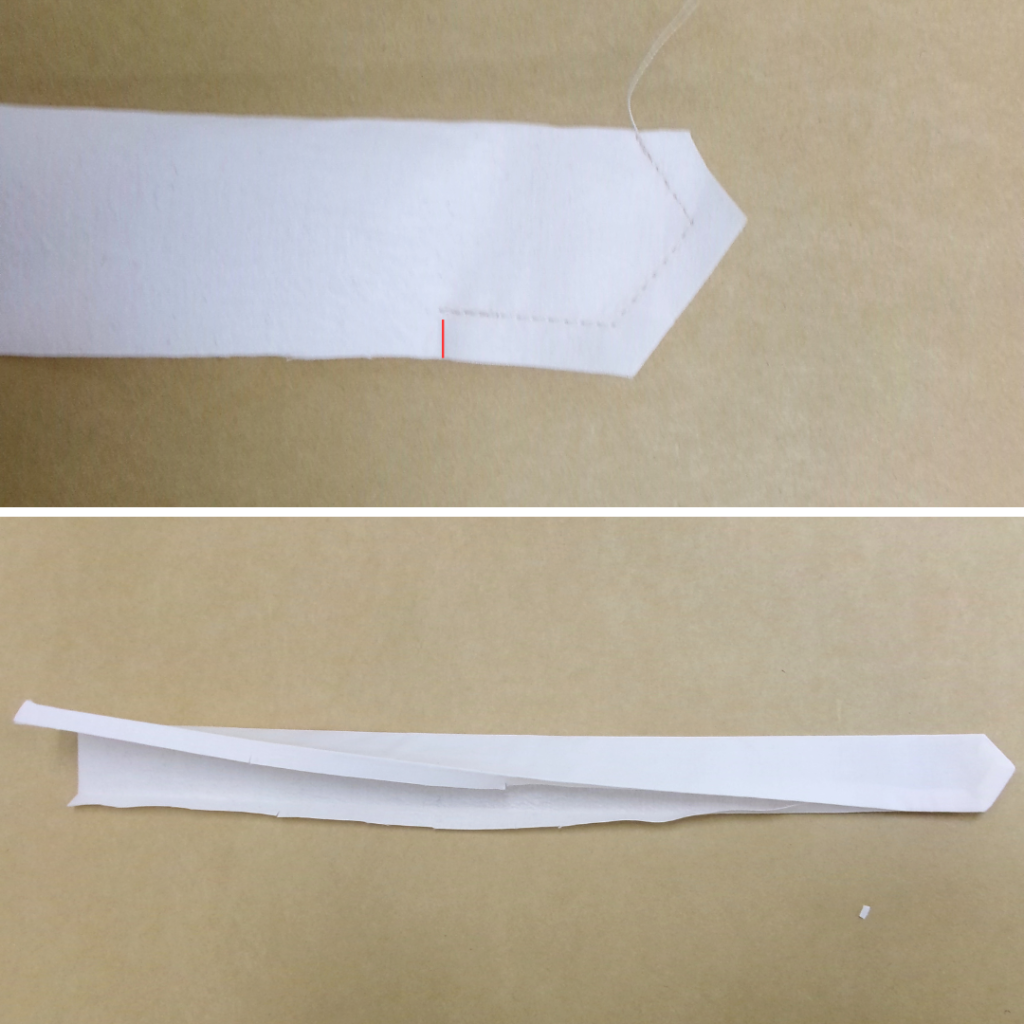
With RST, fold the right front tab (3) in half lengthways. Sew around the pointed end as far as the notch. Clip the corners, turn to the right side and press. Press the raw edges under 1cm (3/8”).
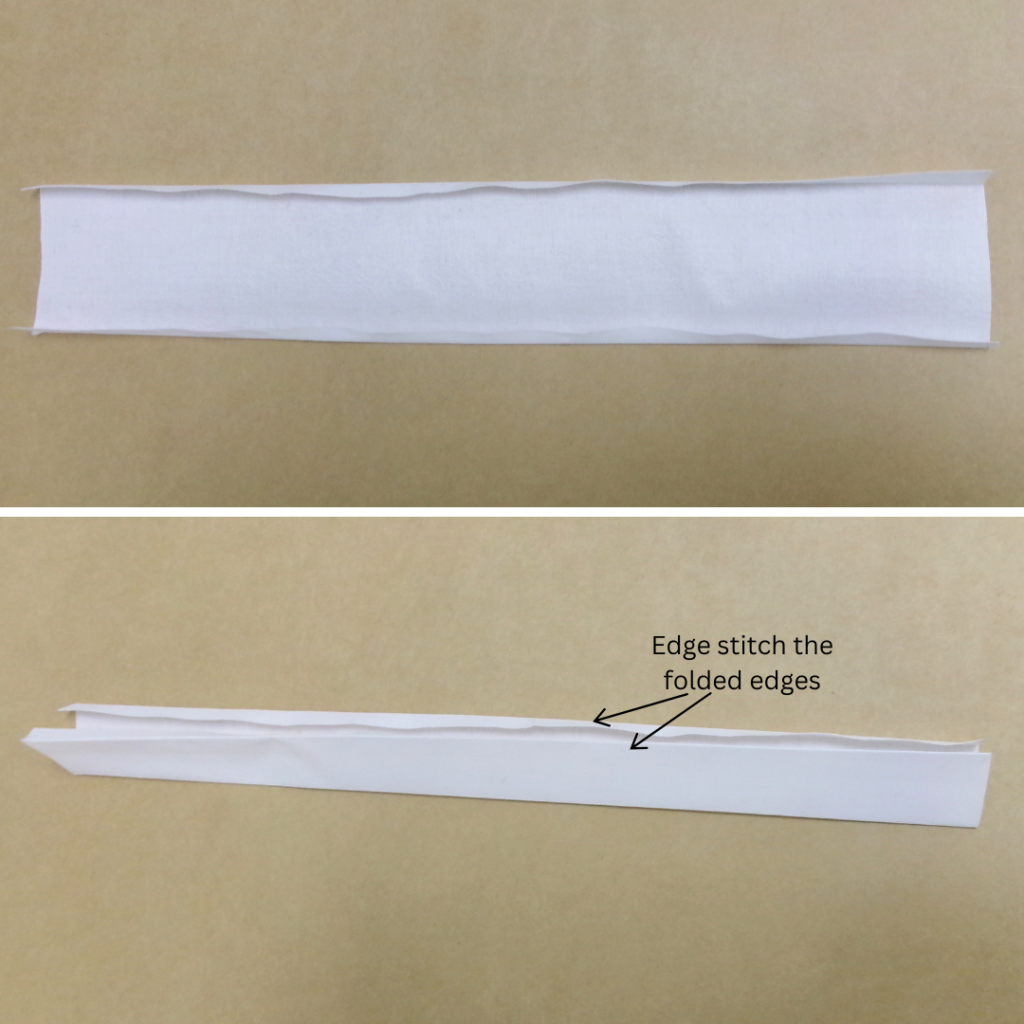
Fold the long edges of the left front tab (4) 1cm (3/4”) to the inside and press. With WST, fold in half lengthways and edge stitch each folded edge of the tab.
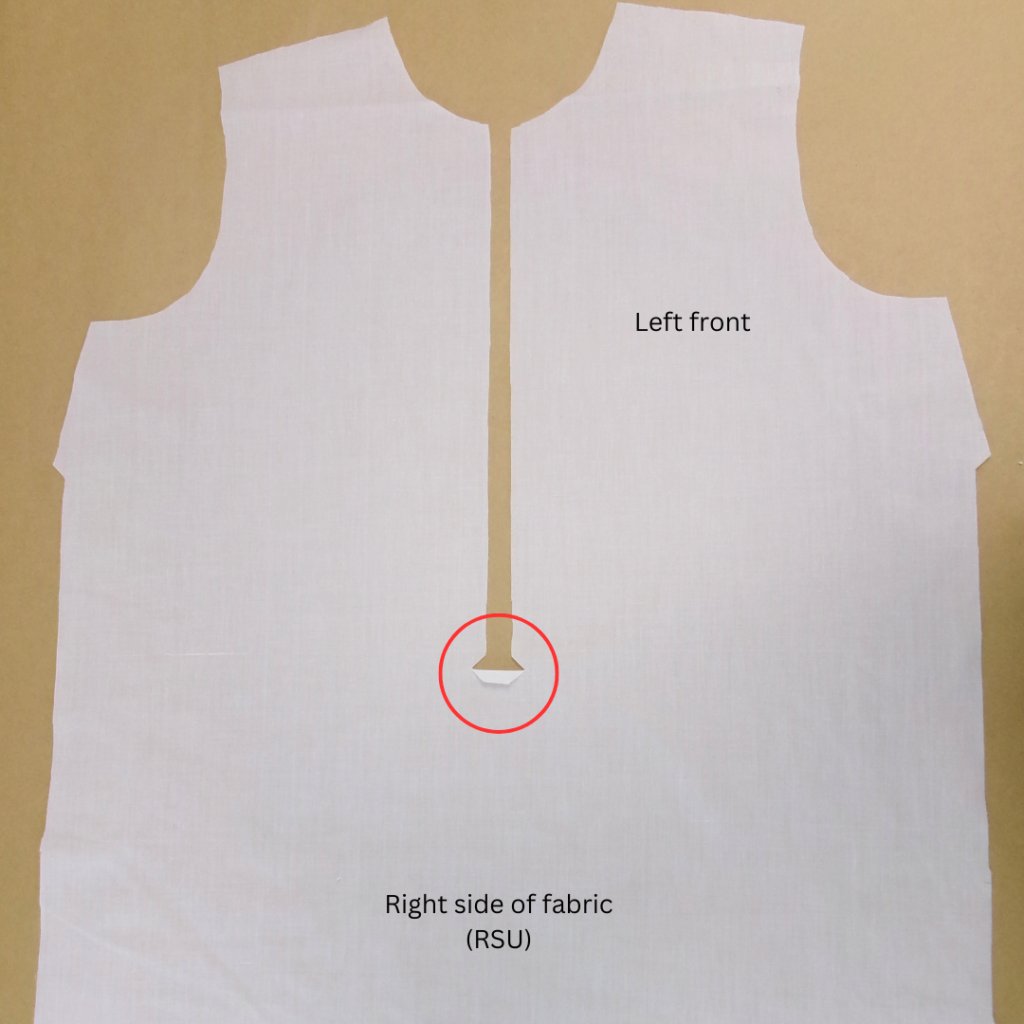
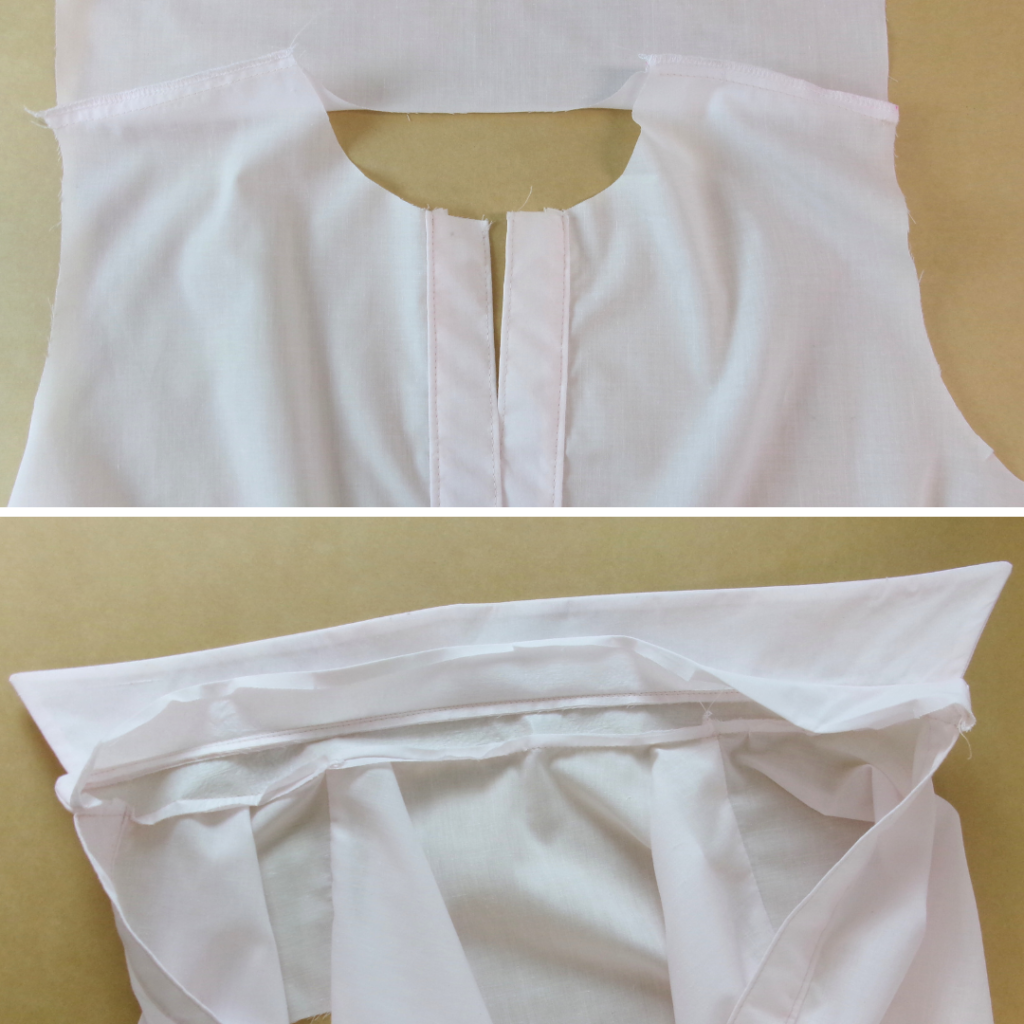
With the front (2) facing right side up, clip into the corners of the cut away as shown on the pattern. Fold the bottom edge down on the right side, press.
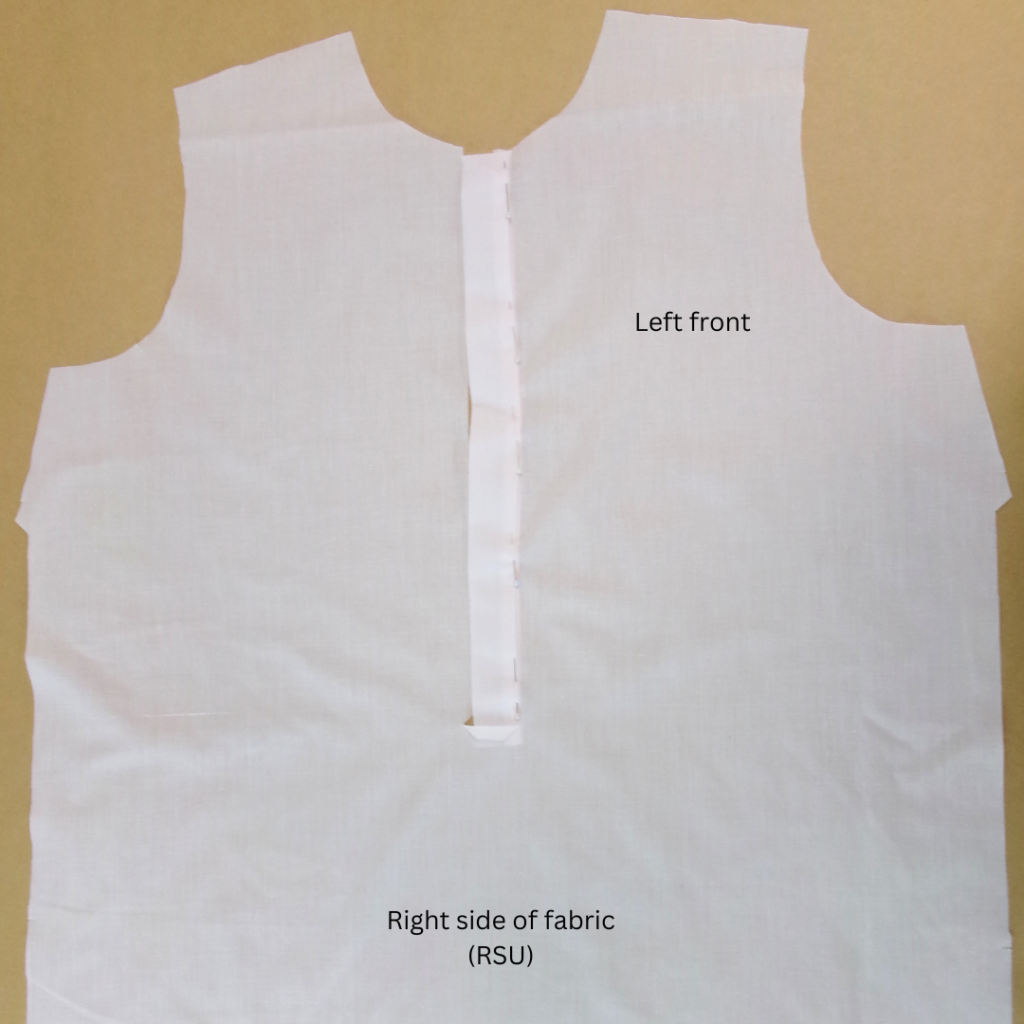
Slide the left front tab onto the front, sandwiching the raw edge of the left front body in between the folded edges. Pin into place.
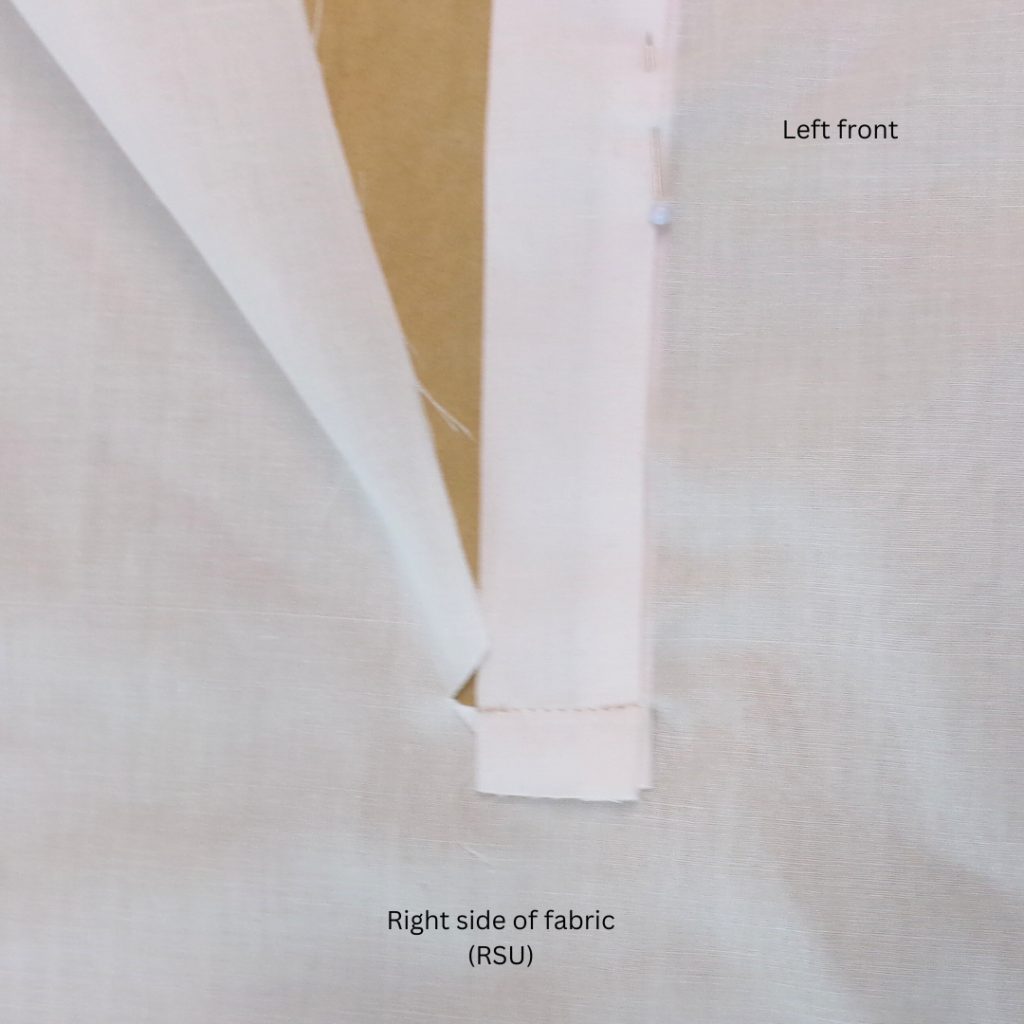
Sew the bottom edge of the tab to the cut out. This will be covered by the right tab.
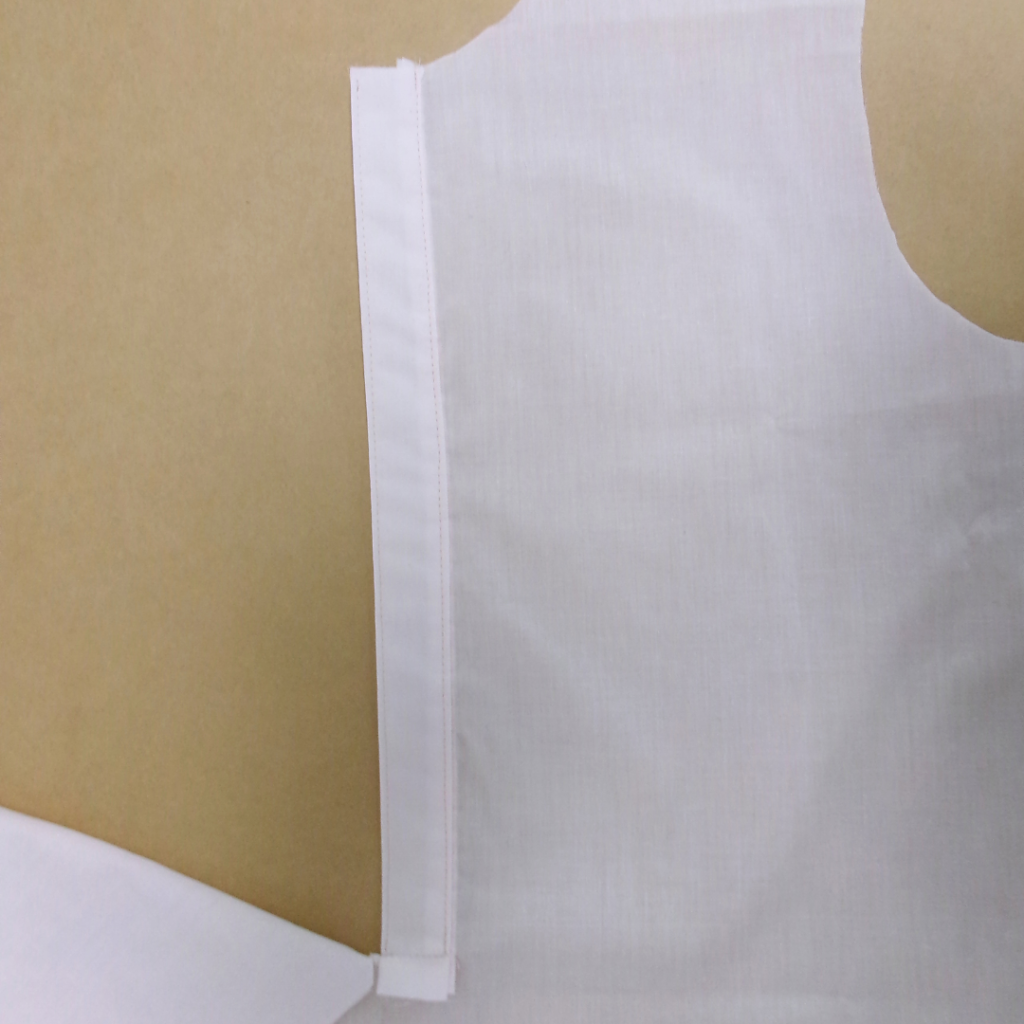
Edge stitch the Left Front Tab into place.
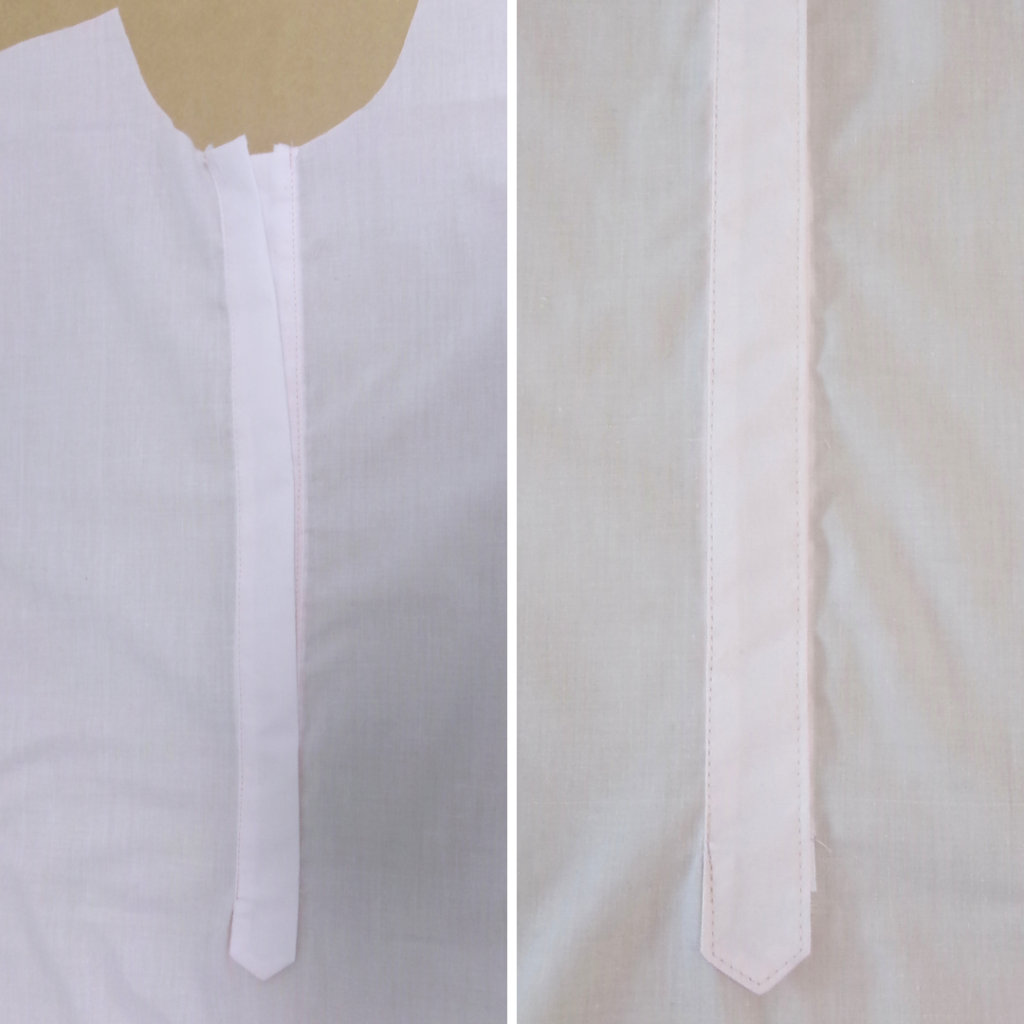
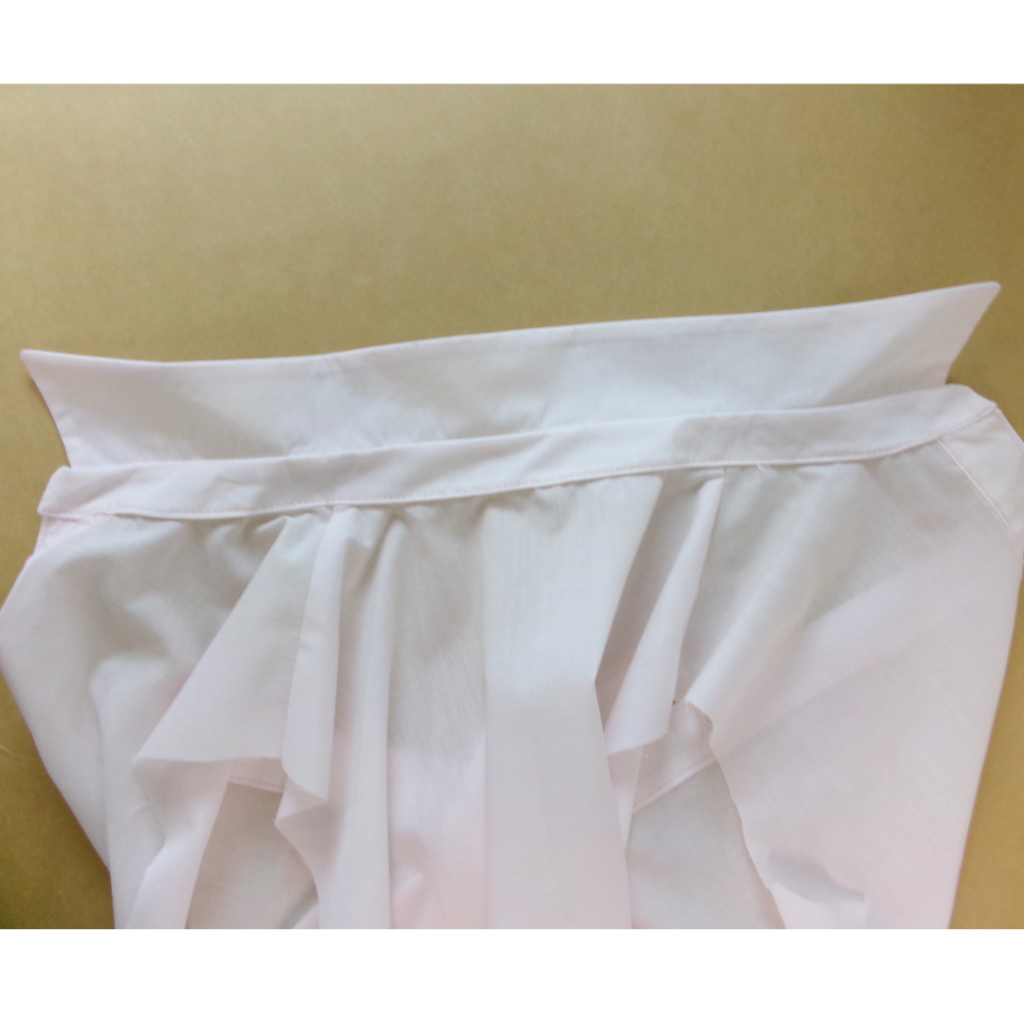
Slide the right front tab (3) onto the front, sandwiching the main raw edge in between. Pin into place then edge stitch. Starting at the neck, edgestitch the outer edge of the right tab, then around the point and corners.
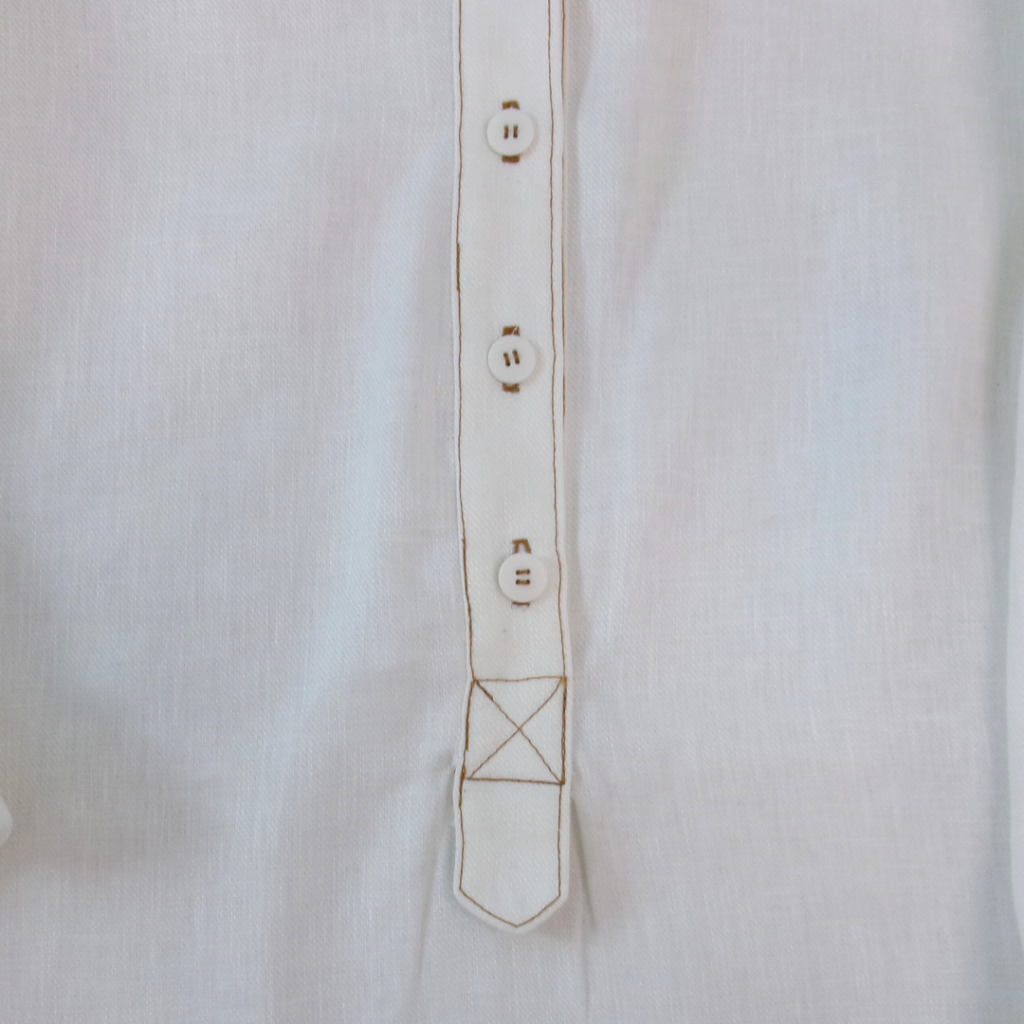
Lay the right tab over the left tab and sew two horizontal lines and a cross as shown on the pattern.

Sew the bust darts and press downwards.
MAIN BODY AND ATTACHING THE COLLAR TO NECK:
With RST, sew the front body to back body at the shoulder seams. Neaten using an overlocker/serger and press towards the back. Staystitch the neckline to prevent stretching.
Pin the inside edge of the collar stand to the wrong side of the neckline. Sew into place using a 6mm (1/4”) seam.
Pin the folded outer edge of the collar stand to the right side of the neckline and edge stitch the collar into place.
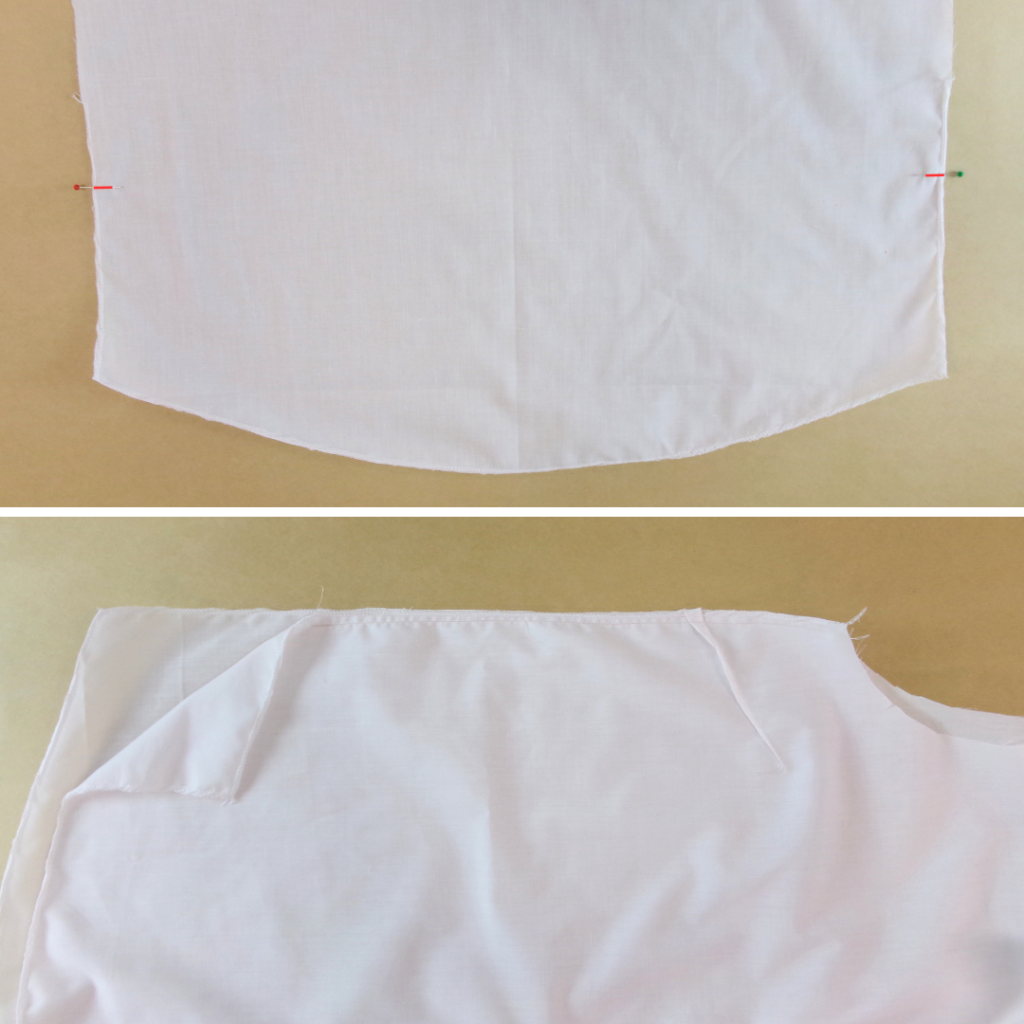
Take the front of the shirt and starting at 5cm (2”) above the split notch, neaten using an overlocker/serger – neaten along the side edge, across
the hem and along the other side edge, finishing at 5cm (2”) above the split notch. Repeat for the back.
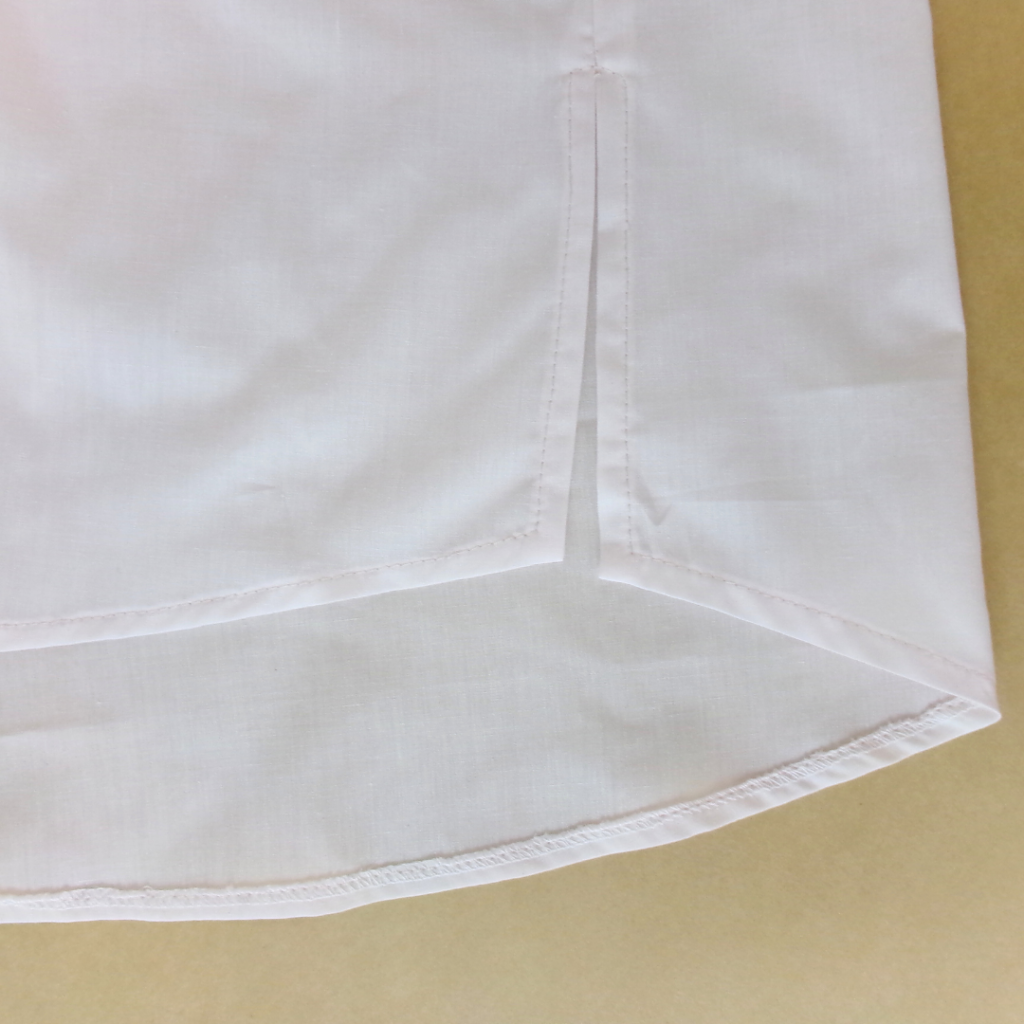
With RST, sew the front to back at the side seam from the underarm and finishing at the split notch. Neaten the seam using an overlocker/serger.
Turn back the split and hem and topstitch. Press the side seams towards the back.
SLEEVES AND COMPLETION:
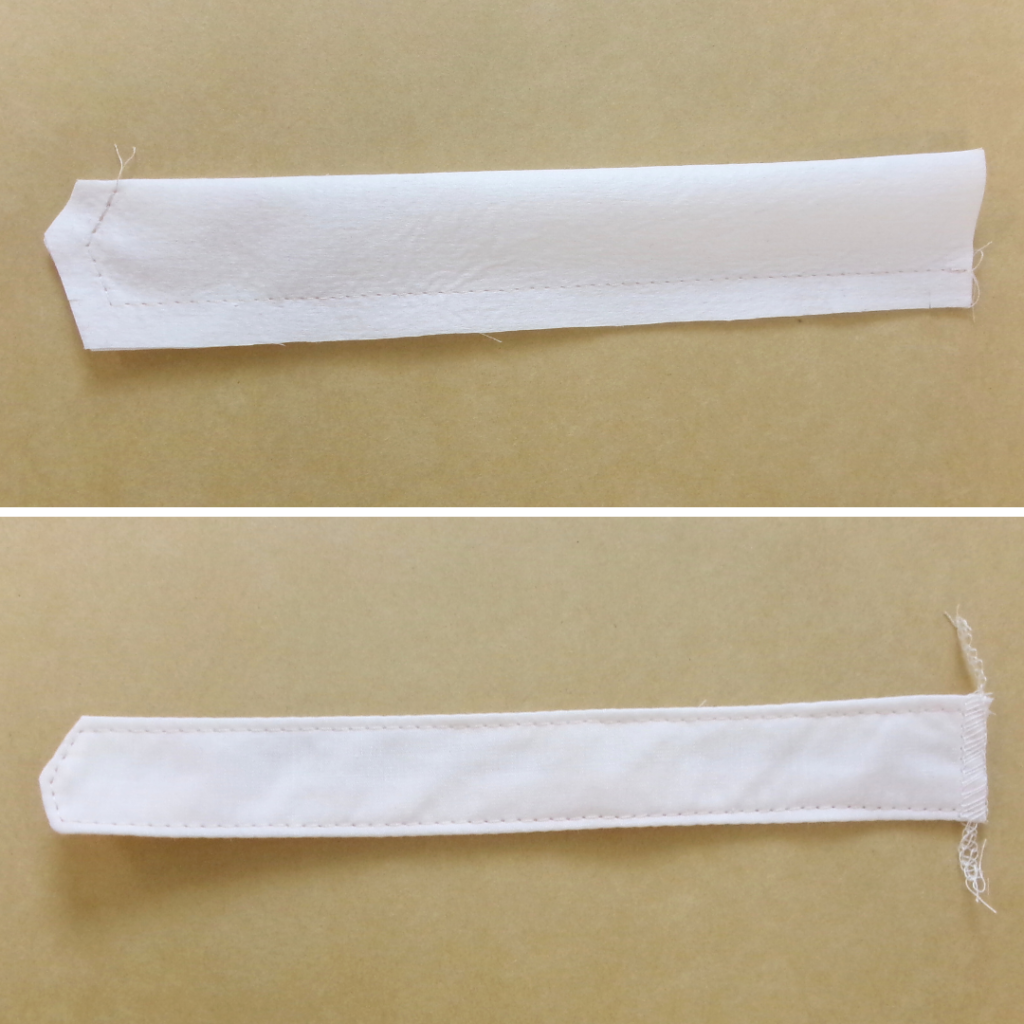
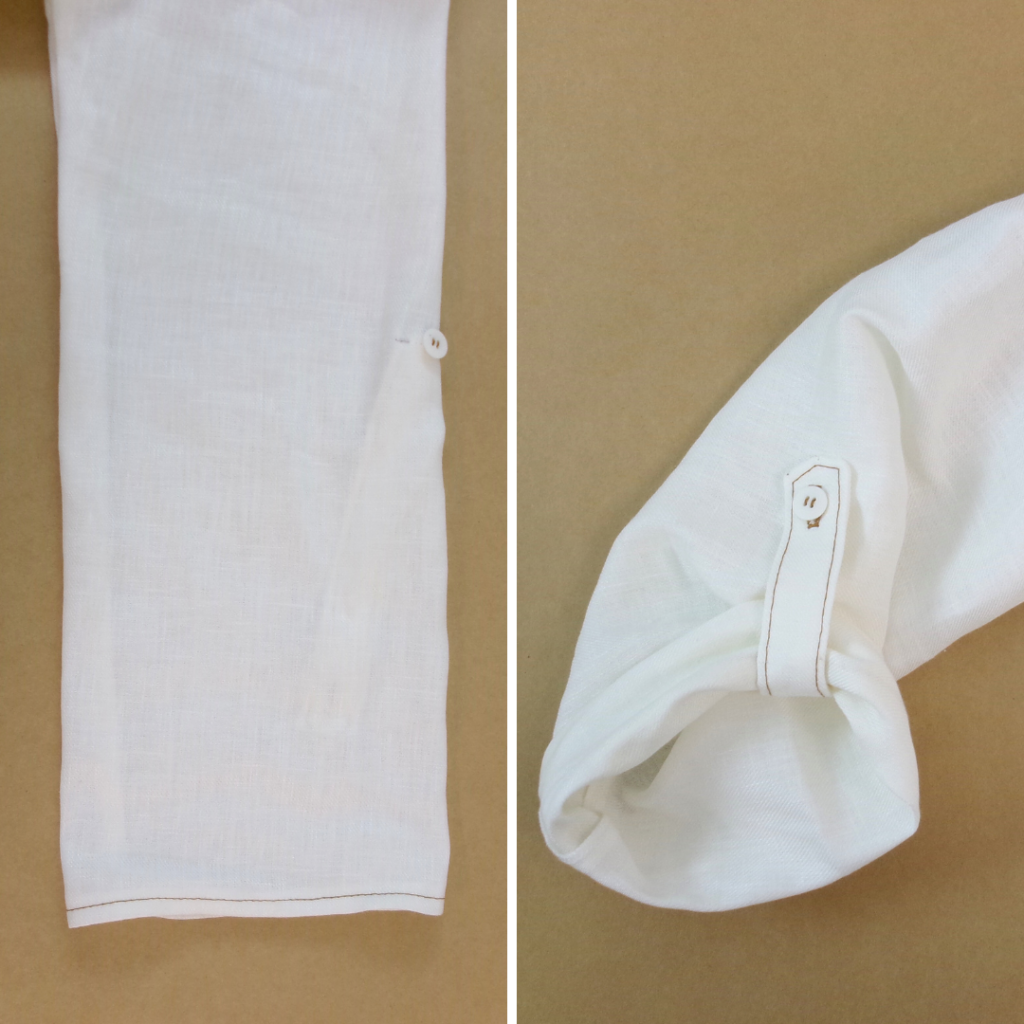
With RST fold the sleeve tabs (6) in half lengthways and sew around the long edge and pointed end, leaving the top end open. Clip the corners and turn to the right side. Press then edge stitch. Neaten the top end of the tabs using an overlocker/serger. Sew the top end of the tab to the inside of the sleeve as marked on the pattern.

With RST, sew the undersleeve seam. Neaten using an overlocker/serger and press towards the back.
Sew a large gathering stitch to the head of the sleeve and ease in slightly. This allows the sleeve head to be sewn into the sleeve opening easily; take care to avoid any tucks. With RST and aligning notches, sew the sleeve in to the sleeve opening. Neaten the seam using an overlocker/serger and press the seam towards the sleeve.
Double turn the sleeve hems to the inside 1cm (3/4”) and sew into place.
Make the buttonholes to the right tab and sleeve tabs as shown on the pattern and sew the buttons to correspond with the button holes.
Trim any loose threads and carefully press your new shirt!