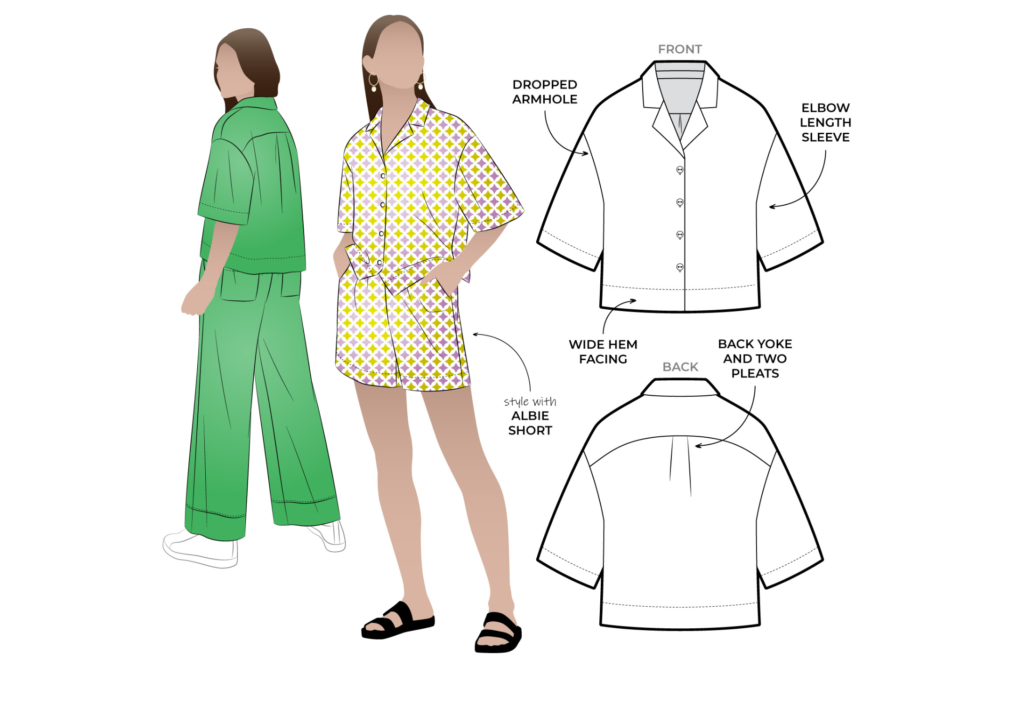
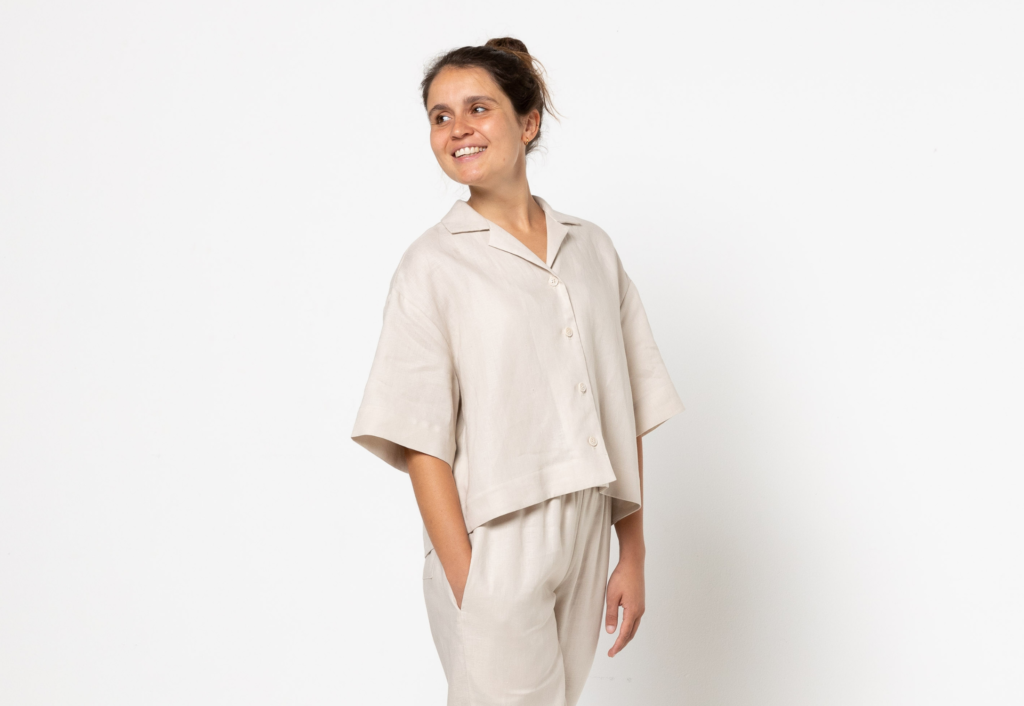
Before you start sewing you might want to rummage through that fabric stash and plan your colour/print layout for the different panels of the Albie Woven Shirt, click the link below to download the Albie Woven Shirt Colour It Your Way PDF and have some fun!
✏️ Colour It Your Way PDF Download ✏️
CONSTRUCTION:
COLLAR:
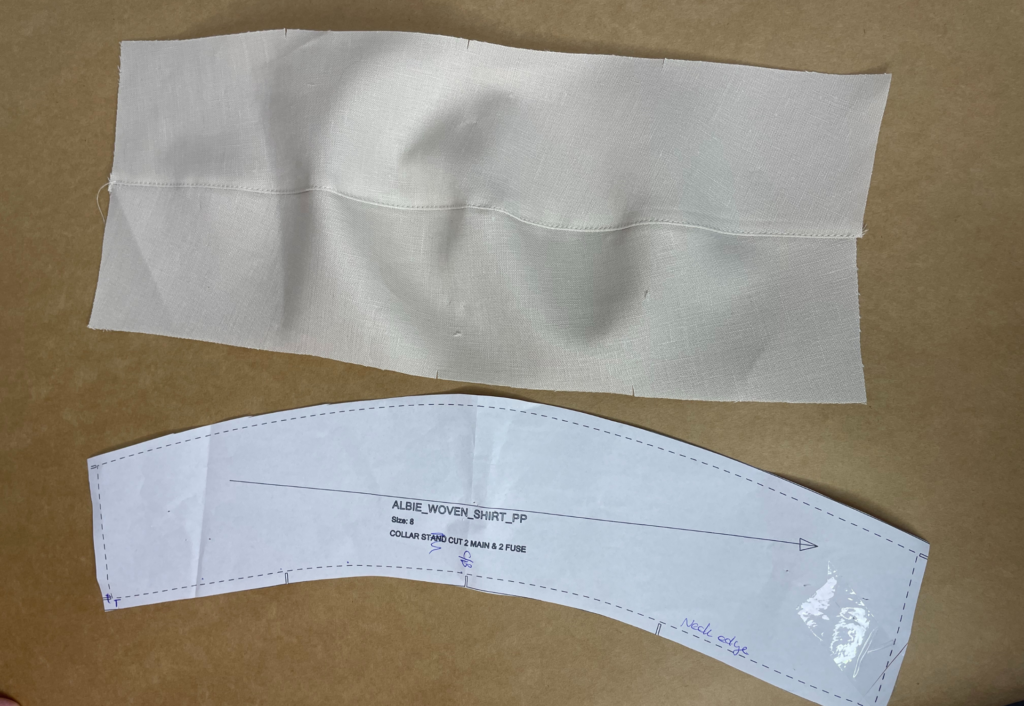
With right sides together the sew outer edge of the collars together then understitch on the side of the under collar.
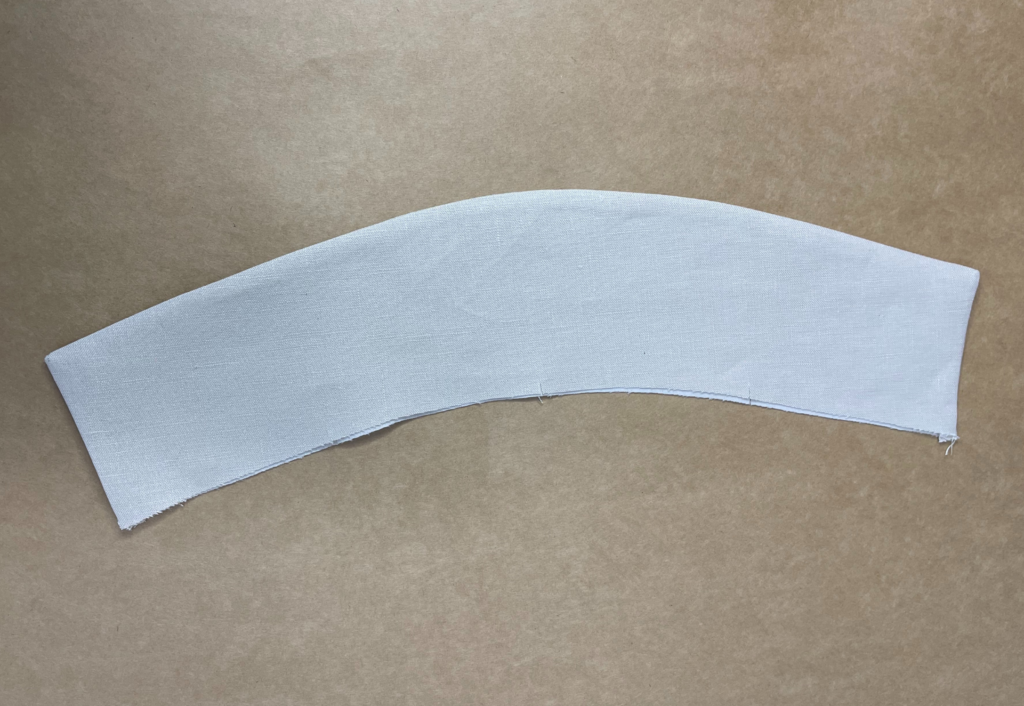
With right sides together fold the collar in half lengthways along the seam and sew the short ends together. Clip the corners and turn out to the right side and press. Put aside.
BODY & YOKE:
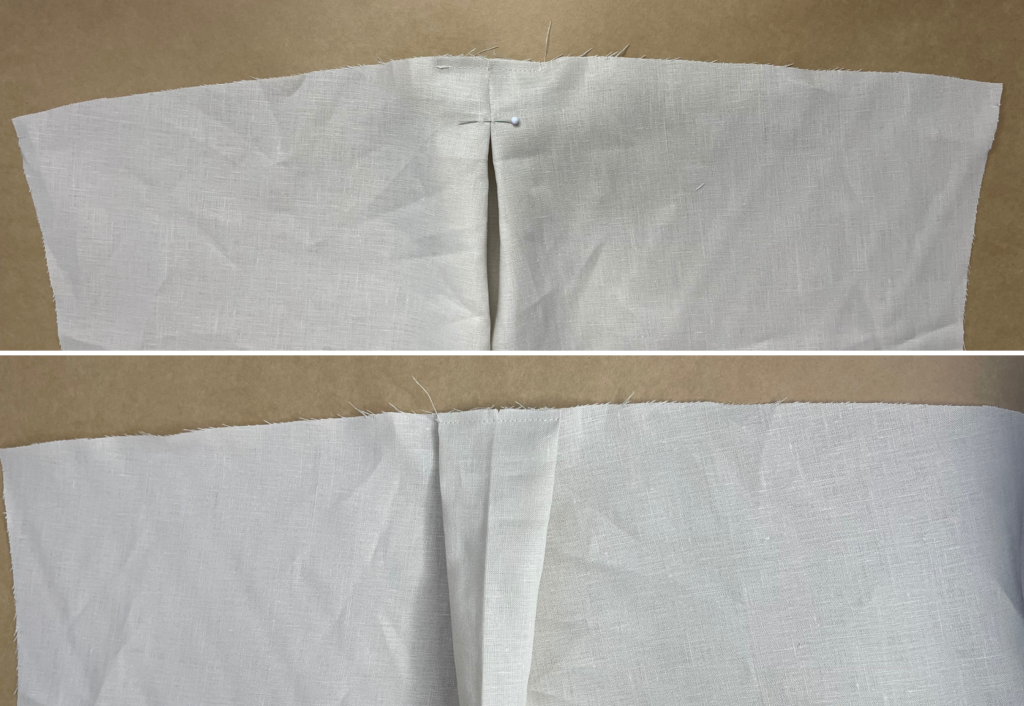
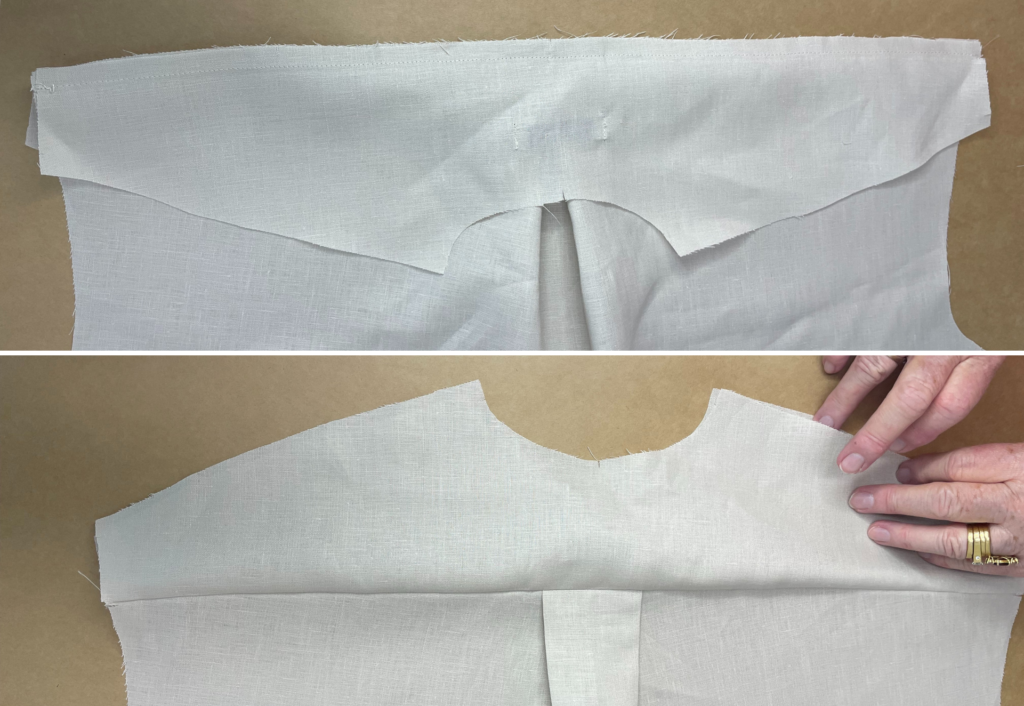
Fold the back body in half with wrong sides together to create a box pleat on the right side. Stitch down the centre back to the marking on the pattern. Centre the pleat over the seam, press flat and stay stitch across the top to hold in place.
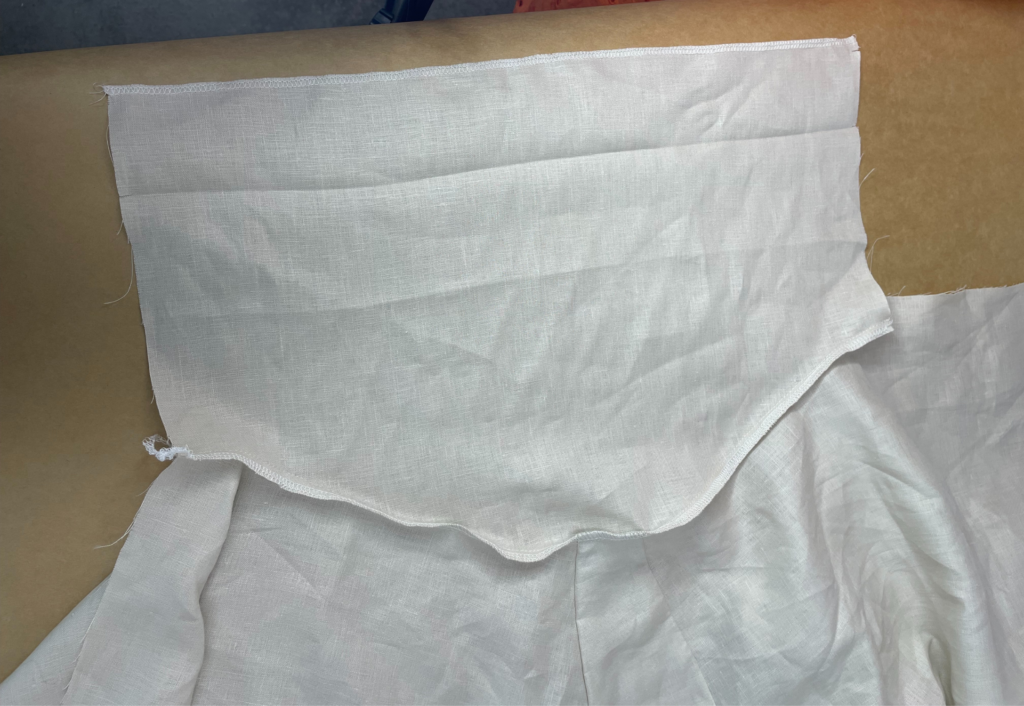
Sandwich the back body between the two yokes and sew together. Once stitched together press the seams upward and sew an edge stitch on the side of the outer yoke.
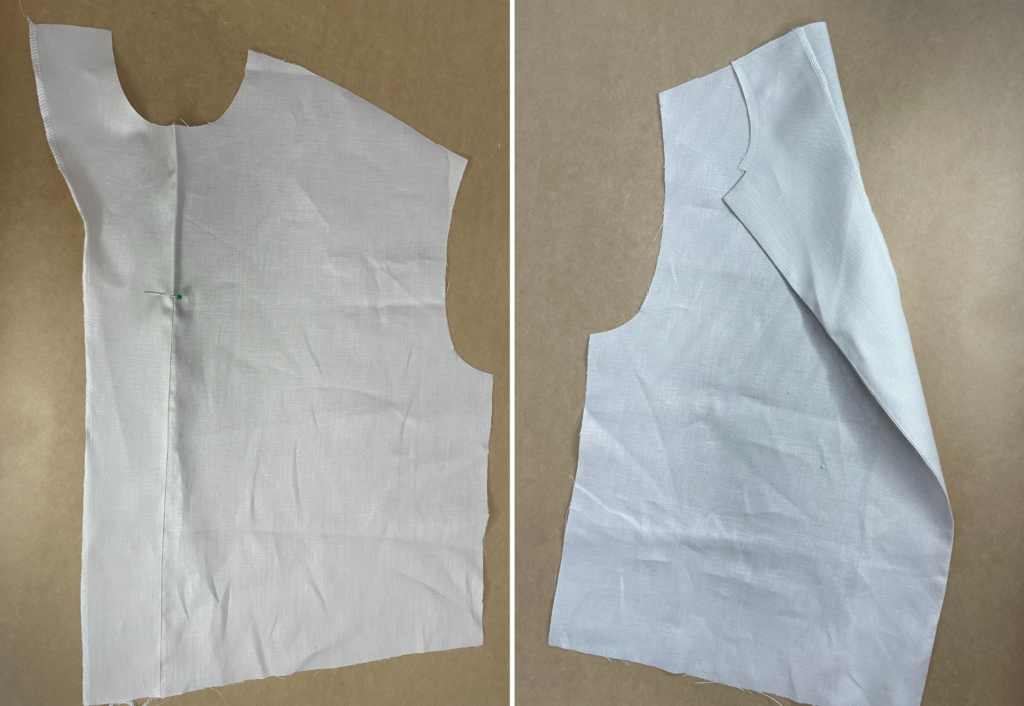
With right sides together sew the front facing to the front body. Press the seam towards the facing and understitch on the side of the facing from the notch down to the hem. Neaten the outer edge of the facing with an overlocker/serger.
With right sides together sew the neck to the neck facing from the front edge to the notch that indicates the collar. Clip the corner, and turn out to the right side, creating a step for the collar to be stitched to.
With right sides together sew the outer back yoke shoulder seams to the front shoulder and shoulder facing seam.
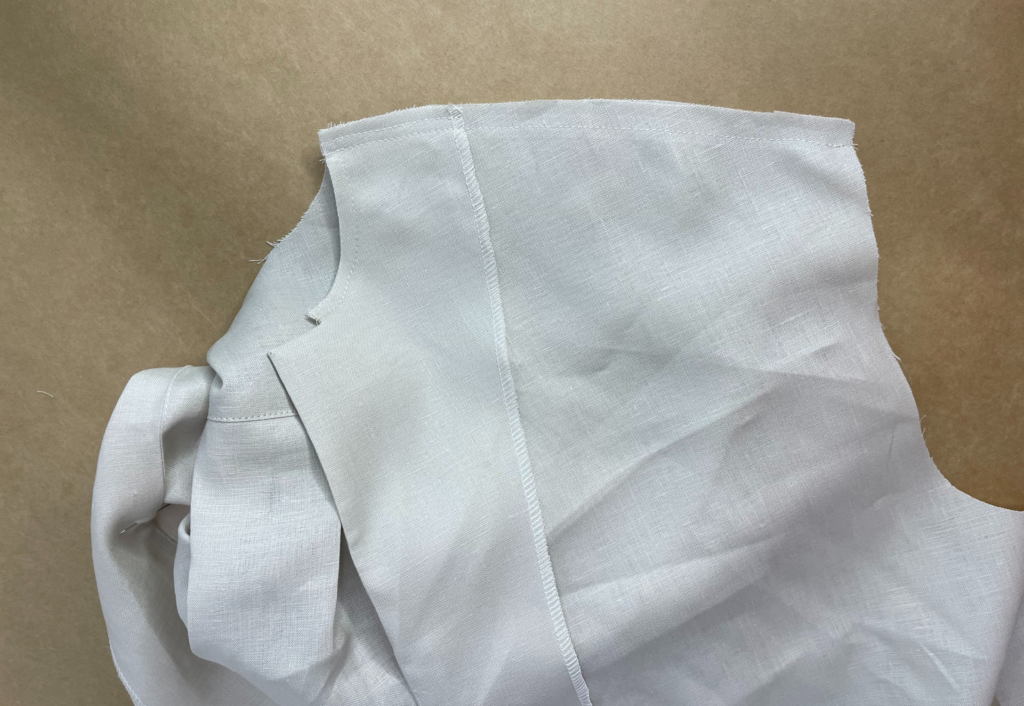
Using the ‘burrito method’, roll the back body up to be inside both yokes and pin the front and back shoulder seams together, once in place stitch the shoulder seams together.
Sew the inner collar edge to the neckline, clip the seams and press the seam towards the collar.
From the inside sew the top collar from the collars edge to the shoulder and turn out to the right side.
Turn the remaining top collar seam allowance to the inside and stitch down with a ‘stitch in the ditch’.
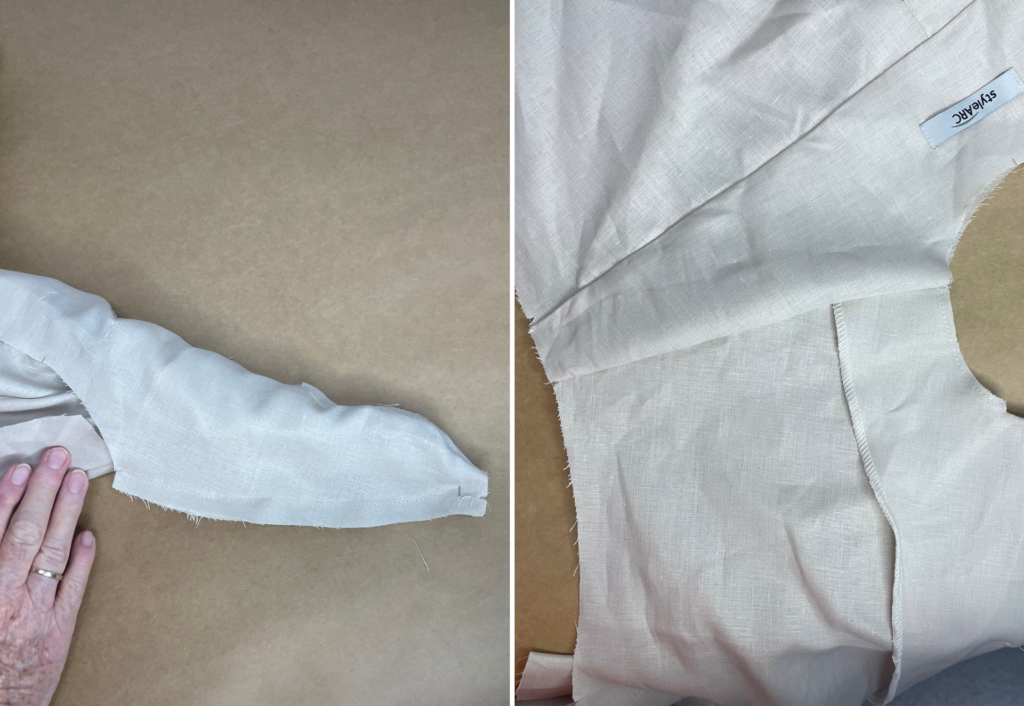
With right sides together sew the sleeves into the armholes matching the notches as you sew. Neaten with an overlocker/serger and press the seam towards the sleeve.
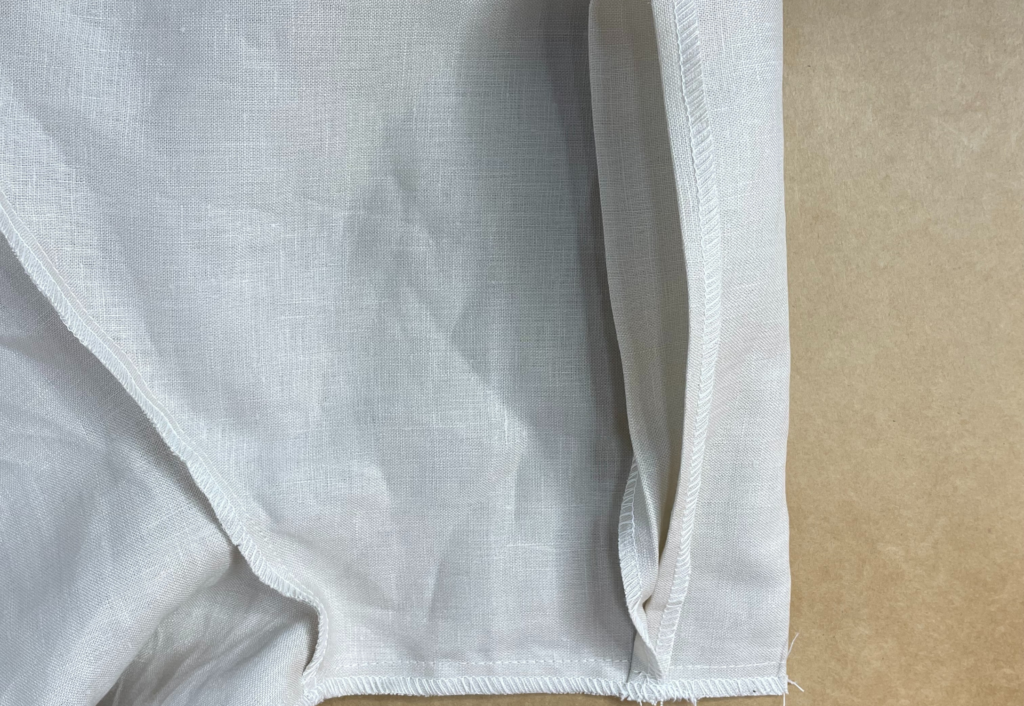
With right sides together, sew the side seams. Start sewing at the hemline, sew up to the underarm and continue sewing to the hem of the sleeve. Neaten with an overlocker/serger and press towards the back.
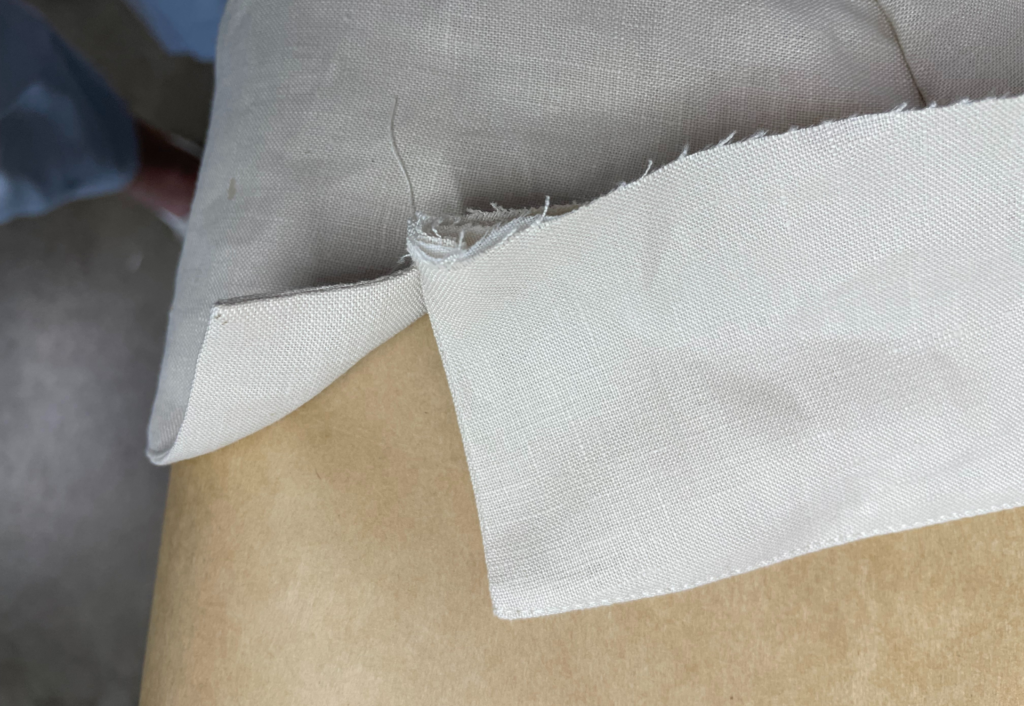
Cheryl has sewn this is a slightly different way where she has used the pro trick of folding back the hem allowances first and catching them in the side seam, ready to turn through.
Neaten the sleeve hem by pressing the hem edge inward at the notch (1cm/3/8”) then turn up the sleeve hem at the next notch and topstitch down.
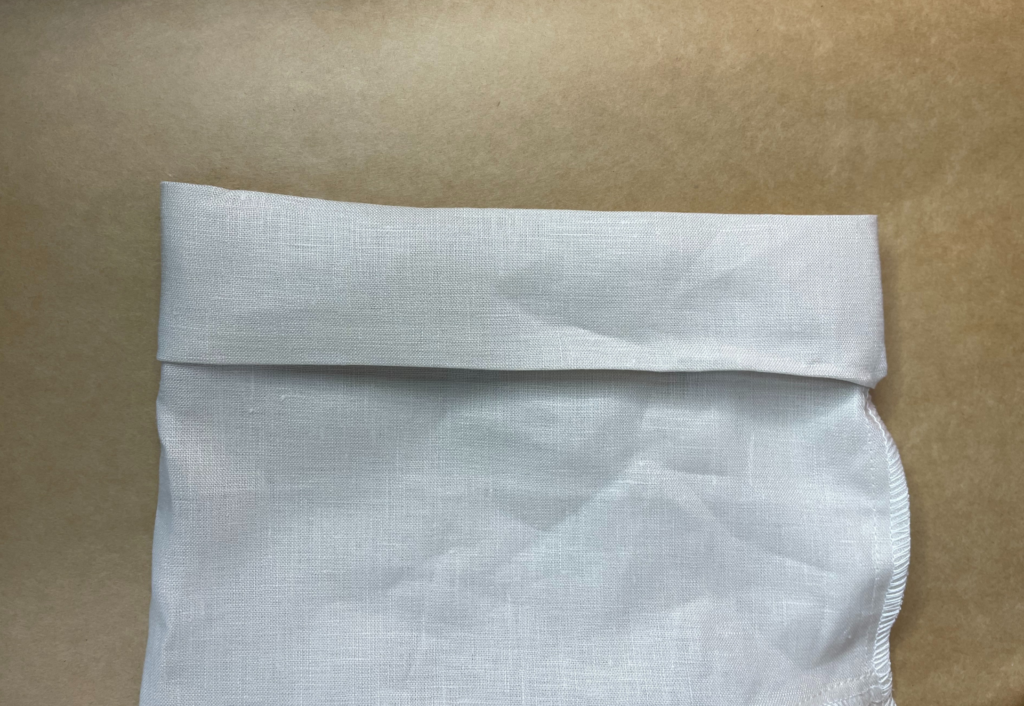
With right sides together sew the front and back side seams of the hem facings together and press the seams open.
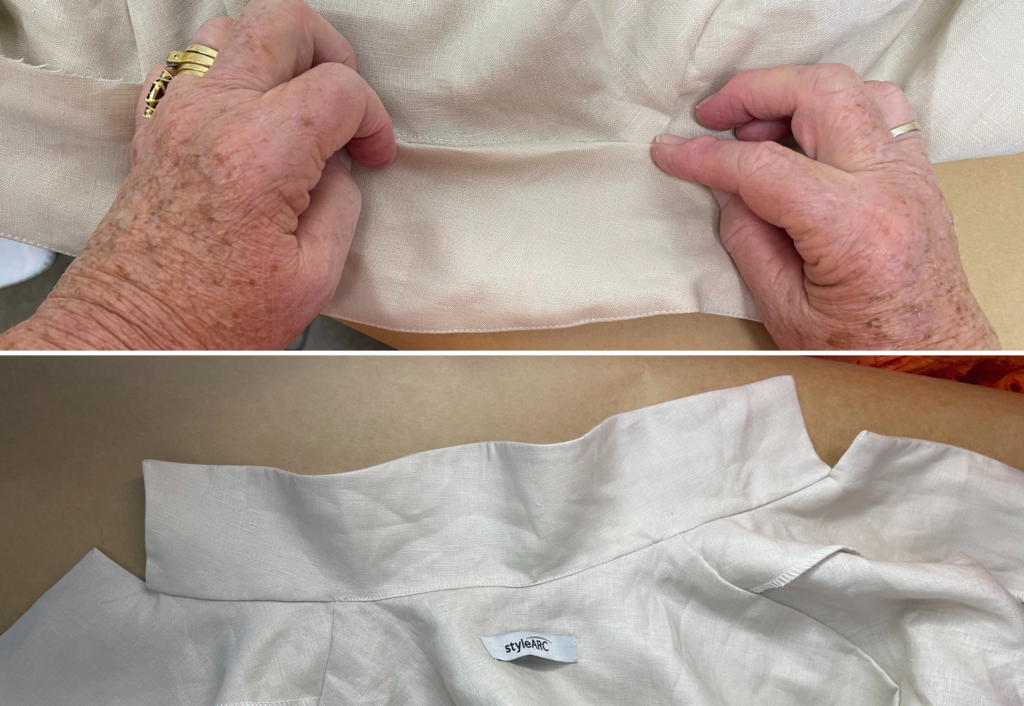
Neaten the top edge of the hem facing by pressing the top edge seam allowance at the notch (1cm/3/8”) to the inside.
With right sides together sew the front facing to the front edge of the hem facing and press the seam towards the hem facing.
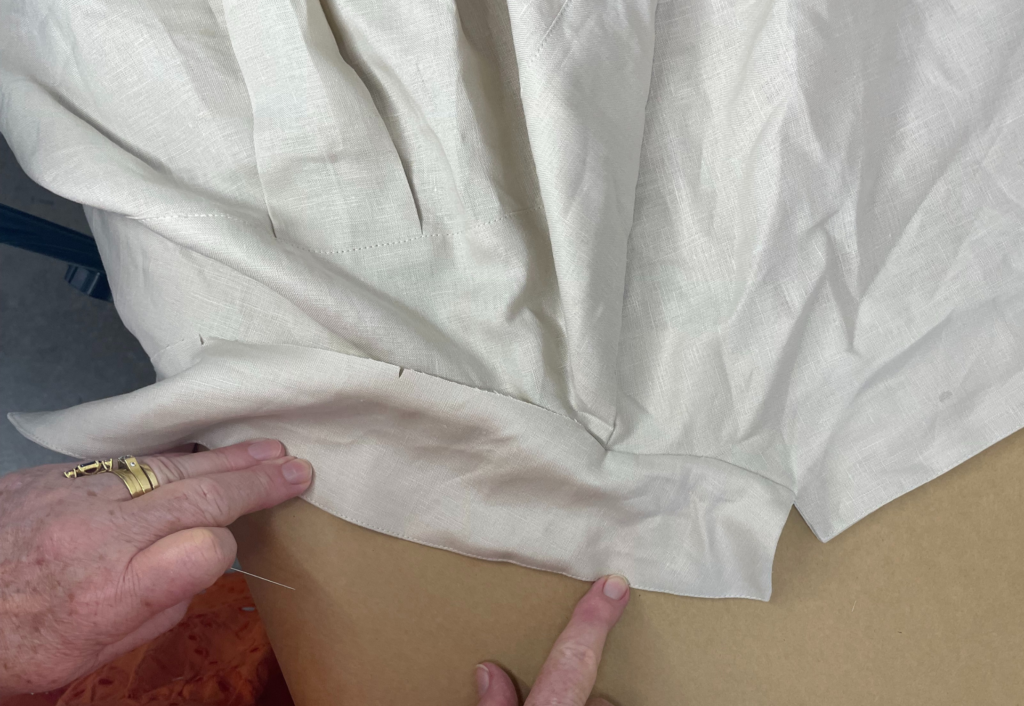
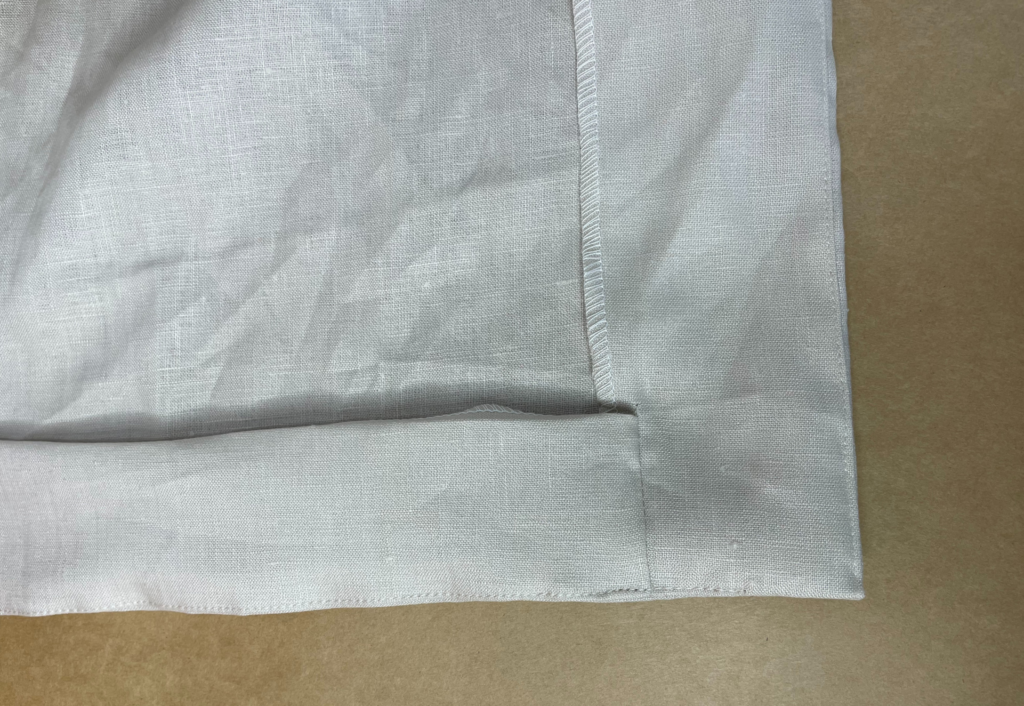
From the inside and with right sides together sew the base of the front and hem facing to the hem of the body. Clip the corner and press the seam towards the hem facing, understitch on the side of the facing.
Pin the hem facing to the body, once in place topstitch the facing to the body.
COMPLETION:
Buttonhole the right front and sew buttons to the left front to correspond with the buttonholes.
Press your new shirt.

