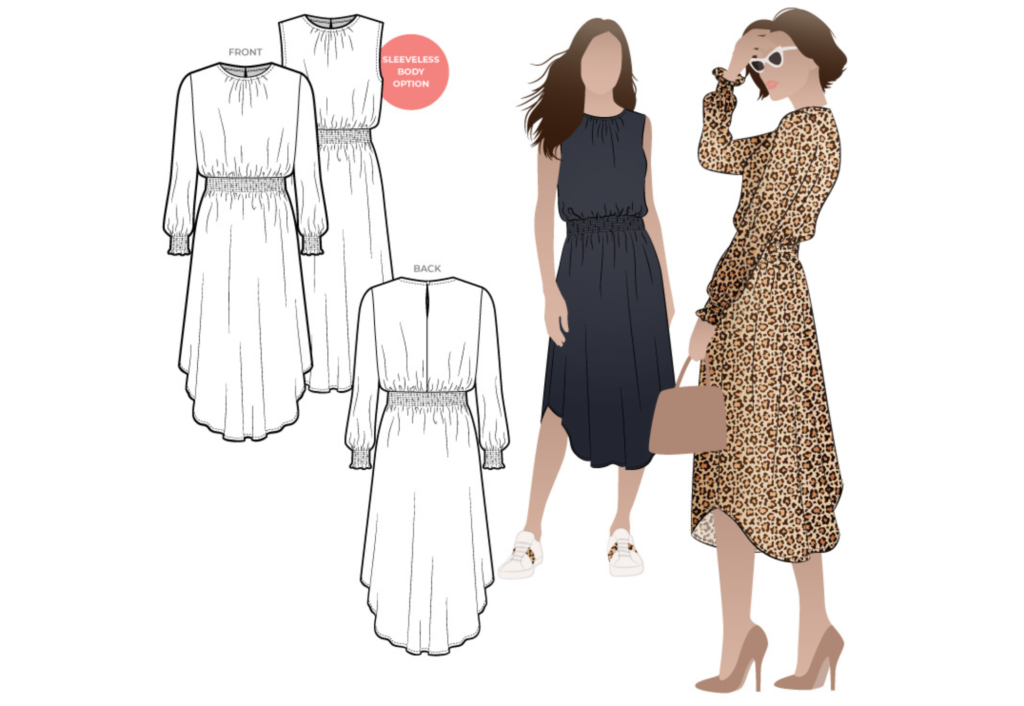
CONSTRUCTION:
BODICE:
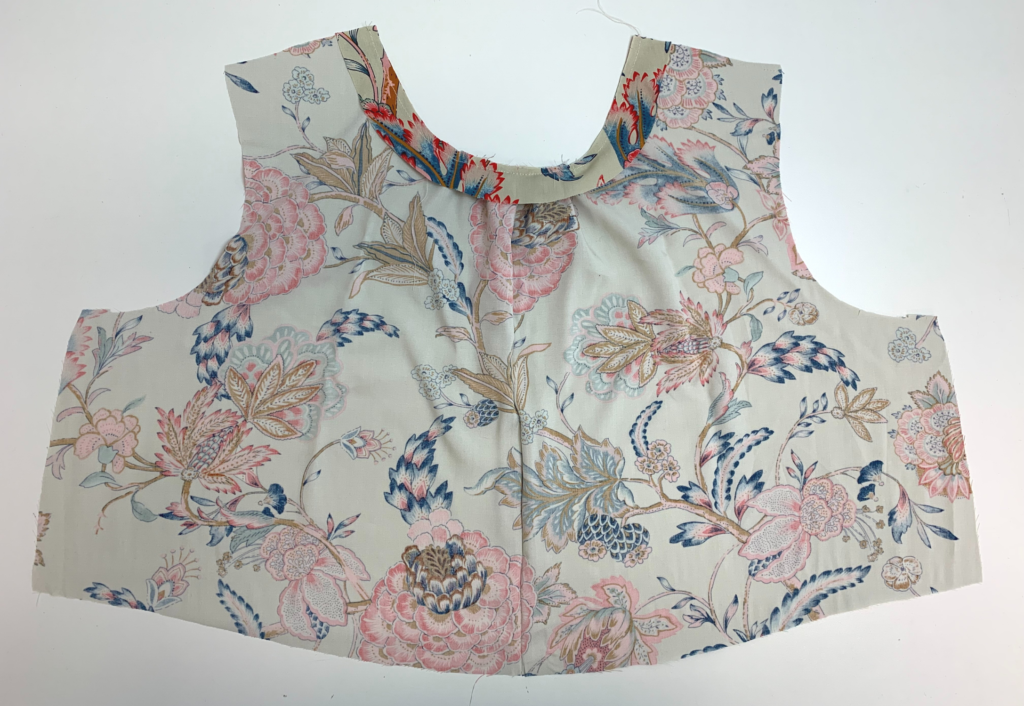
Gather the front neck between the notches to 9cm (3 1/2”), refer to the neck guide.
With right sides facing sew the front and back shoulder seams together. Neaten with an overlocker/serger and press towards the back.
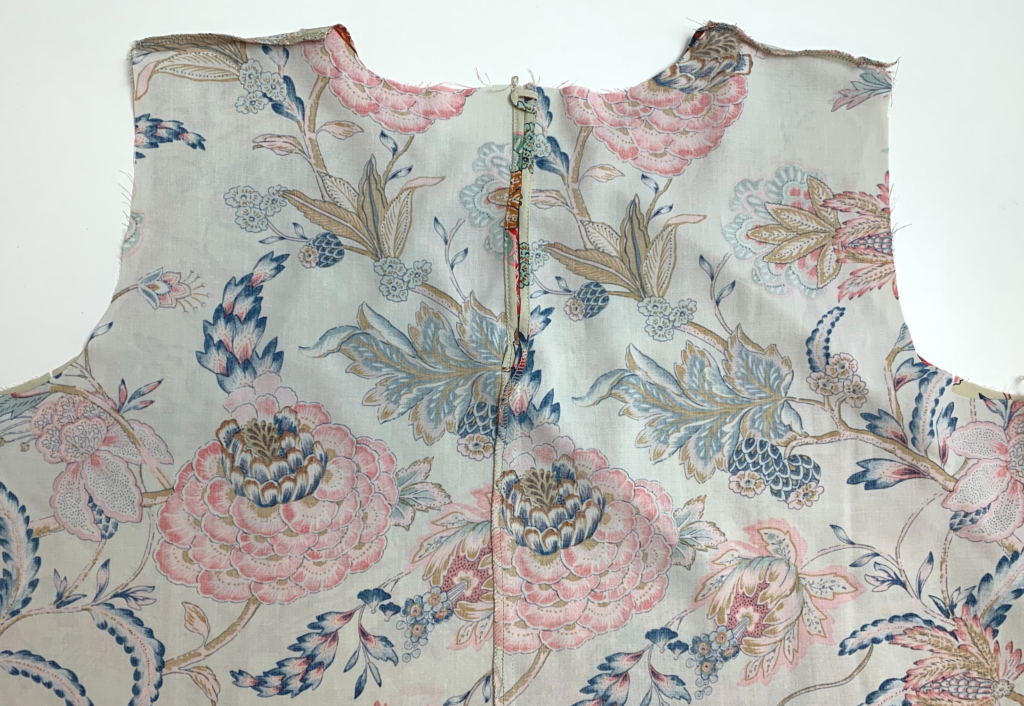
Overlock/serge each centre back seam. With right sides facing sew the centre back bodice seams together. Press the seam open (please note that we have only opened the top of the seam in this example). Stitch from the waist up to the split notch.
Double turn the back split opening and stitch using a 6mm (¼”) topstitch.
Sew the loop and make a loop shape to fit your button. Stitch the loop to the left back neck on top of the split turn back.
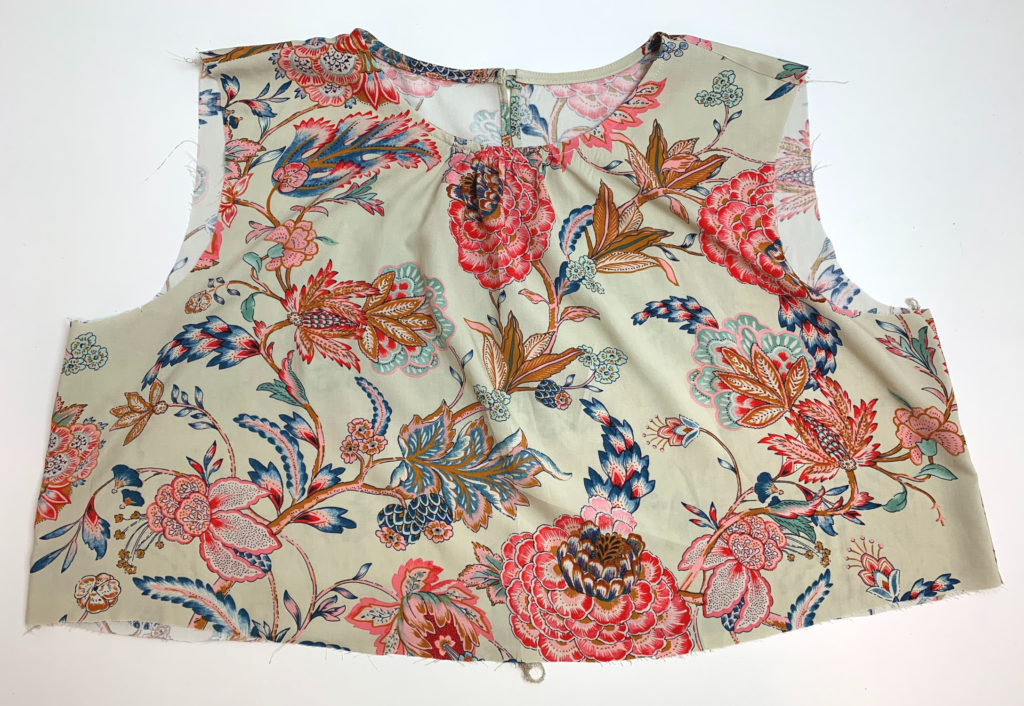
With wrong sides together fold the neckbind in half lengthways and press.
From the right side of the neck sew the raw edges of the bind to the neck edge. Turn the bind over to the inside of the neck. Understitch close to the seam on the side of the binding.
Turn the two ends of the binding inward so they will be covered by the binding when it turned to the inside of the neck and pin the bind to the neck once in place stitch it down with a 6mm (¼”) topstitch, be careful sewing over the neck gathers and be sure not to twist (rope) the neck as you sew.
With right sides facing sew the front and back side seams together.
SLEEVES:
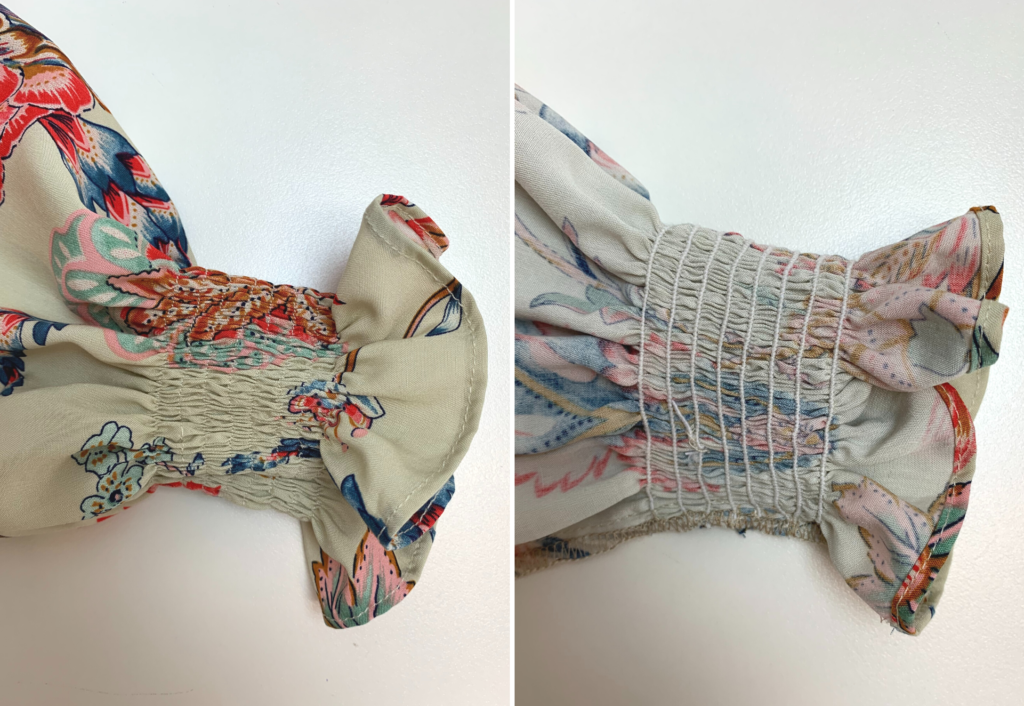
Sew 8 rows of shirring 6mm (¼”) apart to the sleeves where noted on the pattern.
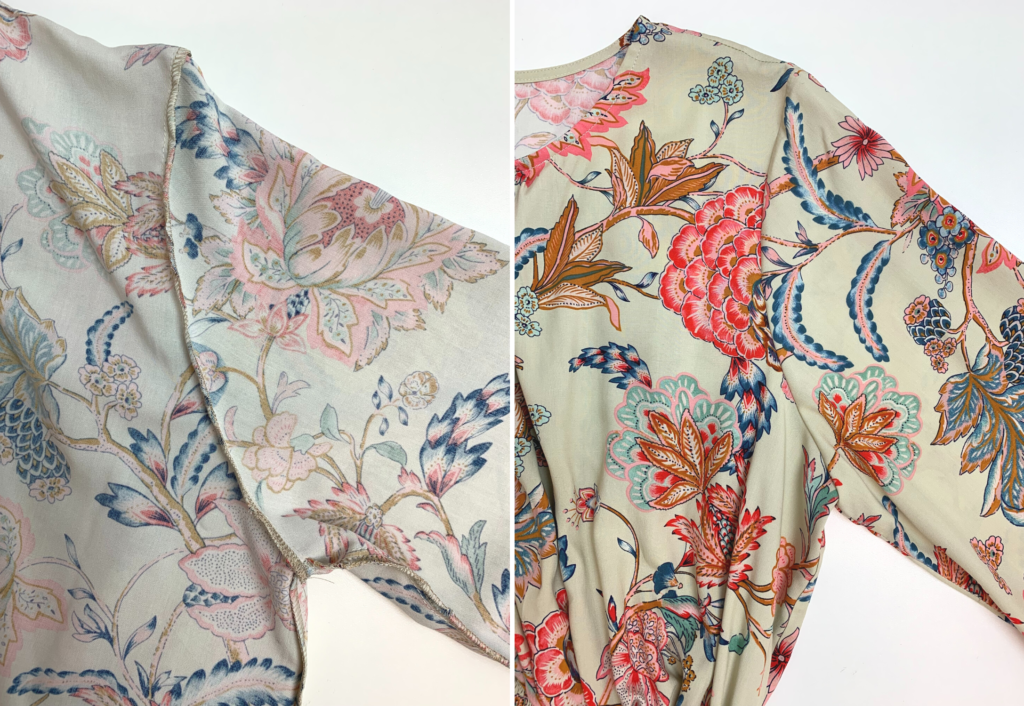
With right sides facing sew the under sleeve seams together. Neaten with an overlocker/serger.
Double turn the sleeve ruffle edge and stitch a narrow hem.
Sew a large stitch to the head of the sleeve and slightly draw the stitch in, this makes it easier to set the sleeve into the armhole.
With right sides facing, sew the sleeve into the armhole matching the notches as you sew. Neaten with an overlocker/serger and press towards the back.
SLEEVELESS OPTION:
Follow steps 1-7 of the construction sheet.
Check the length of the binding against your armhole circumference, it will be shorter therefore is slightly stretched on when sewing. Once the length is checked and correct, join the two short ends
together.
With the right sides on the outer press the armhole bind in half lengthwise. Sew a stay stitch to the two raw edges of the binding to keep in place.
Pin the binding to the right side of the bodice armhole, once in place stitch on. Understitch close to the seam on the side of the binding. Turn the binding over to the inside of the bodice and stitch down with a 6mm (¼”) topstitch.
Continue construction steps 13- 18.
SKIRT:
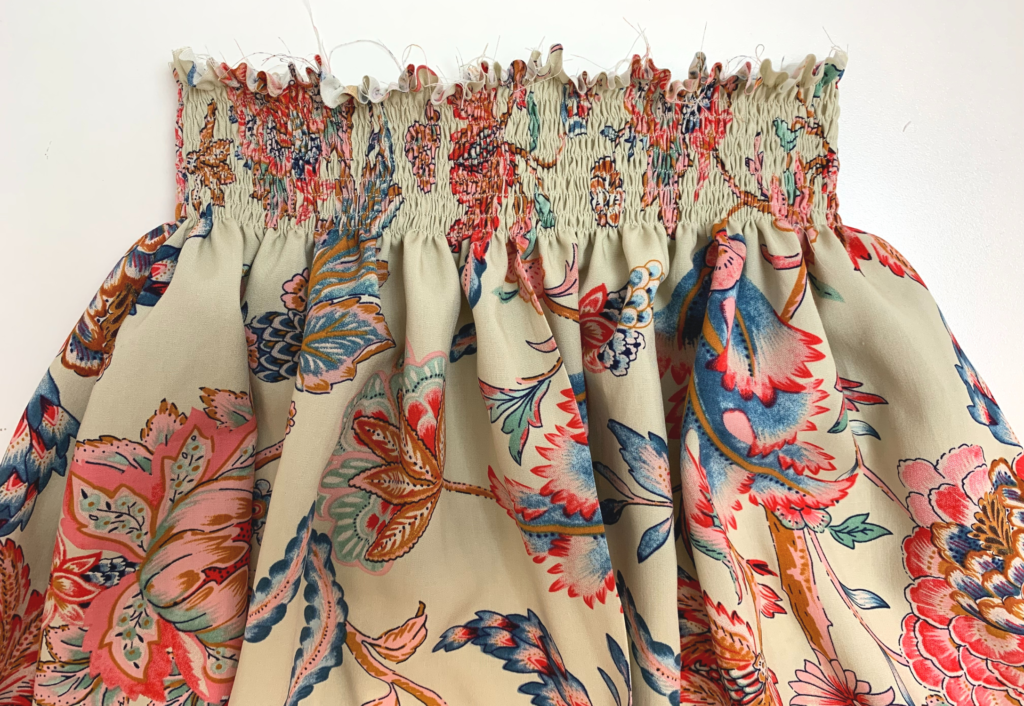
Sew 8 rows of shirring to both skirt pieces separately, be sure to backstitch the start and the end of each row as the shirring could unravel.
With right sides facing sew the side seams of the skirts together. Neaten with an overlocker/serge and press towards the back.
COMPLETION:
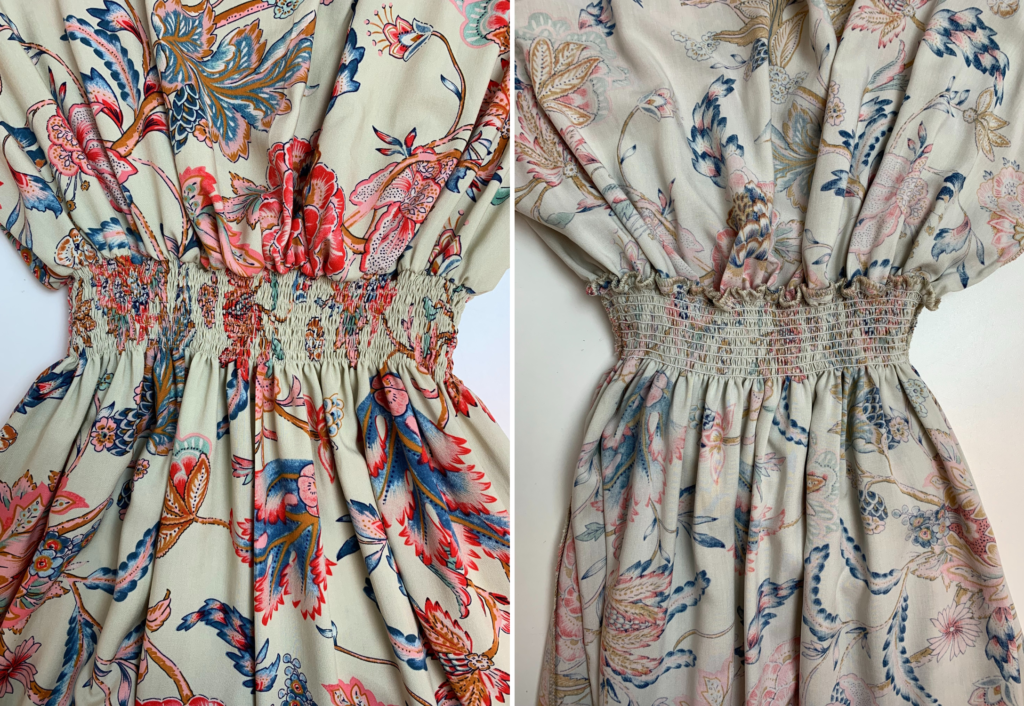
With right sides facing sew the skirt and the bodice together with a stay stitch first and then a row of shirring. Neaten with an overlocker/serger.
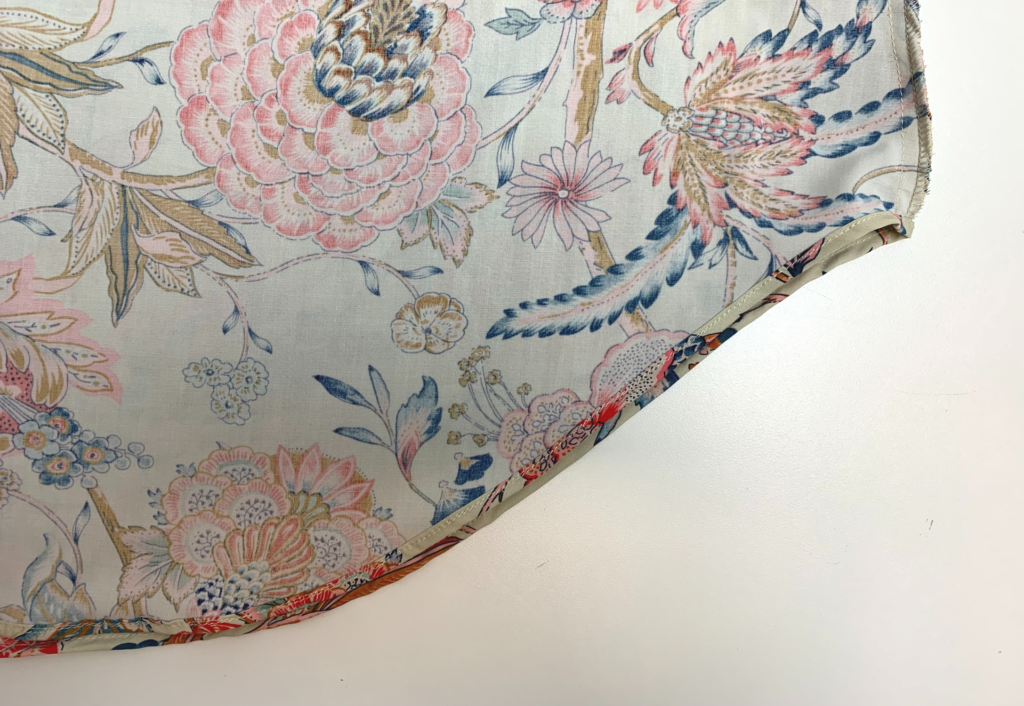
Double turn the hem of the skirt and stitch a narrow hem.
Sew a button to match the size of your loop to the neck of the right bodice.
Lightly press your dress!

