CONSTRUCTION:
POCKETS:
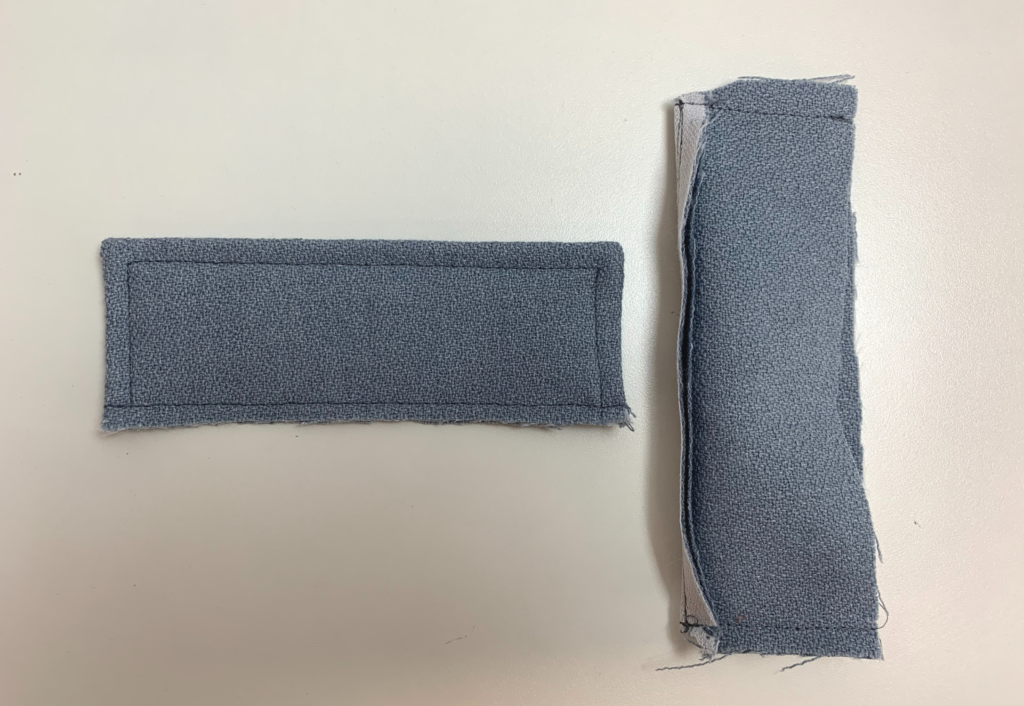
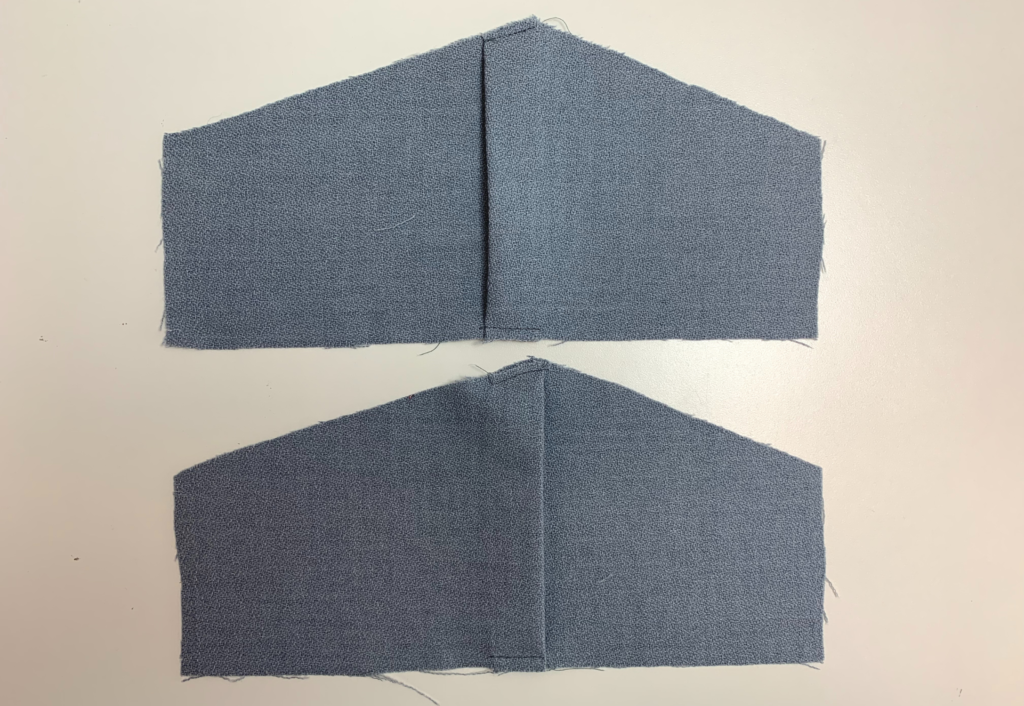
With right sides facing sew the outer vertical edge and short ends of the pockets flaps together. Clip the corners and turn to the right side and press. Sew a 6mm/1/4” topstitch around the 3 outer edges of the pocket flaps.
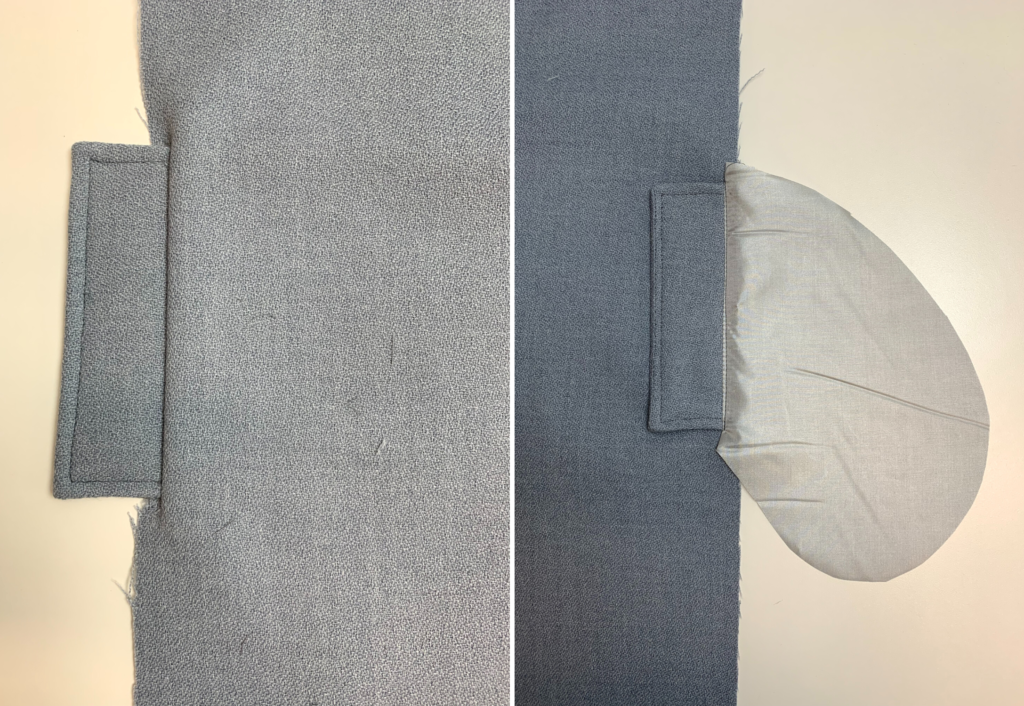
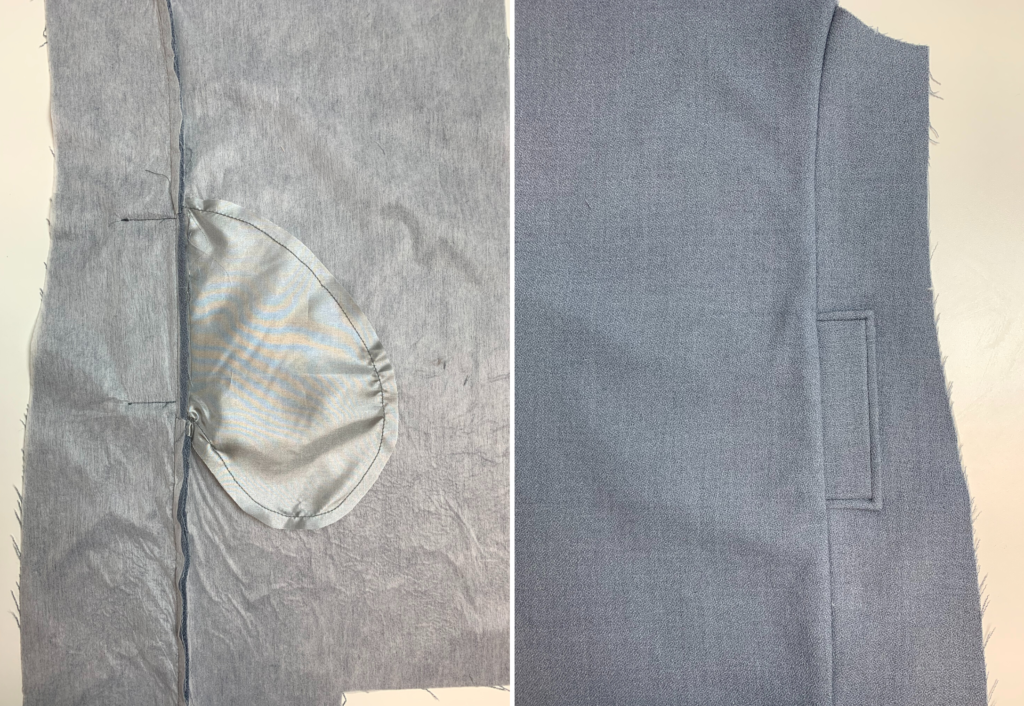
With right sides together, lay the pocket flap onto the front piece between the notches marked on the pattern. Stitch the pocket flap in place along the raw edge.
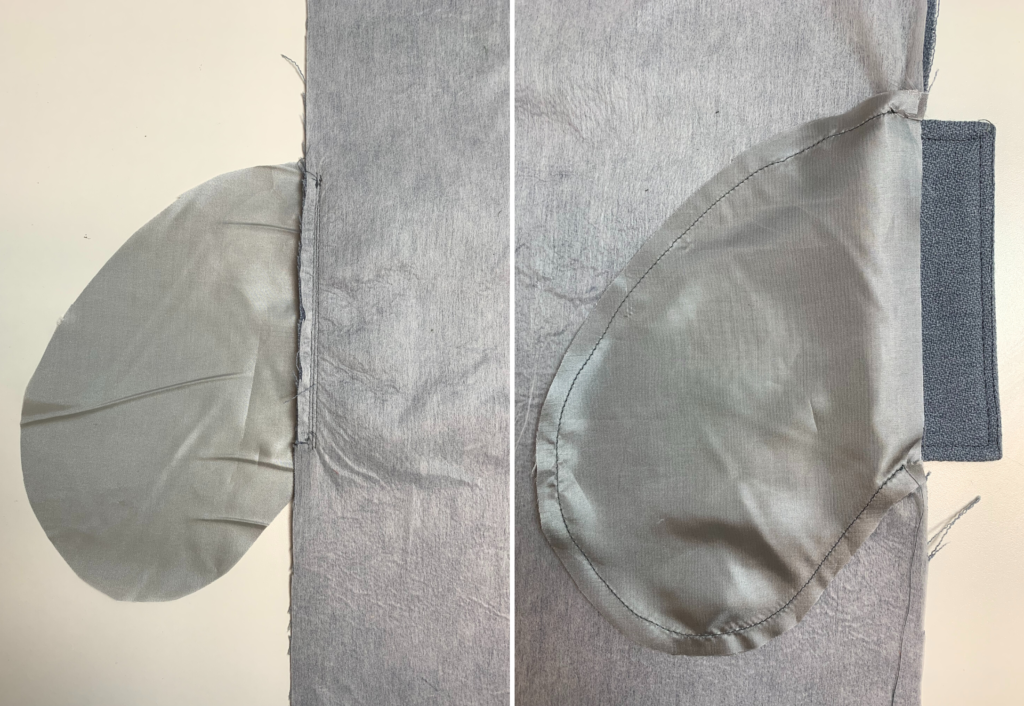
With right sides facing sew one set of pockets marked ‘A’ to the front seam marked ‘A’ on the pattern, with the flap sandwiched in between. Clip at the notches, turn to the right side and understitch close to the seam on the side of the pocket bag.
With right sides together sew the second set of pockets to the pockets that are sewn to the front seam creating a pocket ‘B’ to ‘B’. Note that the straight edge of the under pocket is left free to sew to the side front seam.
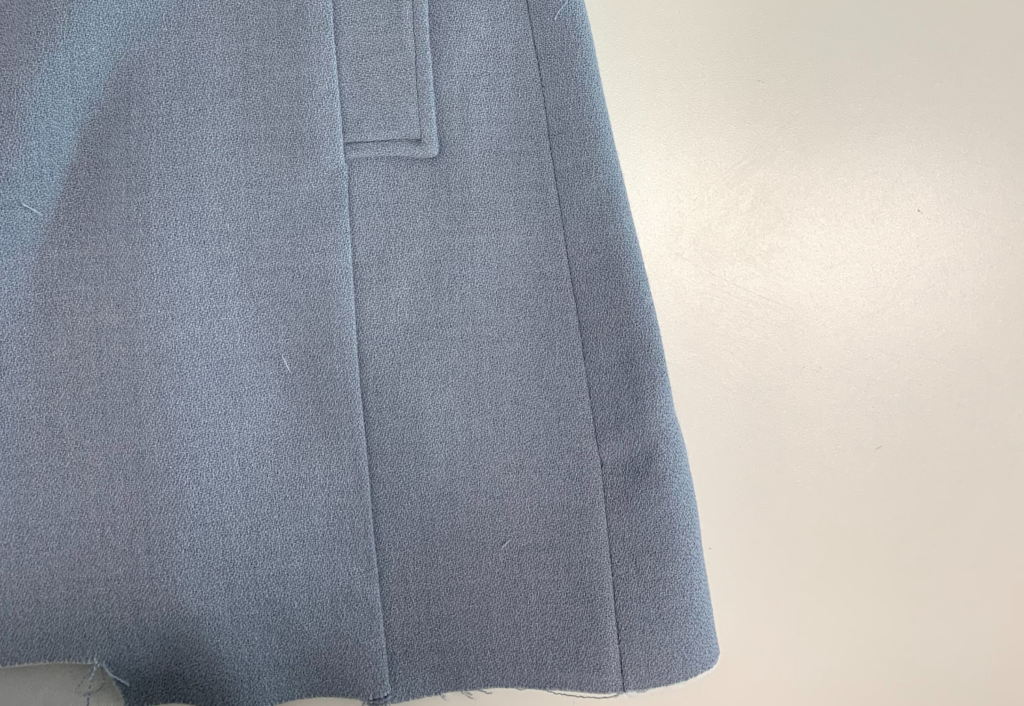
With right sides together sew the side front seam to the front seam. Start sewing the seams together at the underarm, continue down the seam stitching through the straight edge of the under pocket as you sew. Take care not to catch the front pocket opening and continue sewing the seam finishing at the hemline. Press the seam towards the front.
Fold the pocket flap onto the side front panel and pin in place. Stitch across the top and base of the pocket flap. Press the seam open above and below the pocket.
BACK BELT & BODY:
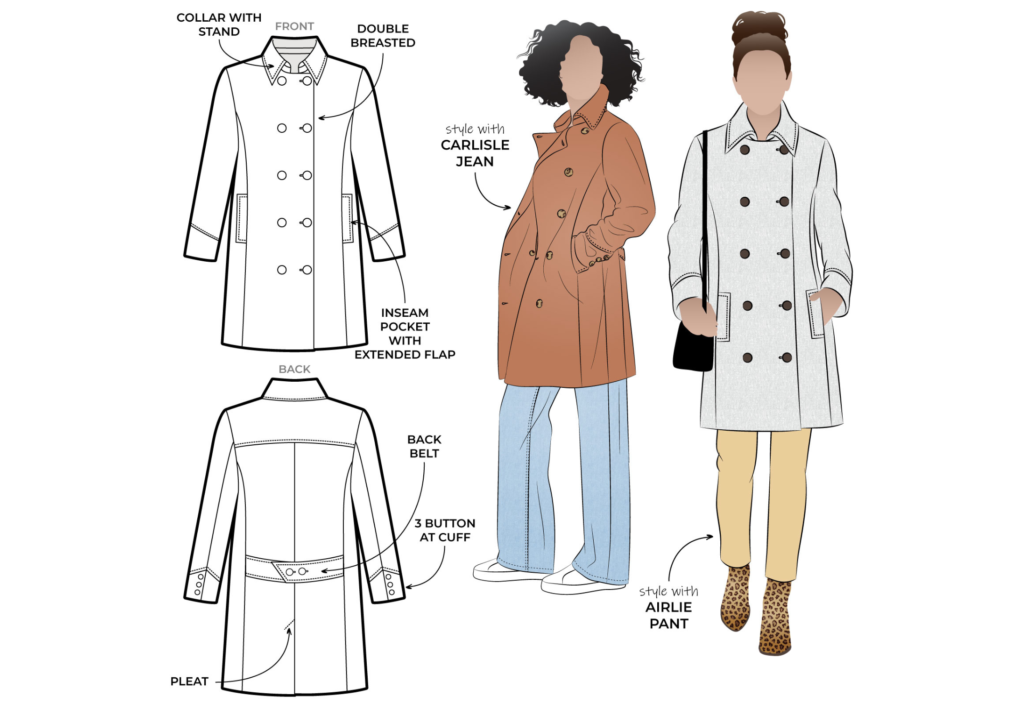
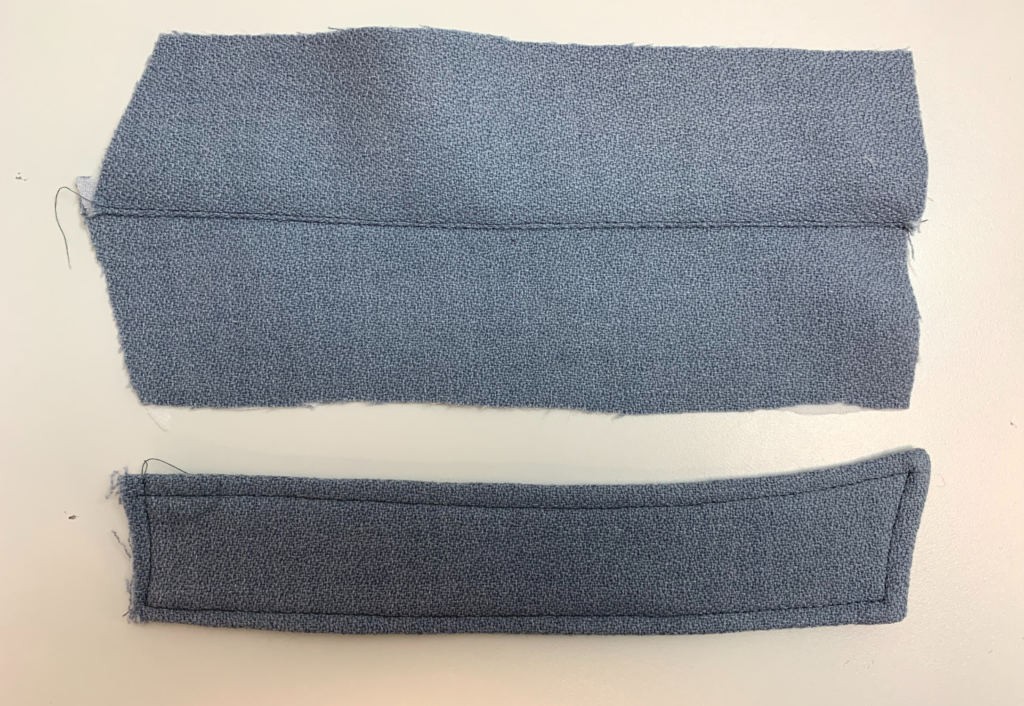
With right sides facing sew two belt pieces together, leaving an opening at the short straight edge to turn out. Clip the corners and turn to the right side and press. Sew a 6mm (¼”) topstitch around the edges of the belt. Repeat for the second pair of belt pieces.
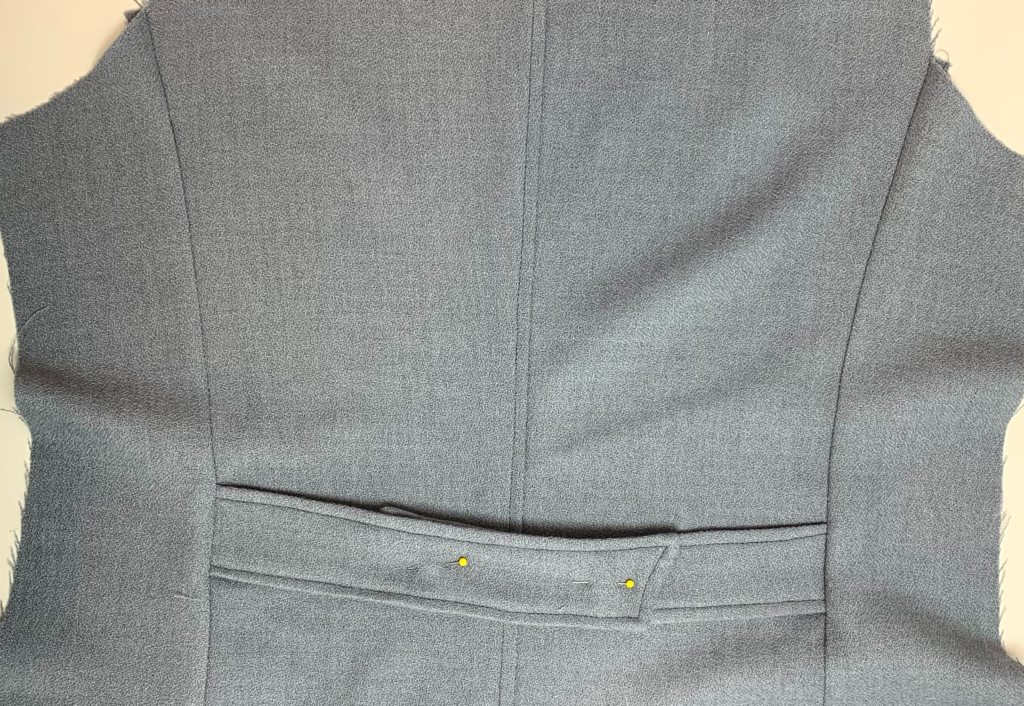
Stitch the raw edges of the back belt between the notches marked on the pattern of the back body. The top of the belt is marked on the pattern piece and is the longest edge.
With right sides facing sew the side back seam to the back body seam sandwiching the belt in between as you sew. Press the seam toward the side seam.
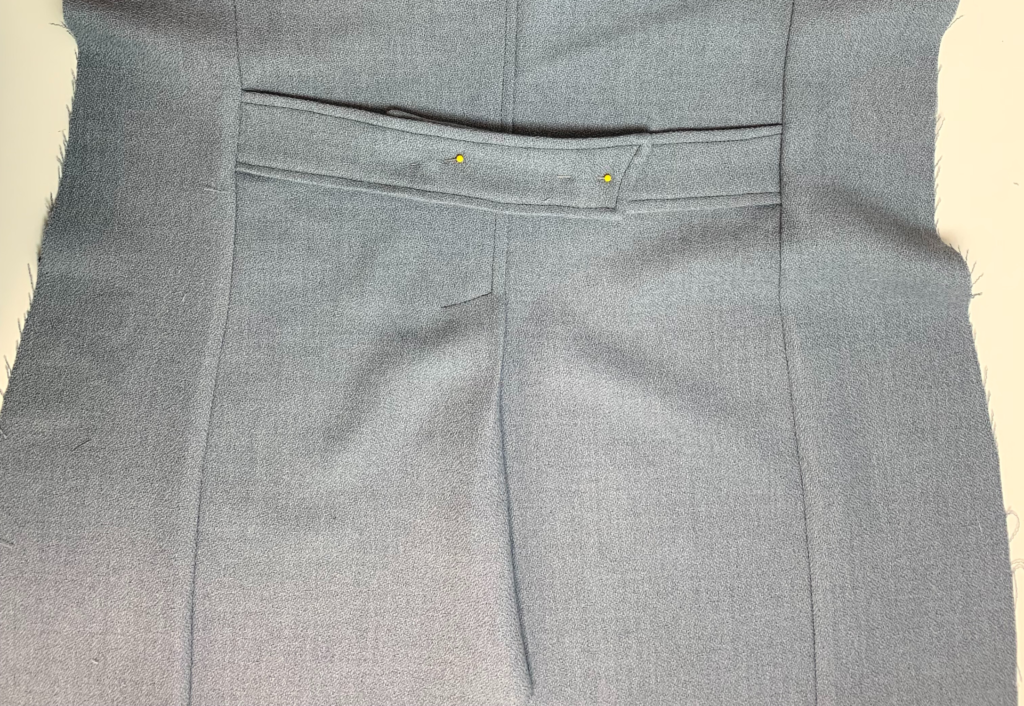
With right sides facing sew the centre back seams together, stitch from the top down to the back vent. With the needle down, turn the corner and sew across the top of the vent. Press the seam toward the wearer’s left as the vent will lay left over right.
Fold the left back vent along the fold line and pin on top of the under vent. Once in place sew an optional topstitch down the centre back seam and across the top of the vent.
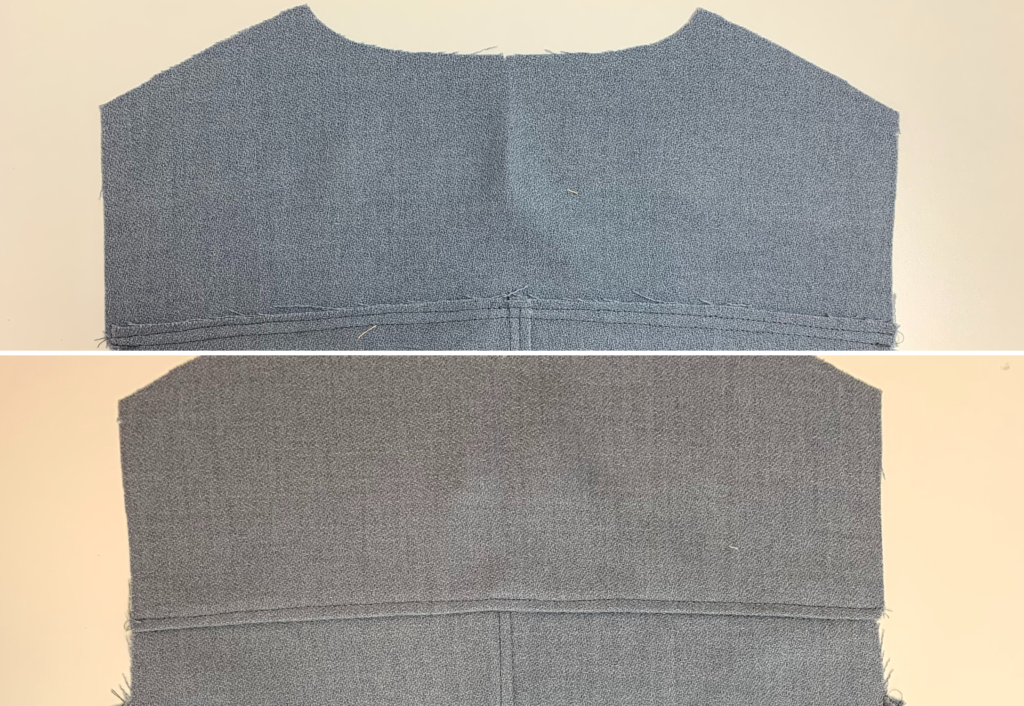
With right sides together, sew the back yoke to the back body. Press the seam upwards and sew an optional 6mm (¼”) topstitch across the yoke seam.
With right sides facing sew the back and front side seams together and press open.
With right sides facing sew the front and back shoulder seams together and press open (not pictured).
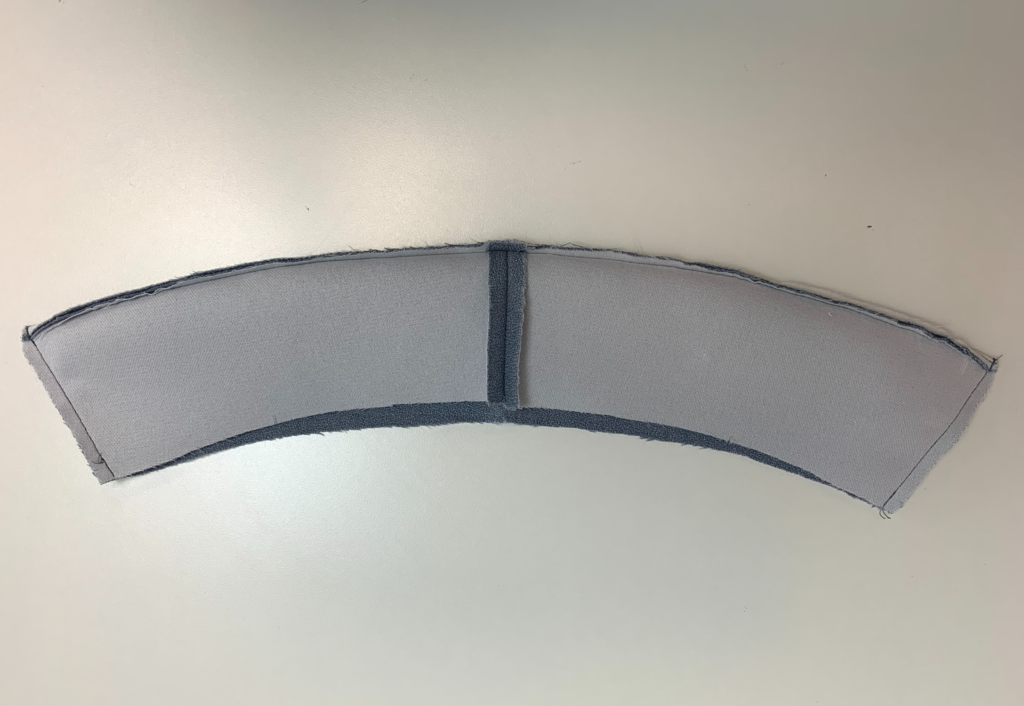
With right sides facing sew the centre back seam of the under collars together and press open.
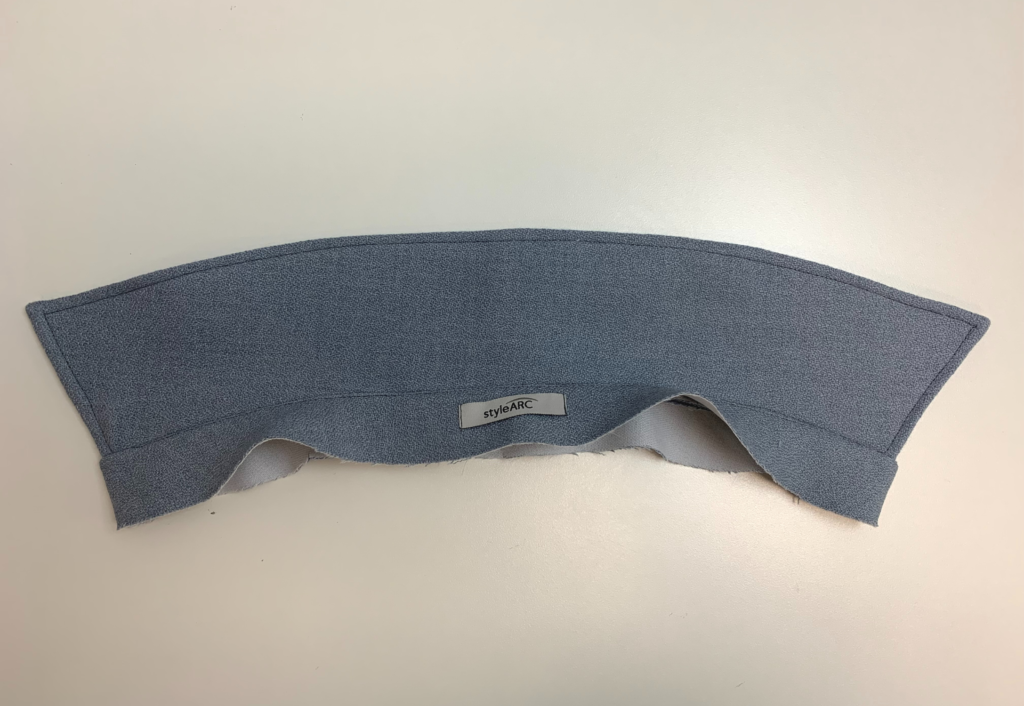
With right sides together sew the top collar to the under collar by sewing the pointed ends of the collar and along the top edge, leaving the bottom edge open to sew to the collar stand. Clip the corners, turn to the right side and press.
Sew a 6mm (¼”) topstitch around the sewn edges of the collar.
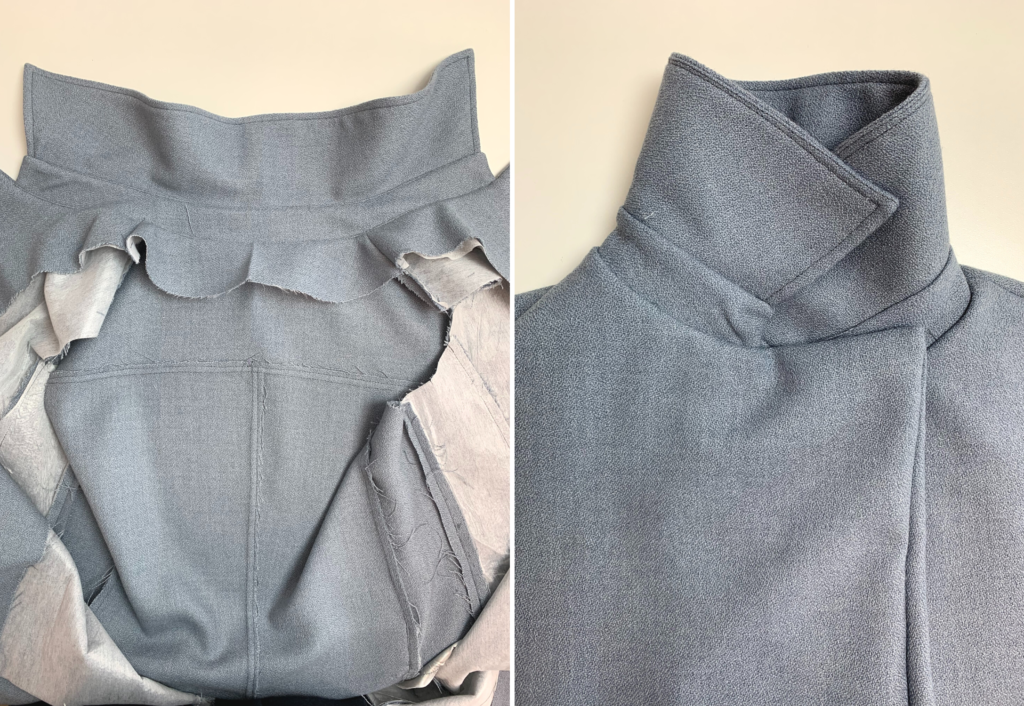
Sandwich the collar between both collar stands, once in place stitch the collar and stands together. Clip the corners, turn out to the right side and press.
With right sides together stitch the outer collar stand to the neckline following the notches and press the seam open (not pictured). The inner collar stand will be sewn to the neck facing.
SLEEVES & CUFFS:
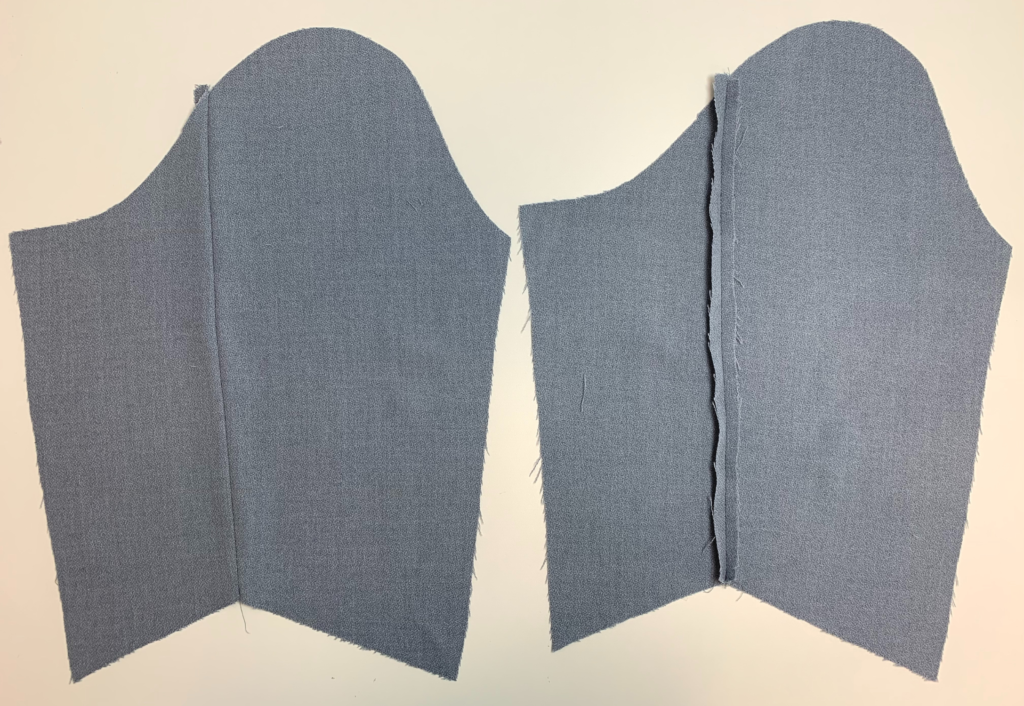
Pin and press the faux wrap on the top cuff, sew a stay stitch to the top and base of the pleat, this is to hold the pleat in place before the buttons are stitched on.
With rights side together and matching the notches, sew the back seam of the top sleeve to the under sleeve and press seam open.
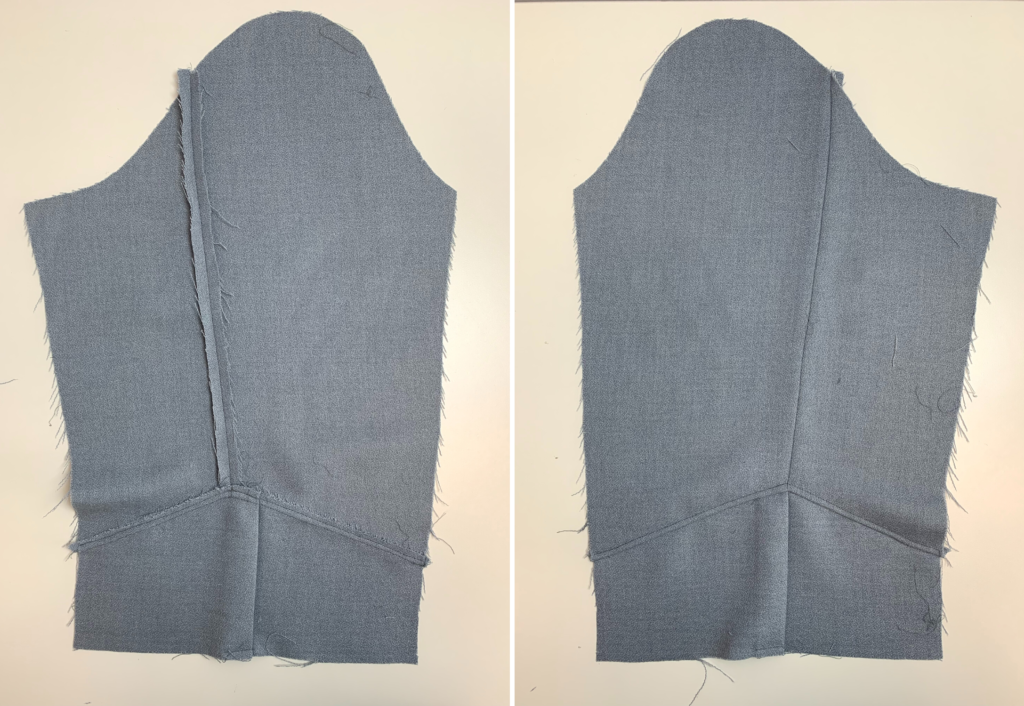
With rights side together and matching the notches pin the top cuff to the sleeve. Once in place stitch together leaving the front under sleeve and cuff vertical seam open. Sew an optional 6mm (¼”) topstitch to the top of the cuff on the side of the sleeve.
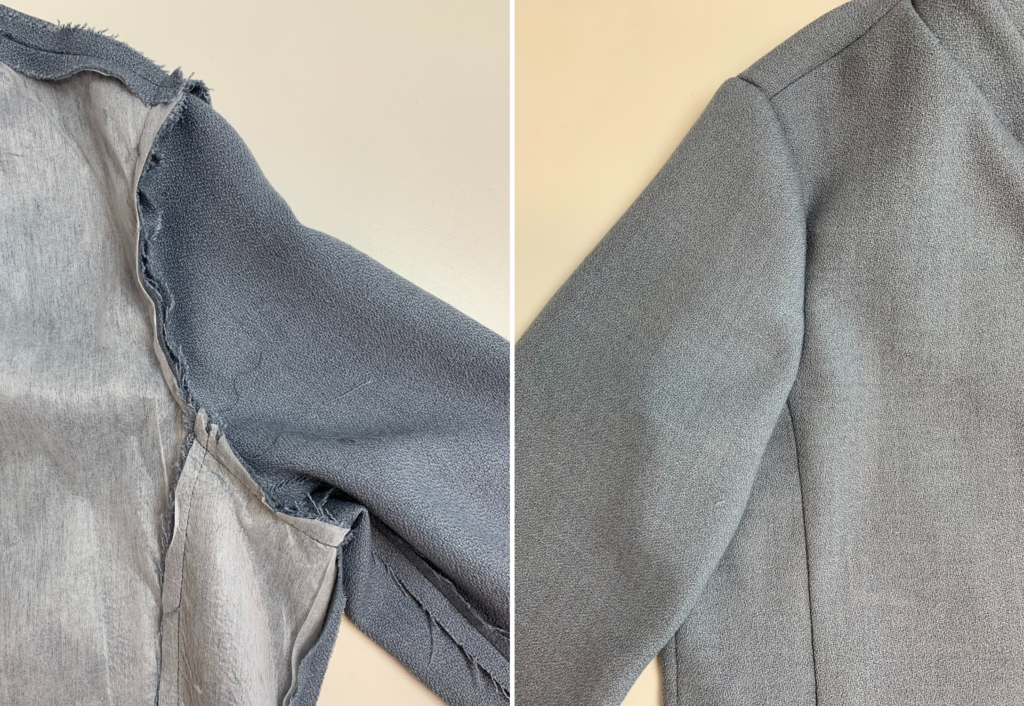
With right sides facing sew the under sleeve and front top sleeve seams together starting at the front armhole and sewing through the top cuff and press the seams open.
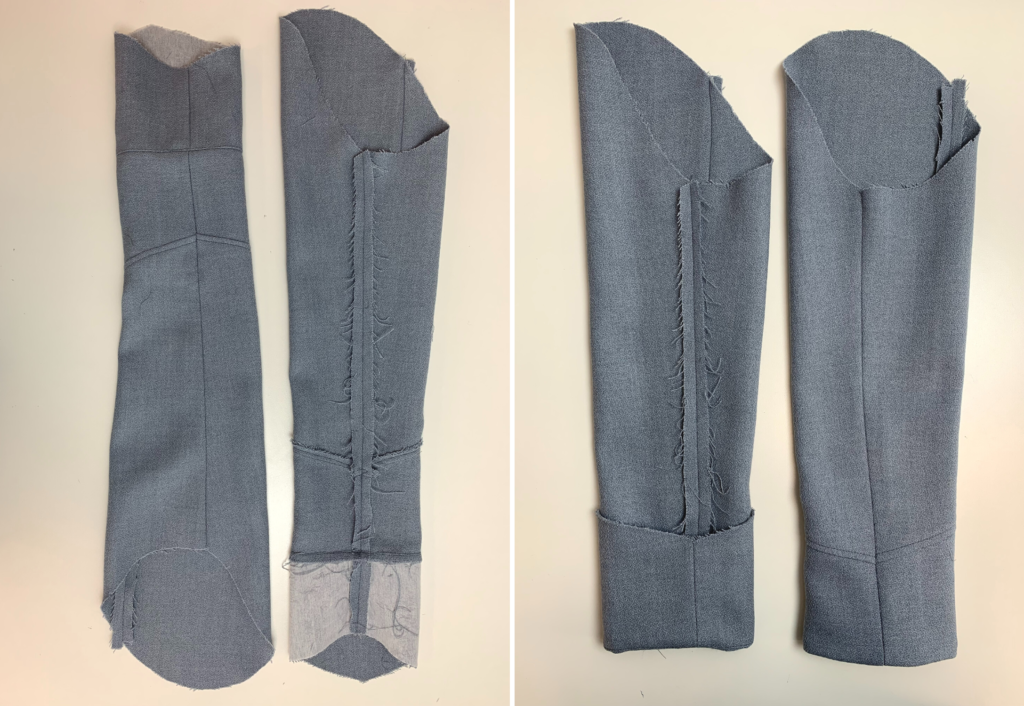
With right sides together sew the two short seams of the under cuffs together, press the seam open. Sew the opening of the top cuff to the lower seam of the under cuff, matching the notches. Understitch close to the seam on the side of the under cuff. The top edge of the under cuff will be sewn to the sleeve lining later.
NECK FACING & VENT:
With right side together sew the back neck facing to the front facings at the shoulder seams. Press the seams open.
With right sides together pin then sew the facing to the front body, neckline and inner collar stand. Clip the seam at the centre front and press the collar stand/neck seam open.
Understitch the front edge of the facing stopping at the breakpoint notch.
With right sides together sew the hem of the front facing to the hem of the front body. Clip the corners and turn to the right side.
With right sides facing fold back and stitch the mitre on the left back vent hem, turn to the right side and press. See the ‘Mitred Corner Tutorial’ on stylearc.com
With right sides facing stitch and turn out the right hem under vent.
LINING:
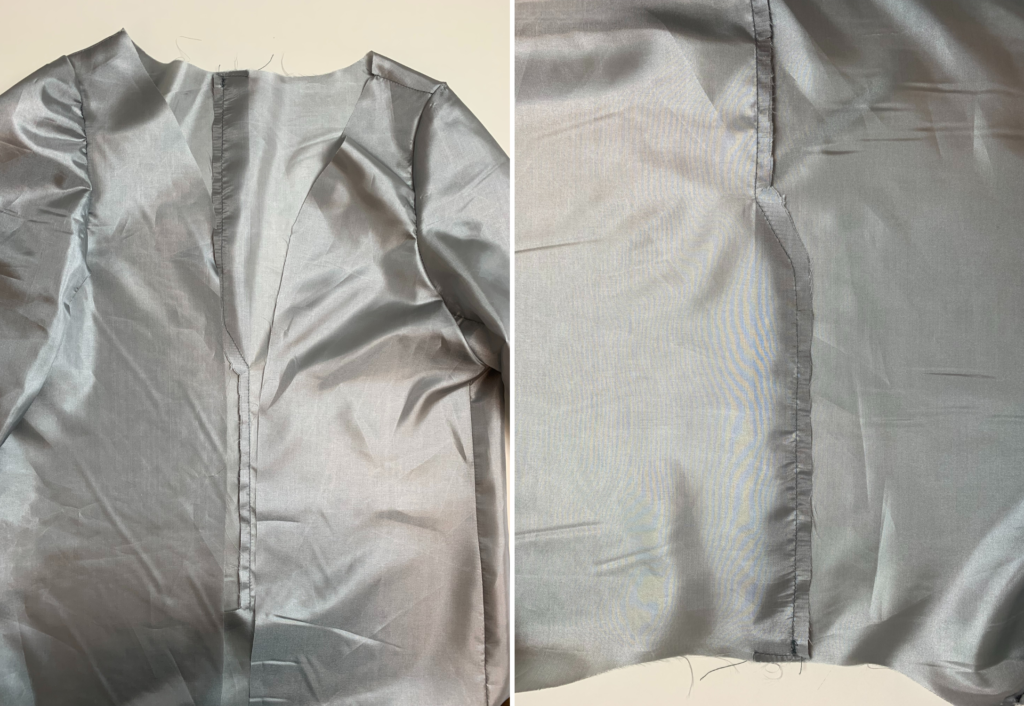
With right sides facing sew the side seams of the front lining to the back lining. With right sides together sew the centre back seams down to the top of the vent.
Stitch the tuck at the top of the centre back lining and press toward the left.
With right sides facing, sew the sleeves seams together, matching the notches. Leave an opening in the left sleeve seam to enable the coat to be turned out once finished. Don’t forget to sew up this opening once the coat is turned out.
With right sides together set the sleeves into the armholes, following the notches.
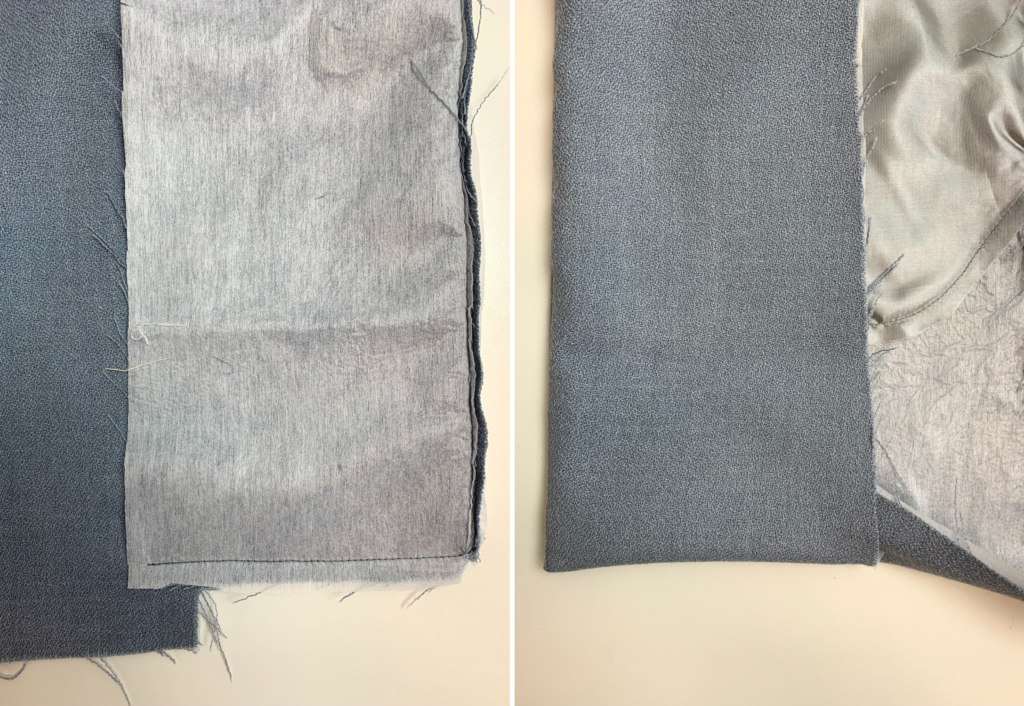
Once the lining is complete, with right sides together pin the outer edges of the lining to the outer edges of the facing. Once in place stitch together matching the notches.
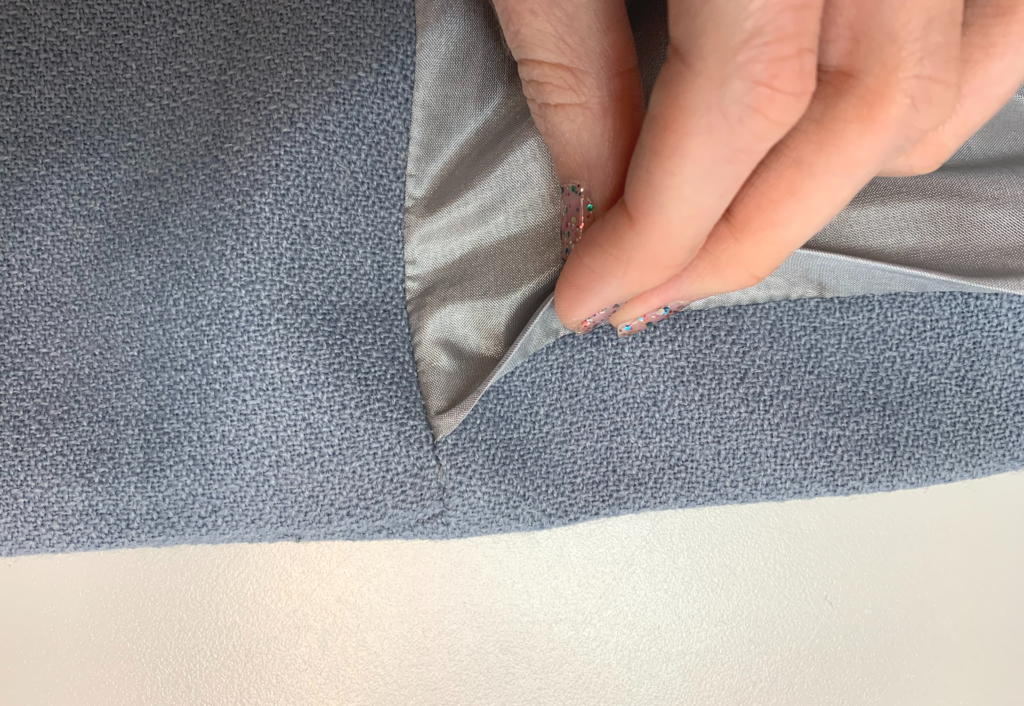
With right sides together sew the lining to each side of the vents’ main fabric and across the hems. Make a small tuck at the base of the lining where the lining joins front facing. Once this is sewn, from the inside sew the hem of the main to the lower edge of the front facing.
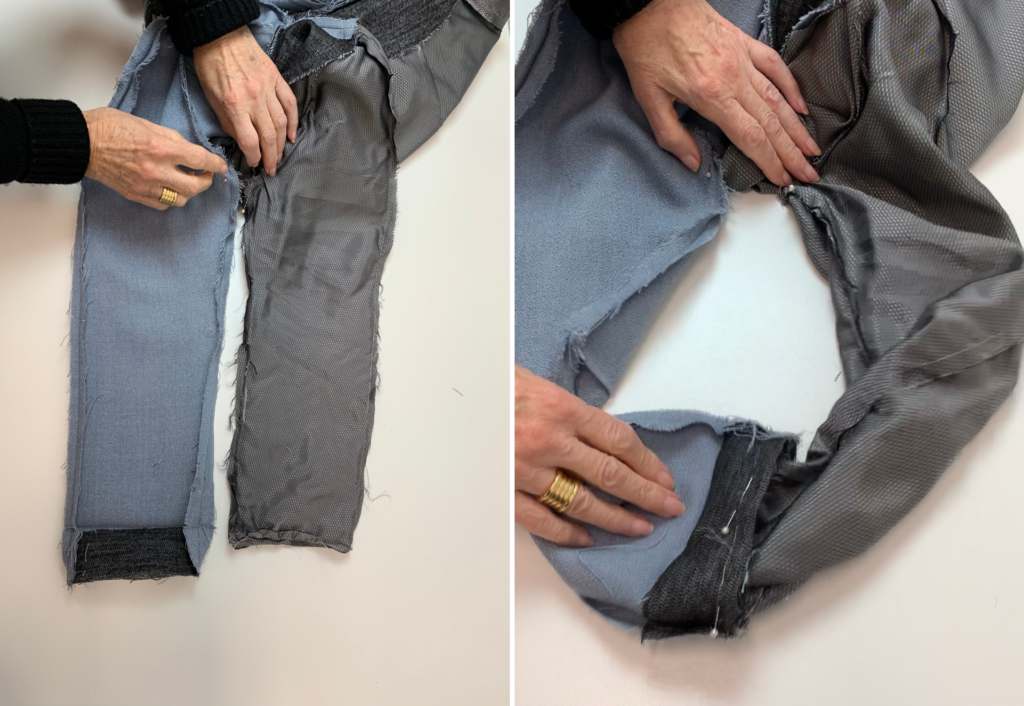
From the inside pin the opening of the sleeve lining to the under cuff, taking care not to twist the sleeve during this process, once pinned correctly, sew the sleeve lining to the under cuff. Please note that the photo above is from another style but is using the same technique.
Turn the coat out using the opening in the sleeve lining.
Sew the opening up once the coat is turned out.
COMPLETION:
Use the button and buttonhole templates to mark the position of the buttonholes and buttons.
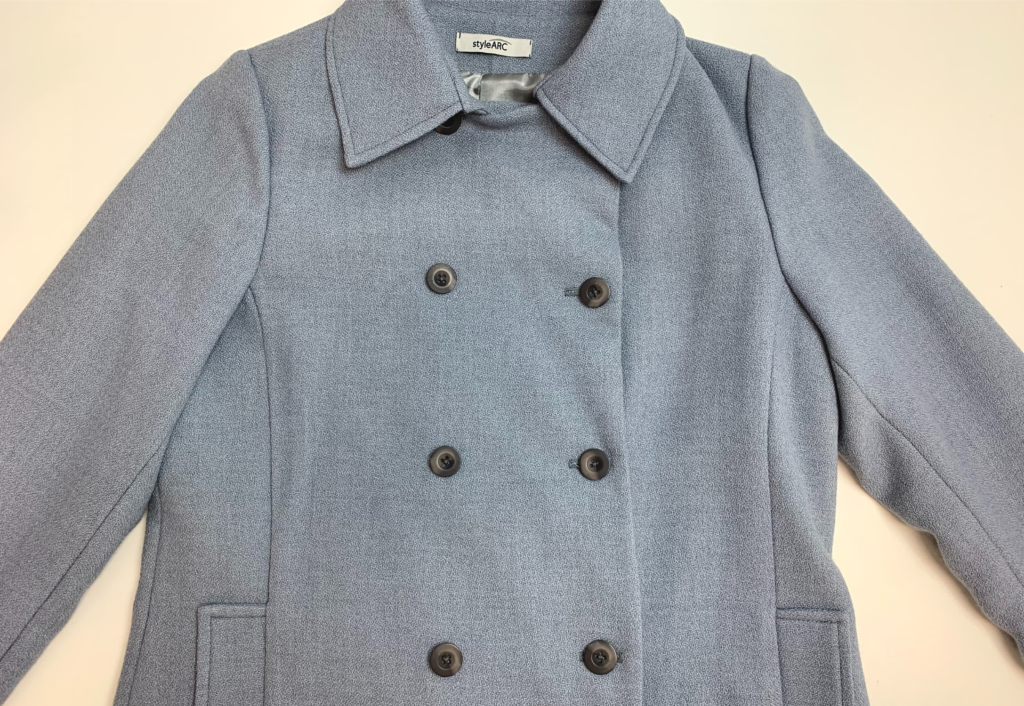
Buttonhole the right front with 5 buttonholes and the left front with 2 buttonholes following the buttonhole template.
Sew the buttons to the fronts, cuffs and the back belt.
Press your new coat.

