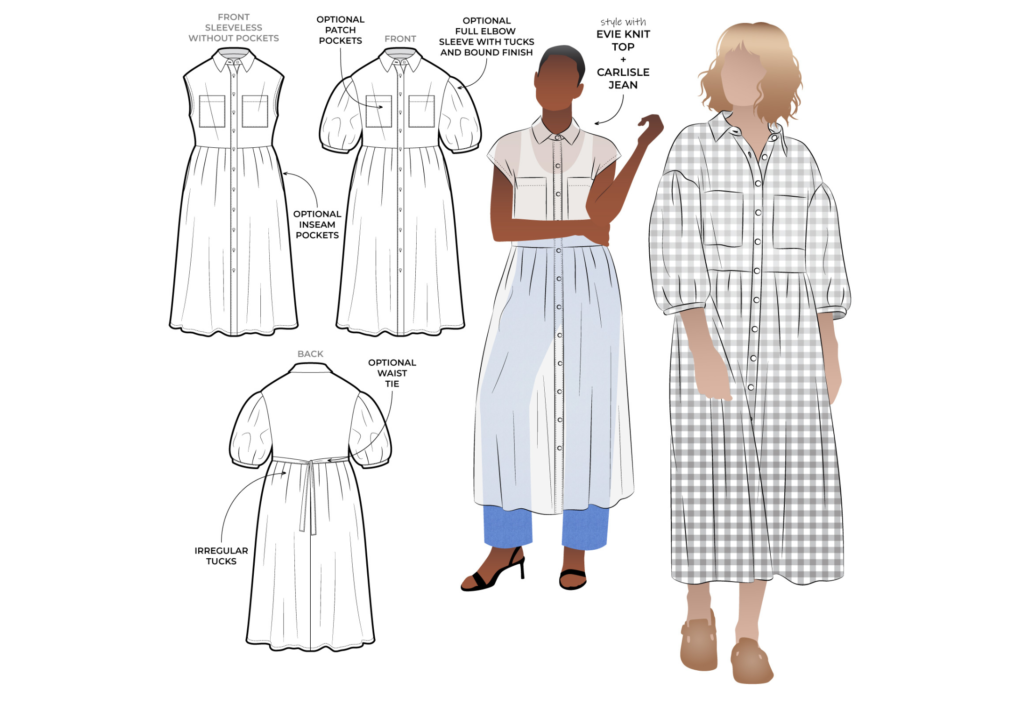
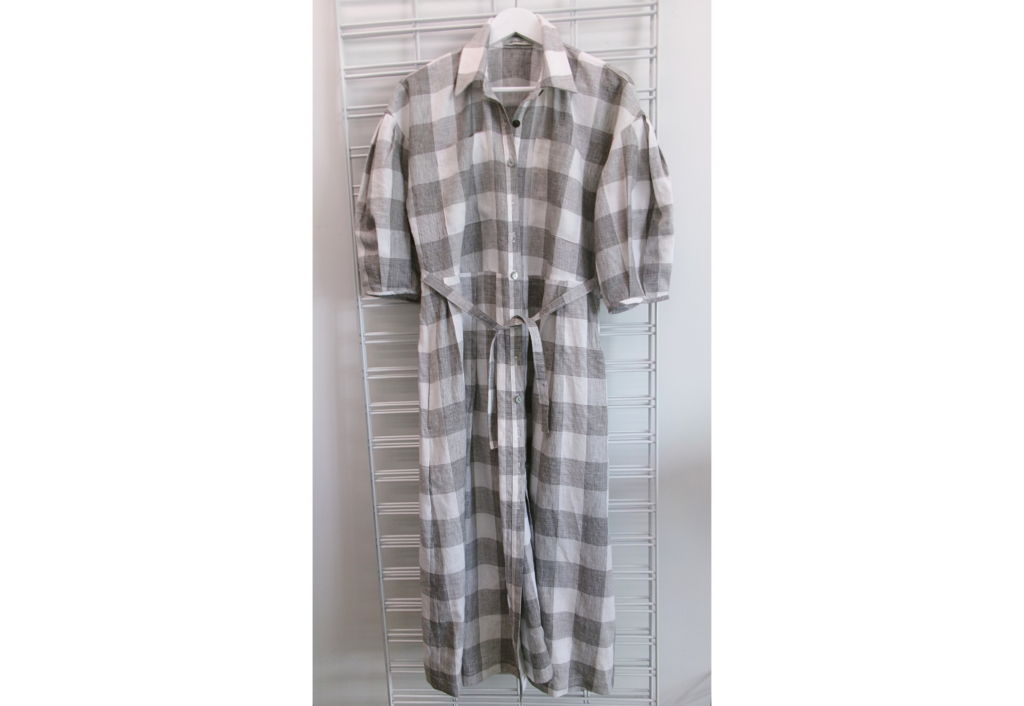
Before you start sewing, you might want to rummage through your fabric scraps/stash and plan a colour/print layout for the Emerald Woven Dress. Click the link below to download the Emerald Woven Dress Colour It Your Way PDF and have some fun!
✏️ Colour It Your Way PDF Download ✏️
CONSTRUCTION:
OPTIONAL WAIST TIE
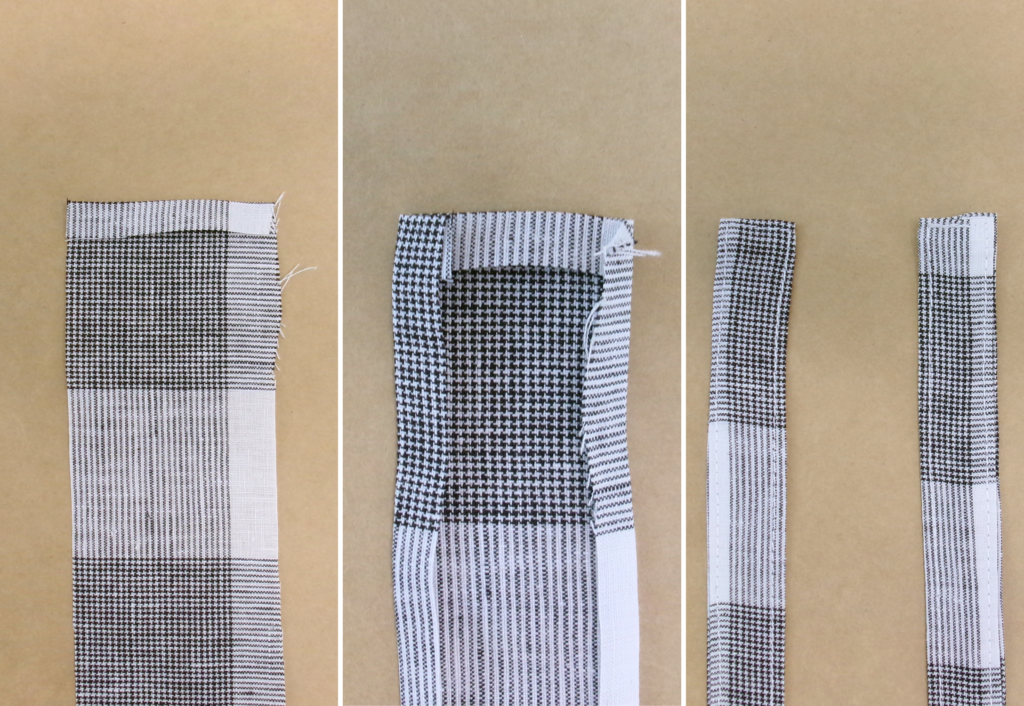
Fold one short end of the waist tie (11) under 1cm (3/8”), press. Repeat with the other waist tie.
Fold the long edges under 1cm (3/8”), press. Repeat with the other waist tie.
Fold the ties in half lengthways, press, then edge stitch around the folded edges. Put aside till step 24.
COLLAR AND COLLAR STAND
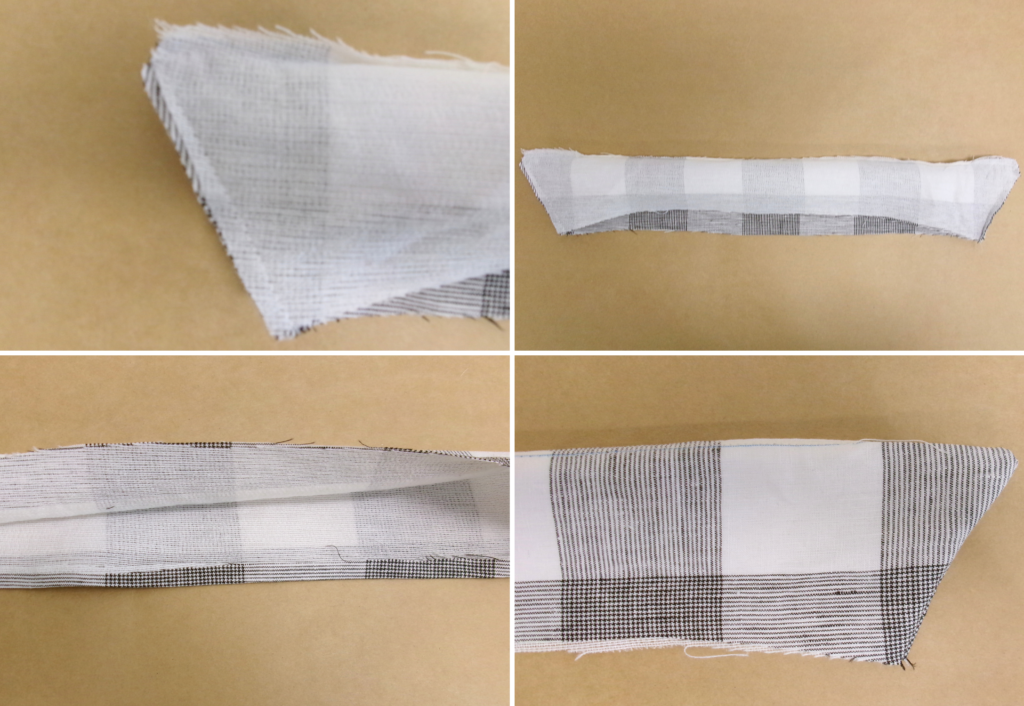
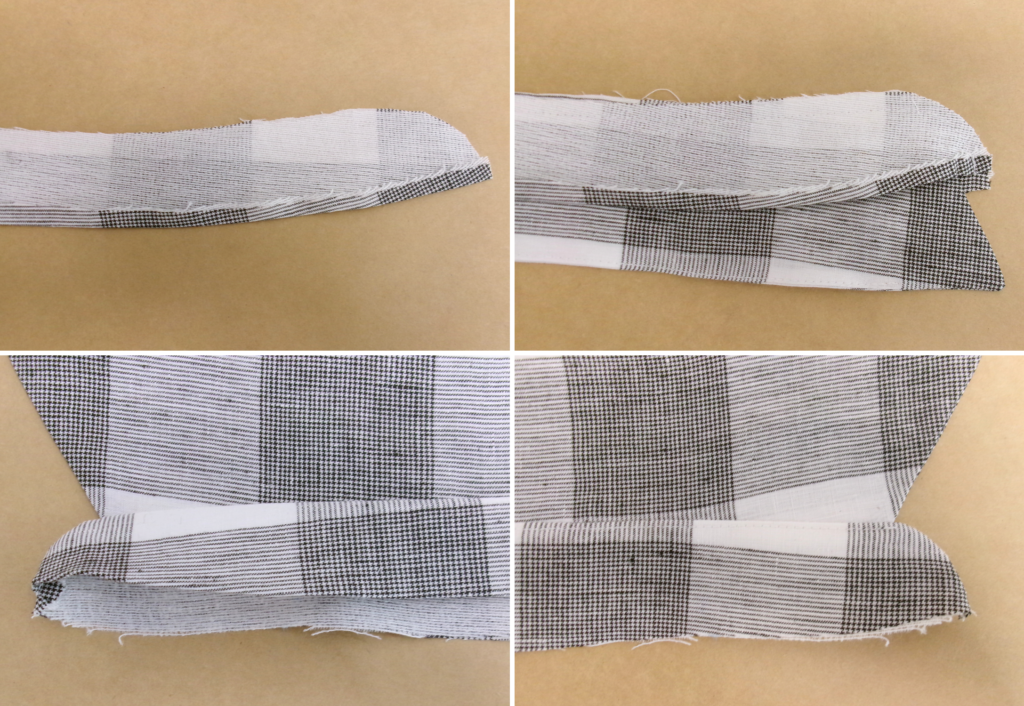
With RST, sew the outer and side edges of the collar (7) together with a 6mm (1/4”) seam. Clip the corners, turn out to the right side and press. Understitch on the underside of the collar.
Turn up the lower edge of the outer collar stand and press.
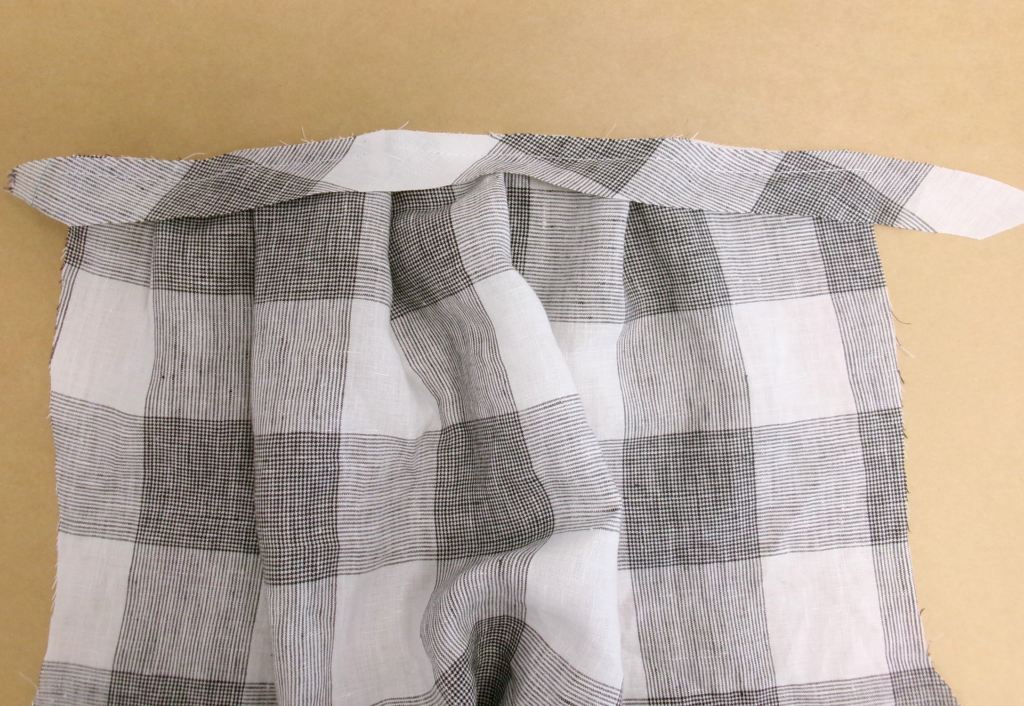
Sandwich the collar between the right sides of the two collar stands (6) and stitch the collar stands together. Clip the seam, turn out to the right side.
Edge stitch on the underside of the collar stand. Press and put aside until arriving at step 30.
CHEST POCKET
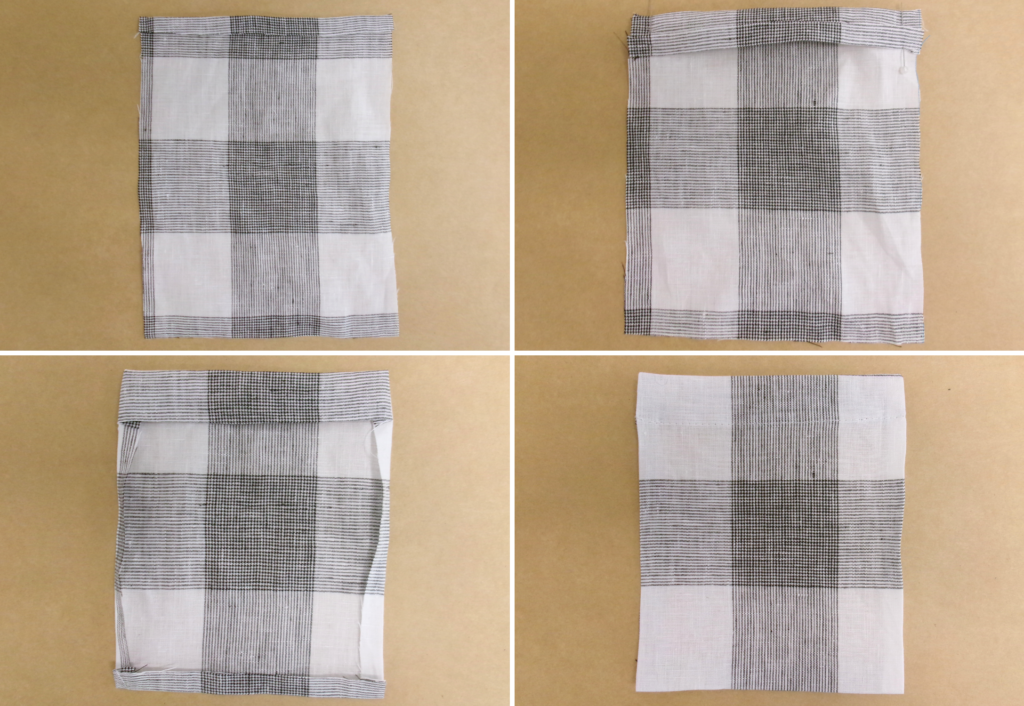
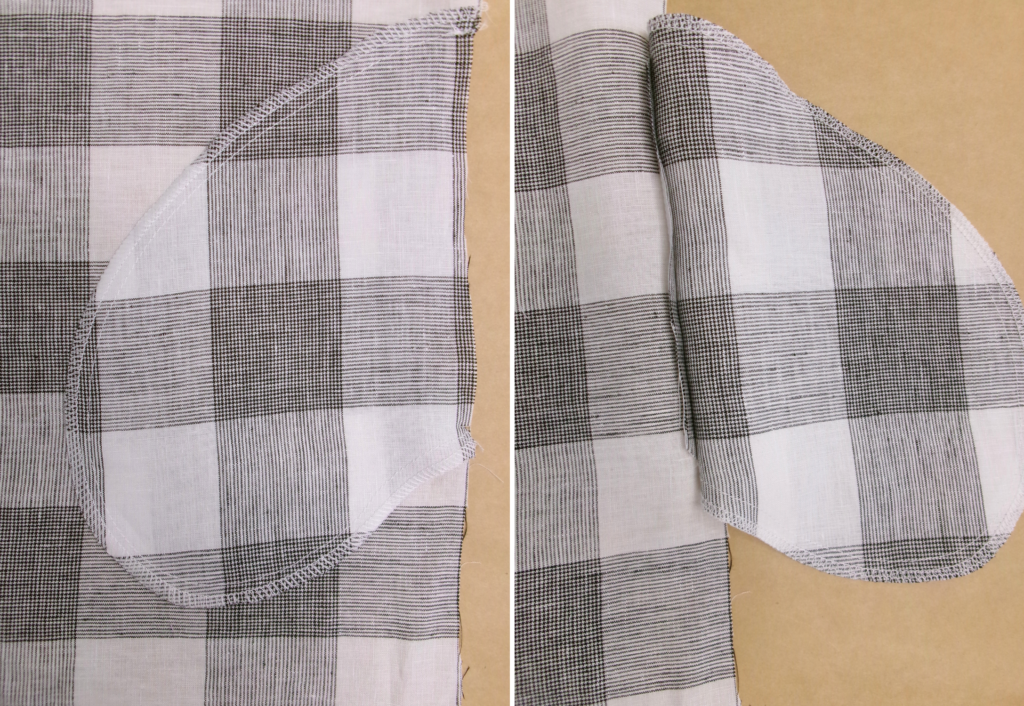
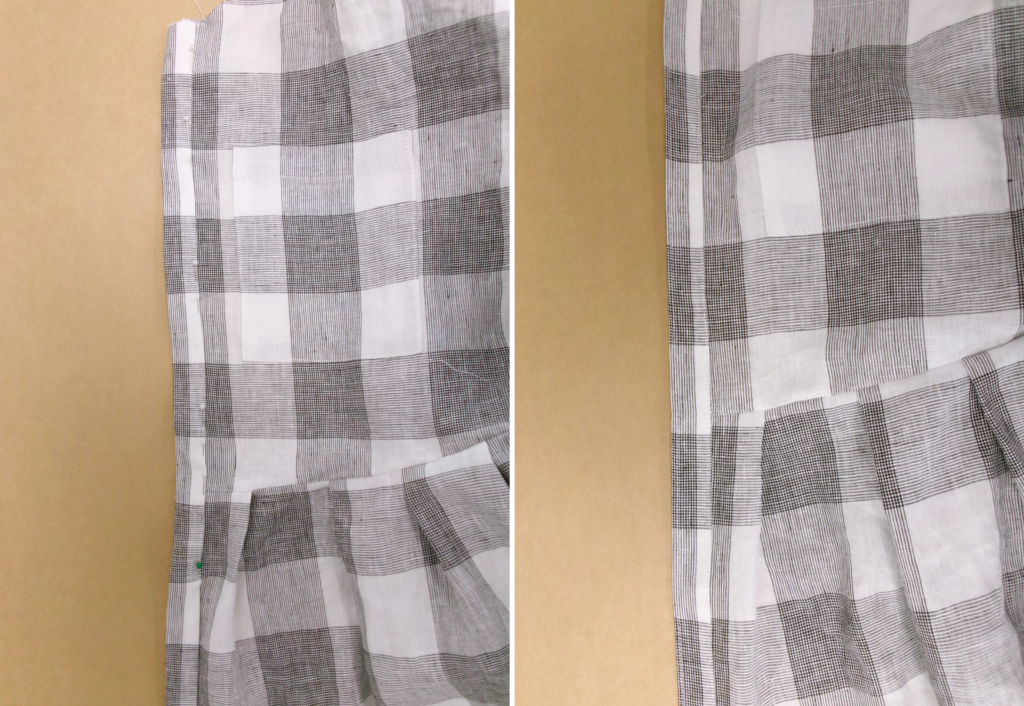
With WST, press the top edge 1cm (3/8”) seam allowance of the chest pocket (9) to the inside. Then with RST, fold the top edge of the pocket over, following the fold line on the pattern. Sew down each side of the turnover, clip the corners and turn the pocket out to the right side and press.
Edge stitch along the inner folded edge to hold the turn back in place.
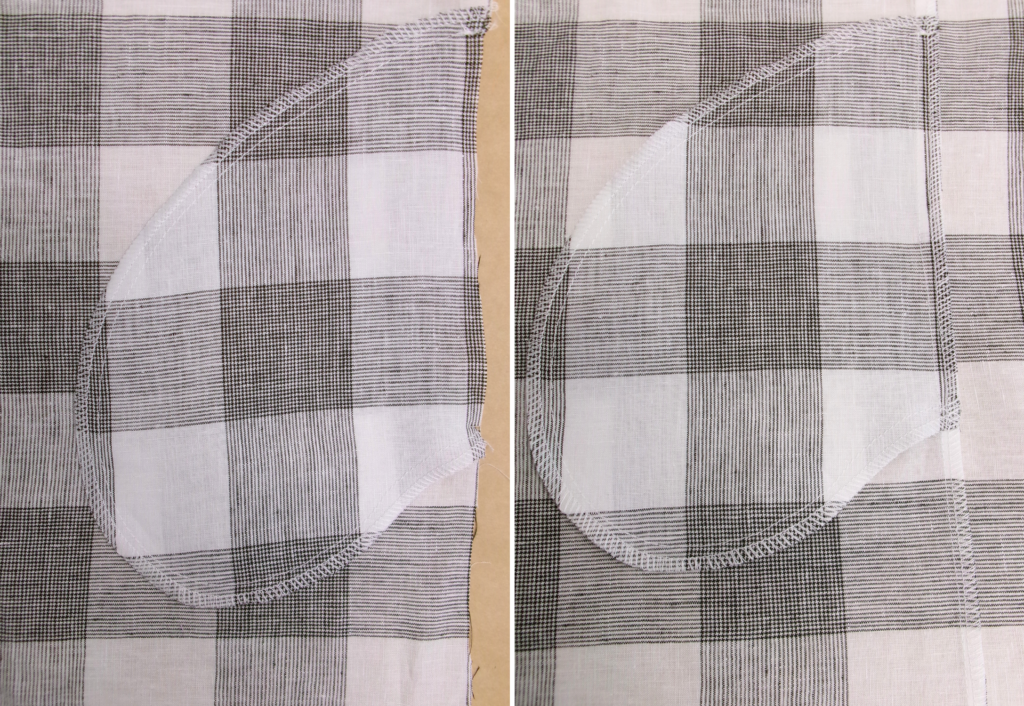
Fold the remaining outer edges of the pocket towards the inside and press.
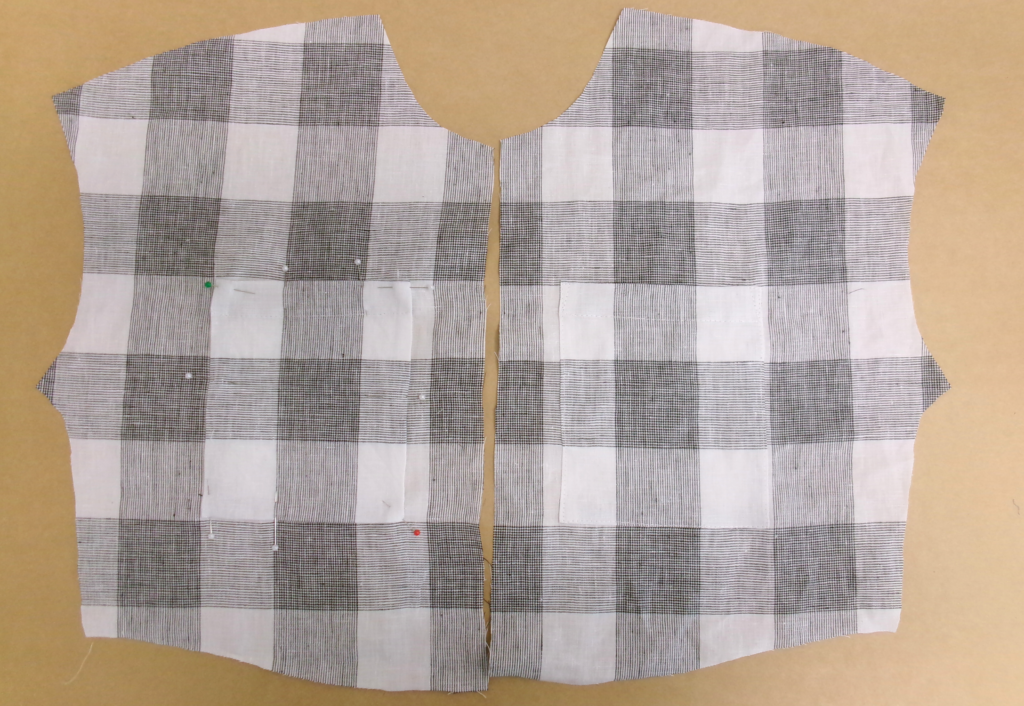
Pin the pockets to the bodice front as marked on the pattern. Once in place stitch the pocket to the front bodice with an edge stitch, securing the top corners with a reinforcing stitch.
SKIRT
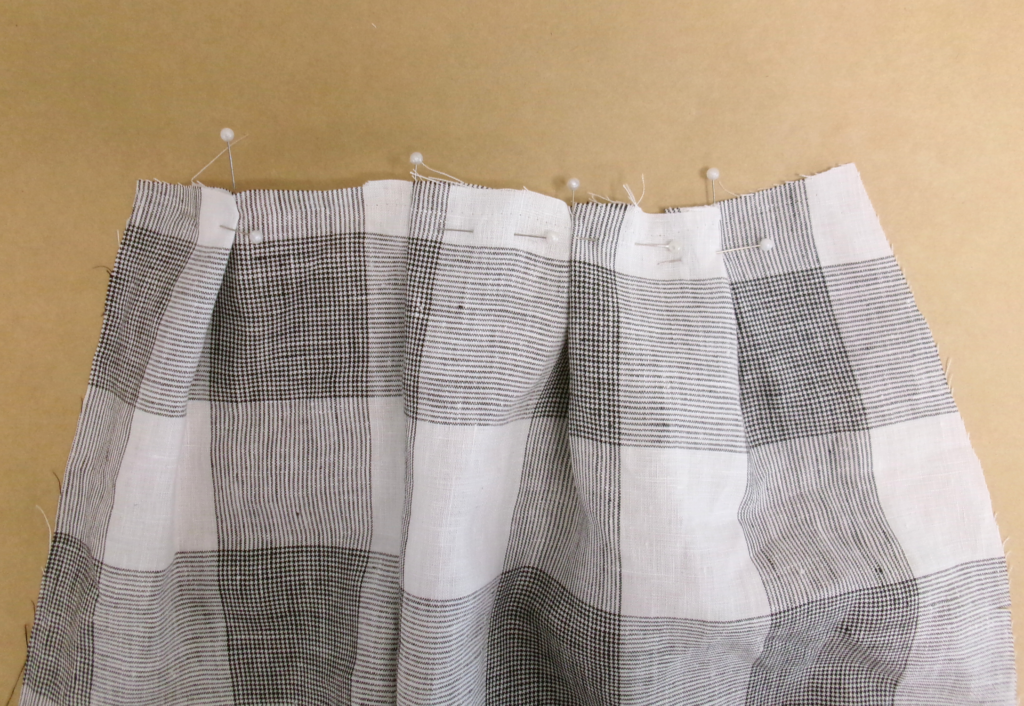
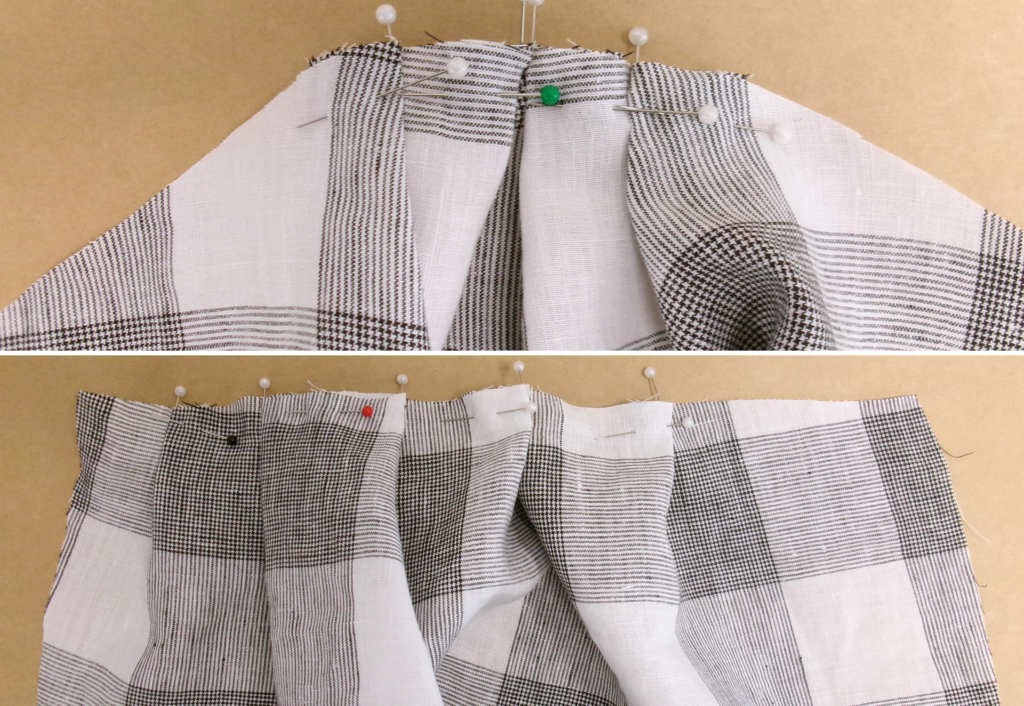
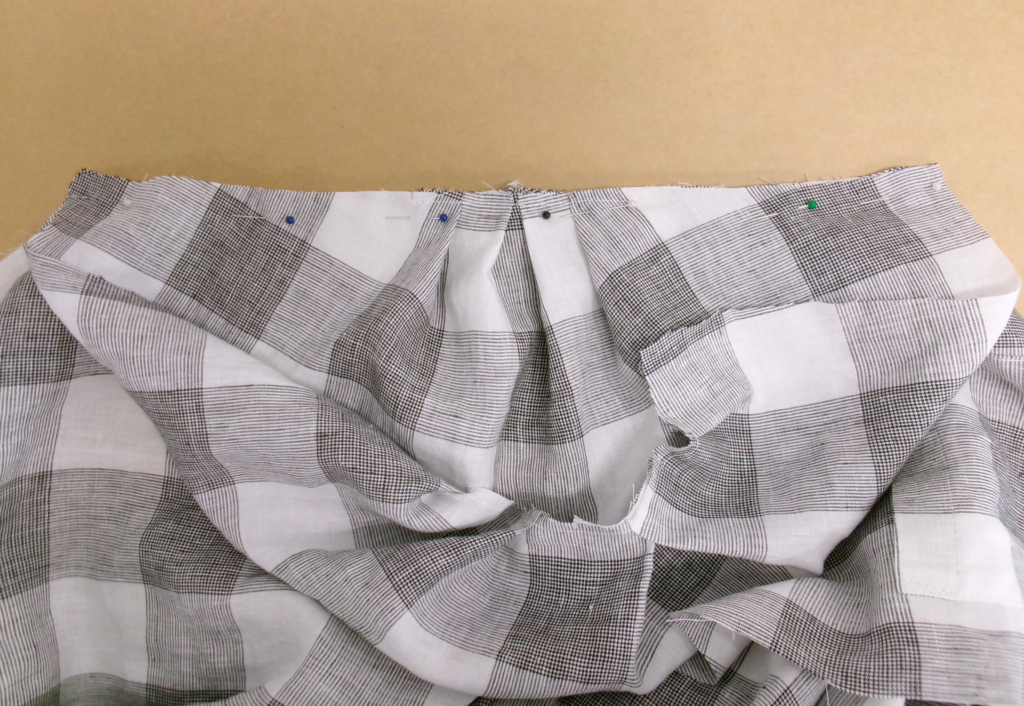
With RST match the skirt (4) tuck notches and pin together. Fold the tucks in the direction of the arrows as on the pattern. Baste the tucks into place.
Repeat with the other front skirt and the back skirt.
With RST, sew the centre back skirt seams together. Neaten with an overlocker/serger and press to one side.
With RST and matching the notches, pin the front and back bodice to the front and back skirt. Sew, then neaten with an overlocker/serger.
INSEAM POCKETS
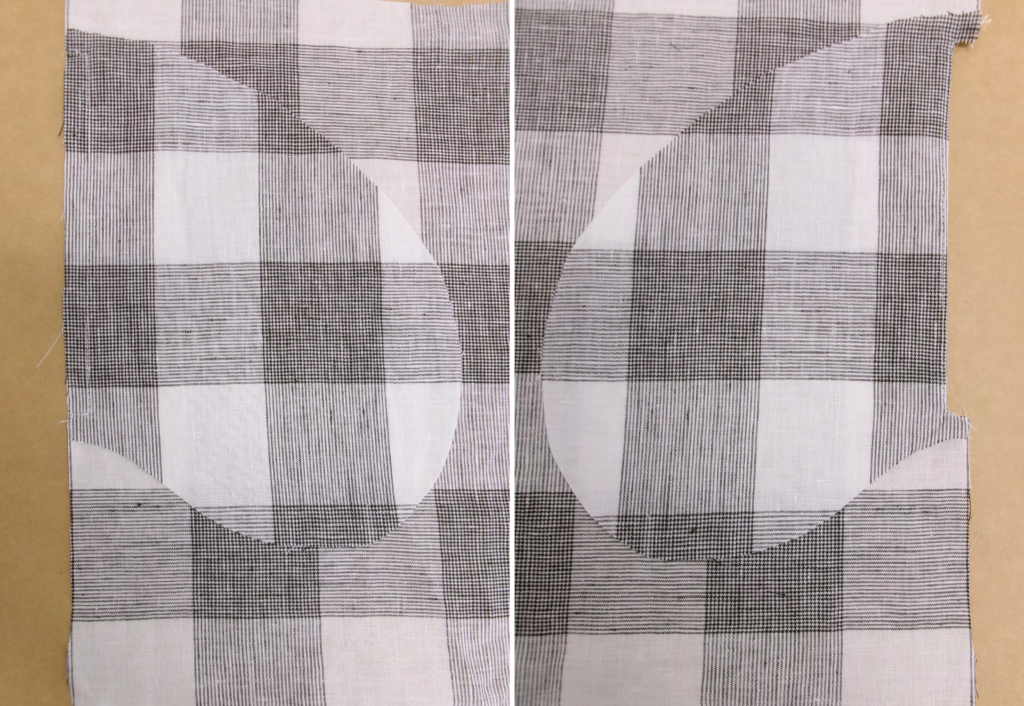
With RST and matching the notches, sew one set of the pockets to the front side seam, clip at the notches and under stitch the seam on the side of the pocket bag.
With right sides facing sew the second set of pockets to the pockets that are sewn to the front side seam, stitch the two pocket bags together creating a pocket. Note that the straight edge of the under pocket is left free to sew to the back-body’s side seam. Neaten the outer edge of the pockets with an overlocker/serger.
MAIN BODY WITH SLEEVES
With RST, sew the back (1) to front (2) at the shoulders. Neaten seam with an overlocker/serger, press toward the back. Stay stitch around the neck opening to prevent stretching.
With RST match the tuck notches on the sleeve head and sleeve opening and pin together. Fold the tucks in the direction of the arrows as shown on the pattern. Baste the tucks into place.
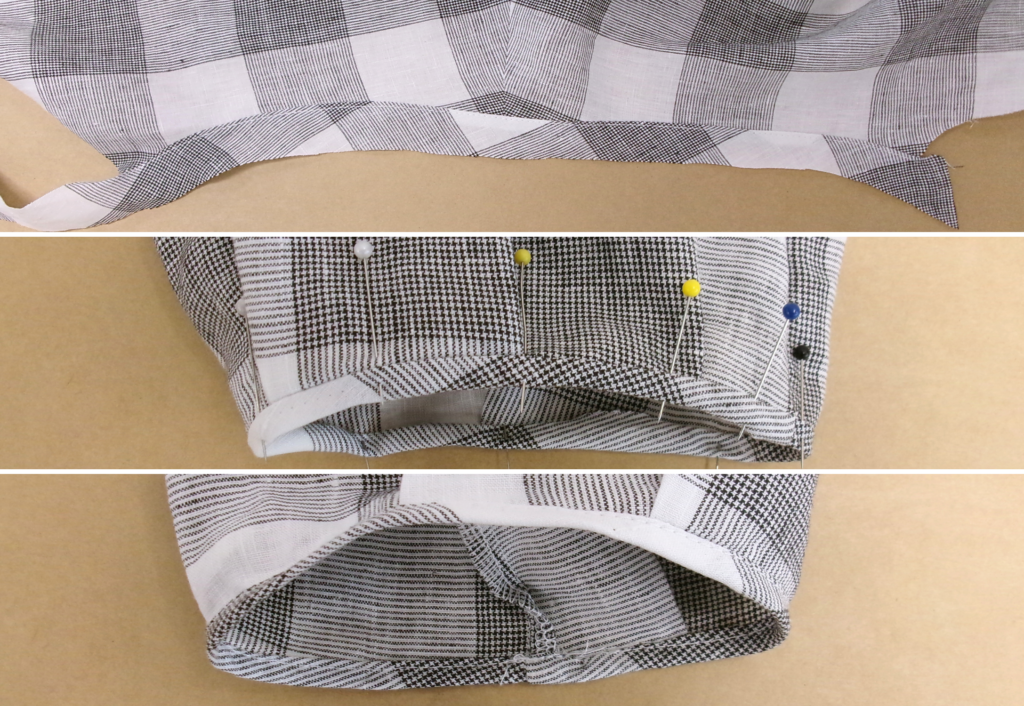
With the right side of the binding to the wrong side of the sleeve hem, sew the binding to the sleeve hem 1cm (3/8”). Leave the binding unfinished for now.
With RST and matching seams, sew the sleeve head to the armhole opening. Neaten with an overlocker/serger, press the seam towards the sleeve.
MAIN BODY SLEEVELESS
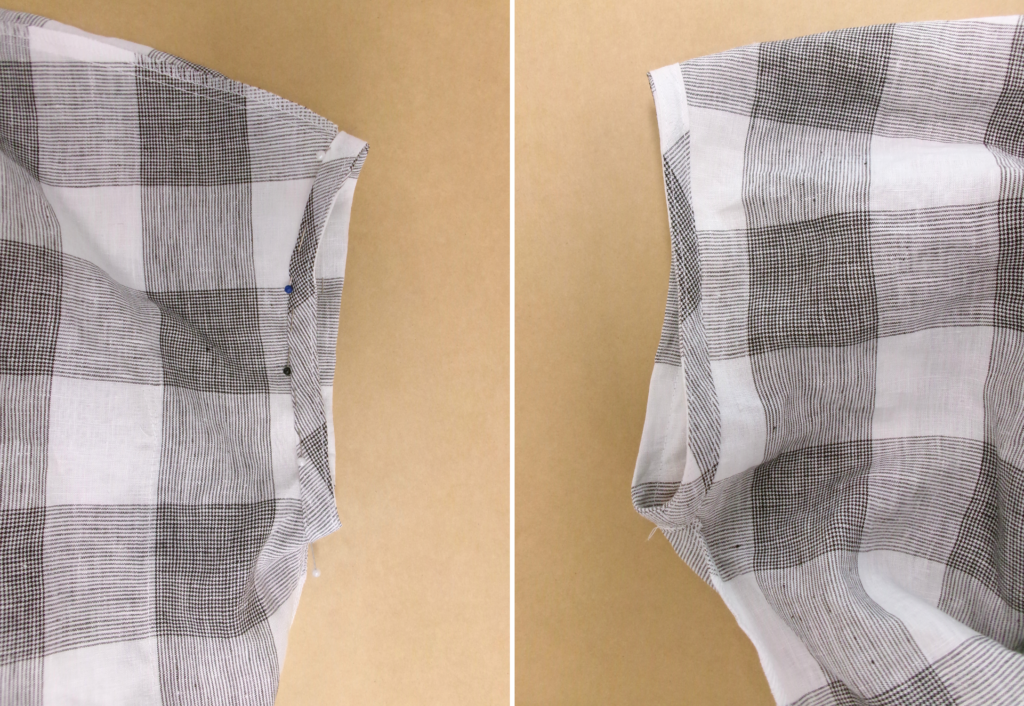
With RST, sew the back bodice to the front bodice at the shoulders. Neaten with an overlocker/serger, press towards the back. Stay stitch around the neck opening to prevent stretching.
With RST, sew the binding to the arm opening. Press the seam towards the binding. Edge stitch the binding close to the seam. Leave the binding unfinished for now.
SIDE SEAMS
With RST and matching notches and seams, pin the front to back at the side seams. Insert the waist ties into the side seam at the notches (optional).
Starting at the hem, sew the side seam and under arm (sleeve option), and through the binding. Take care to avoid sewing the front pocket opening to the back. Neaten with an overlocker/ serger, press towards the back.
FINISHING THE SLEEVES (FOR SLEEVED BODICE)
Turn the binding under 1cm (3/8”). Turn under again, encasing the seam, pin into place. Edge stitch the binding into place. Press.
FINISHING ARMHOLES (FOR SLEEVELESS BODICE)
Turn the binding under 1cm (3/8”). Turn under again and pin to the underside of the arm opening. Edge stitch the binding into place. Press.
HEM AND FRONT PLACKET
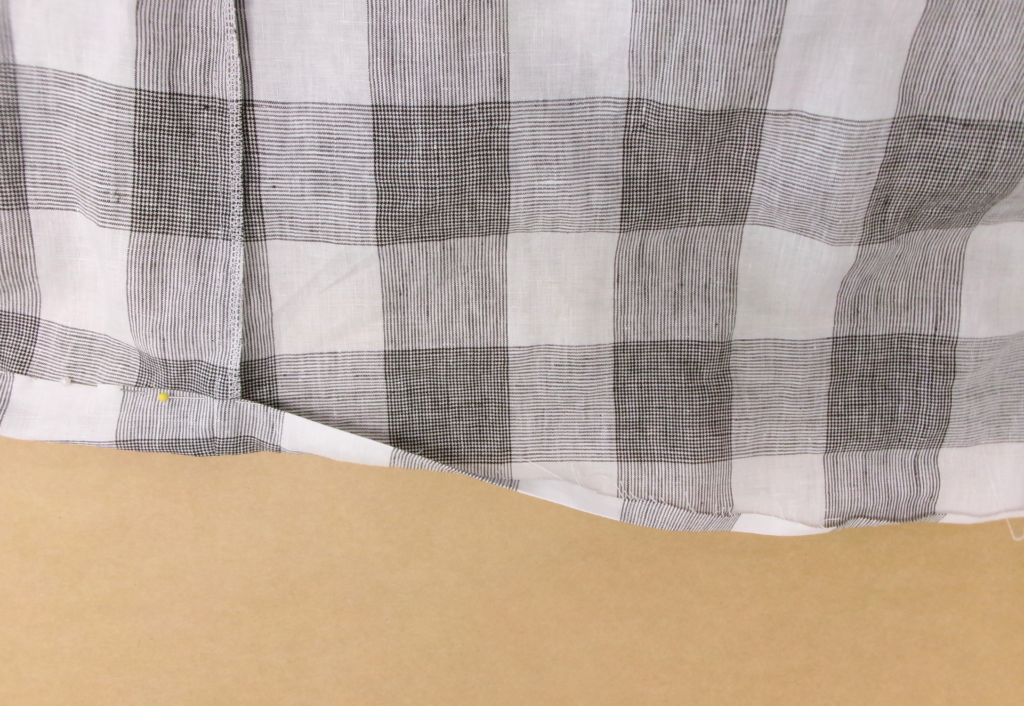
Turn the skirt hem 1cm (3/8”) to the inside, press. Turn up again at the notch, pin into place and sew. You may choose to sew a blind hem by hand.
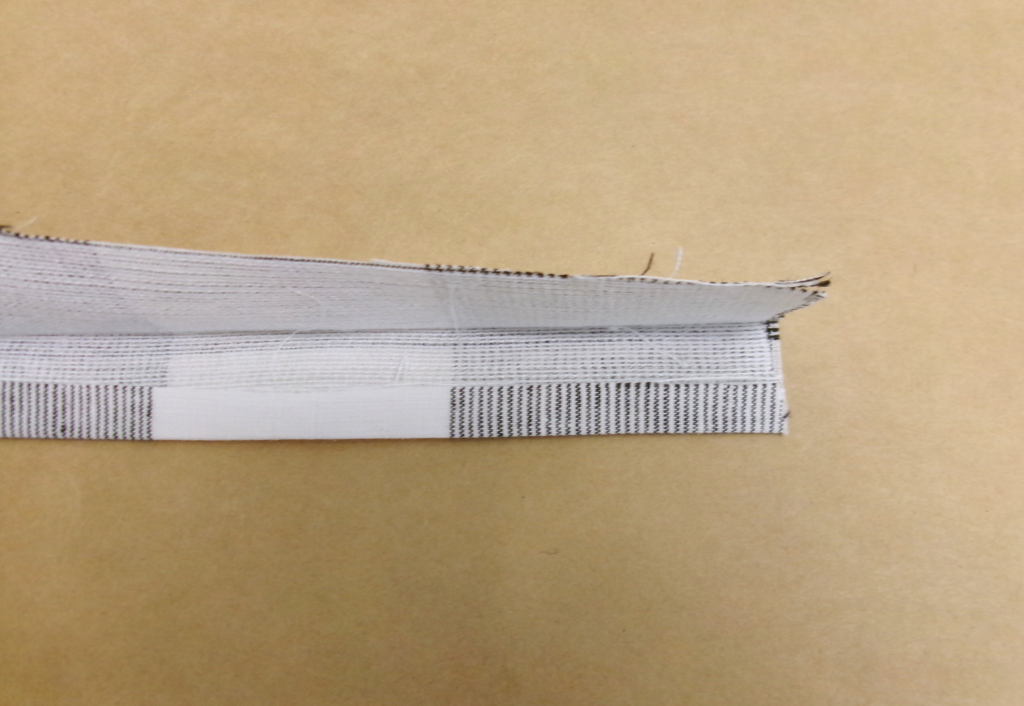
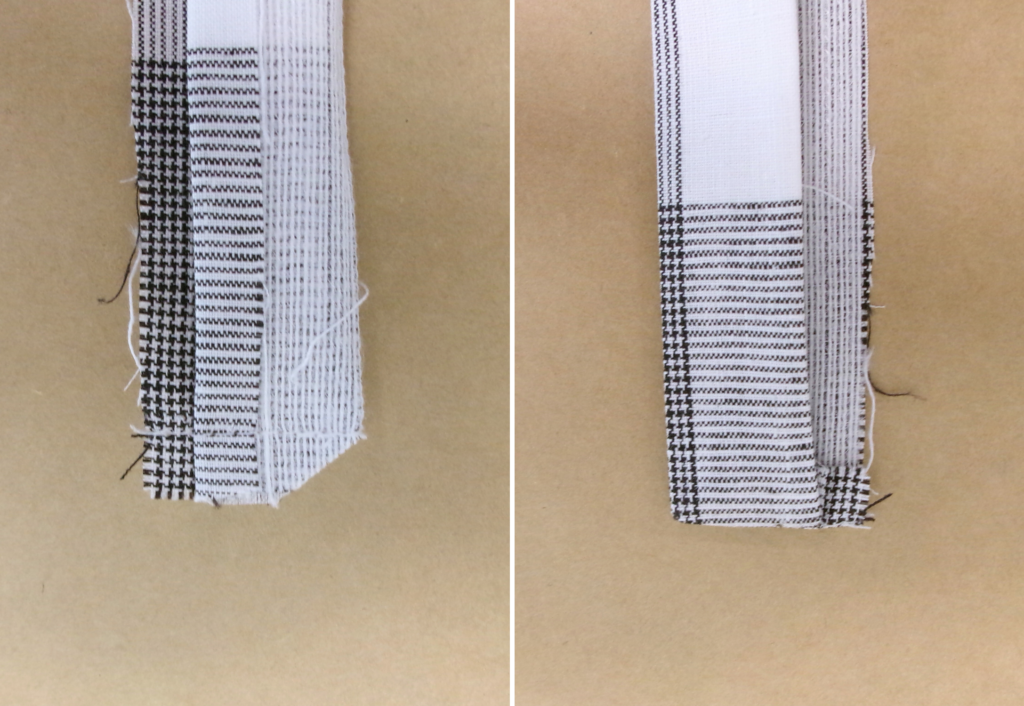
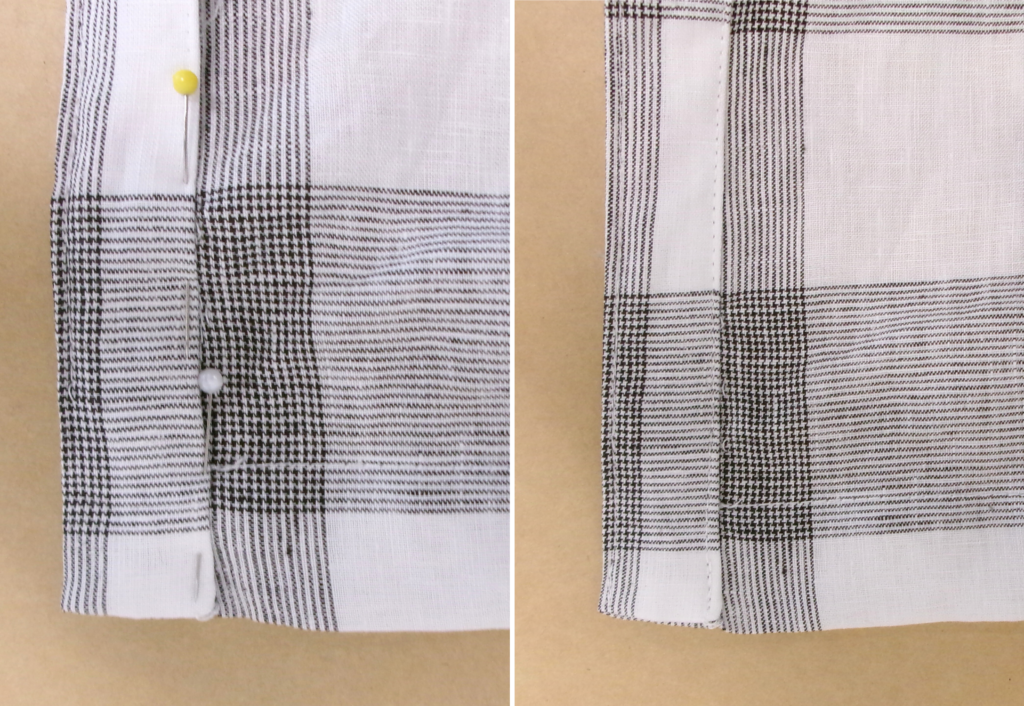
With WST, fold the front placket in half lengthways and press. Turn one long edge under 1cm (3/8”) and press. This side of the placket will show on the front of your dress.
With RST, fold the placket lengthways and sew across the hem edge 1cm (3/8”). Clip the corner, turn out and press.
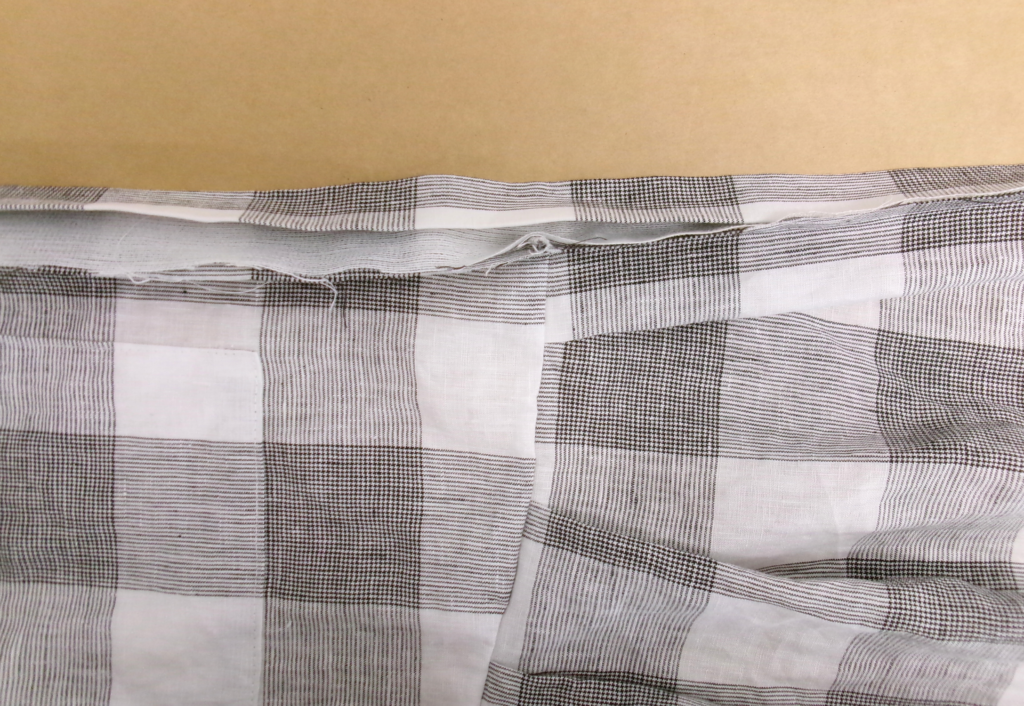
Pin the unfolded edge of the placket to the wrong side of the centre front. Sew.
Press the seam towards the placket. Pin the folded edge of the placket in place, encasing the seam. Edge stitch the placket into place. Edge stitch on the outside edge of the placket. Press.
ATTACHING COLLAR TO NECKLINE
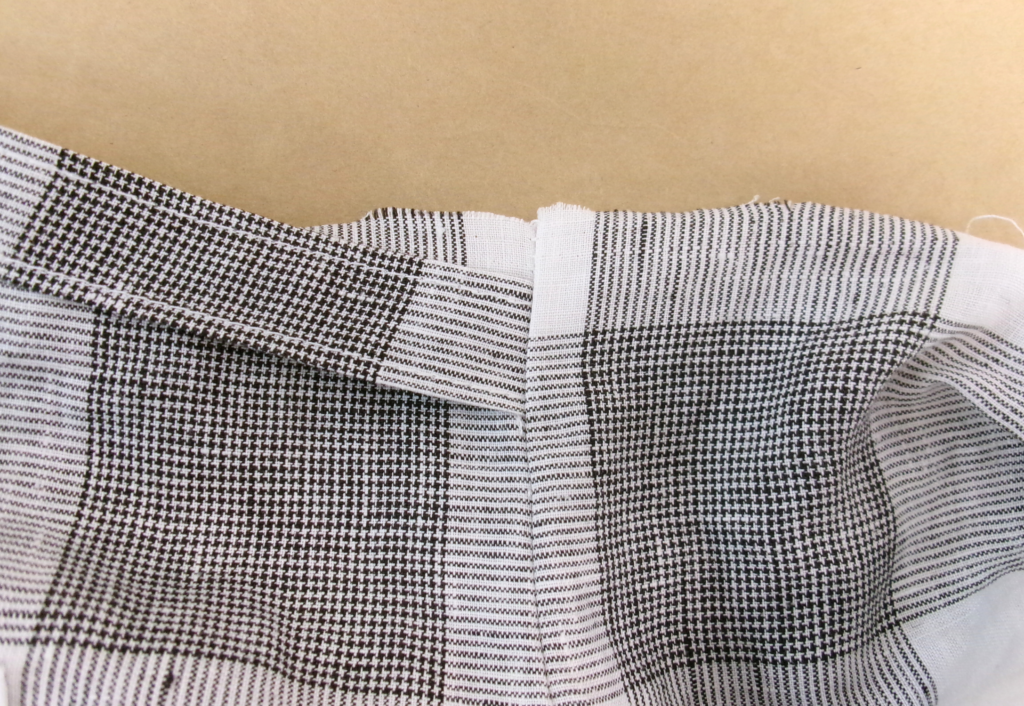
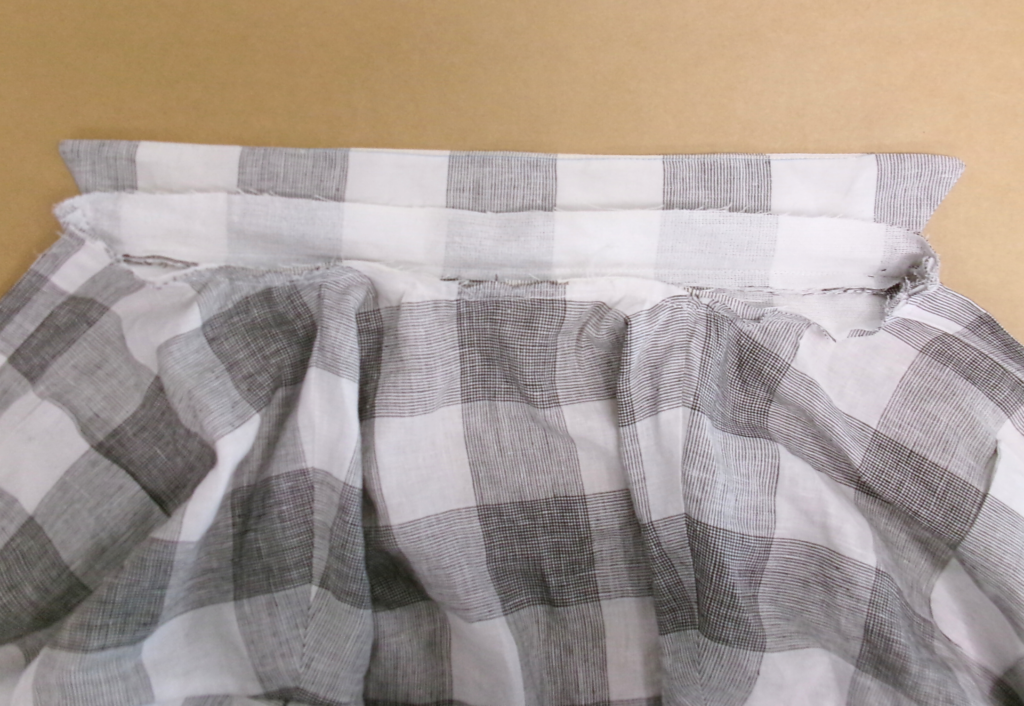
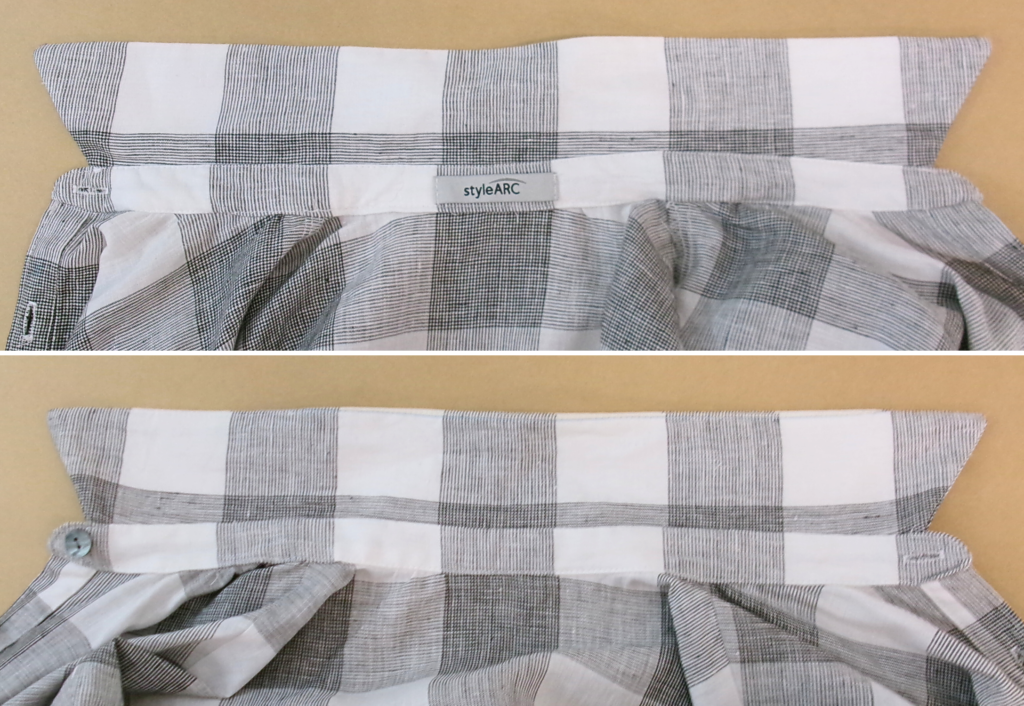
Pin the inside of the collar stand to the wrong side of the neck opening, matching notches, sew.
With the seam pressed under, pin the outer side of the collar stand to the right side of the neck opening, edge stitch the collar stand into place.
COMPLETION
Buttonhole the right front tab and collar stand as marked on the pattern. Sew buttons to correspond with buttonholes on the left front tab and collar stand. Trim off any loose threads and carefully press your new dress.

