
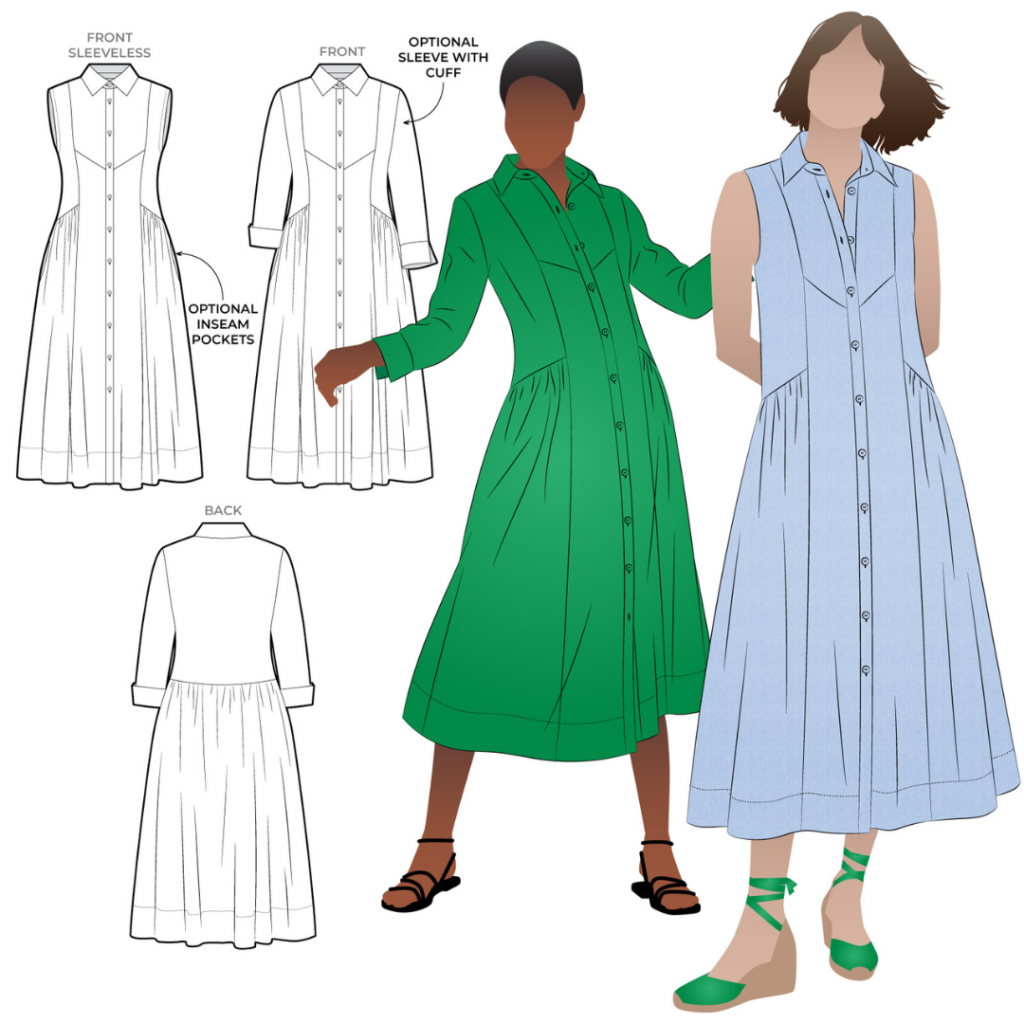
Sew along with Elise and Maggie as they guide you through making a collar and stand for the Hampton Woven Dress, or scroll down for the complete photo tutorial.
Happy sewing!
CONSTRUCTION:
COLLAR AND COLLAR STAND:

With RST, sew the collars (10) together around the three outer edges, clip the corners and turn out to the right side. Press, then understitch on the underside of the collar.
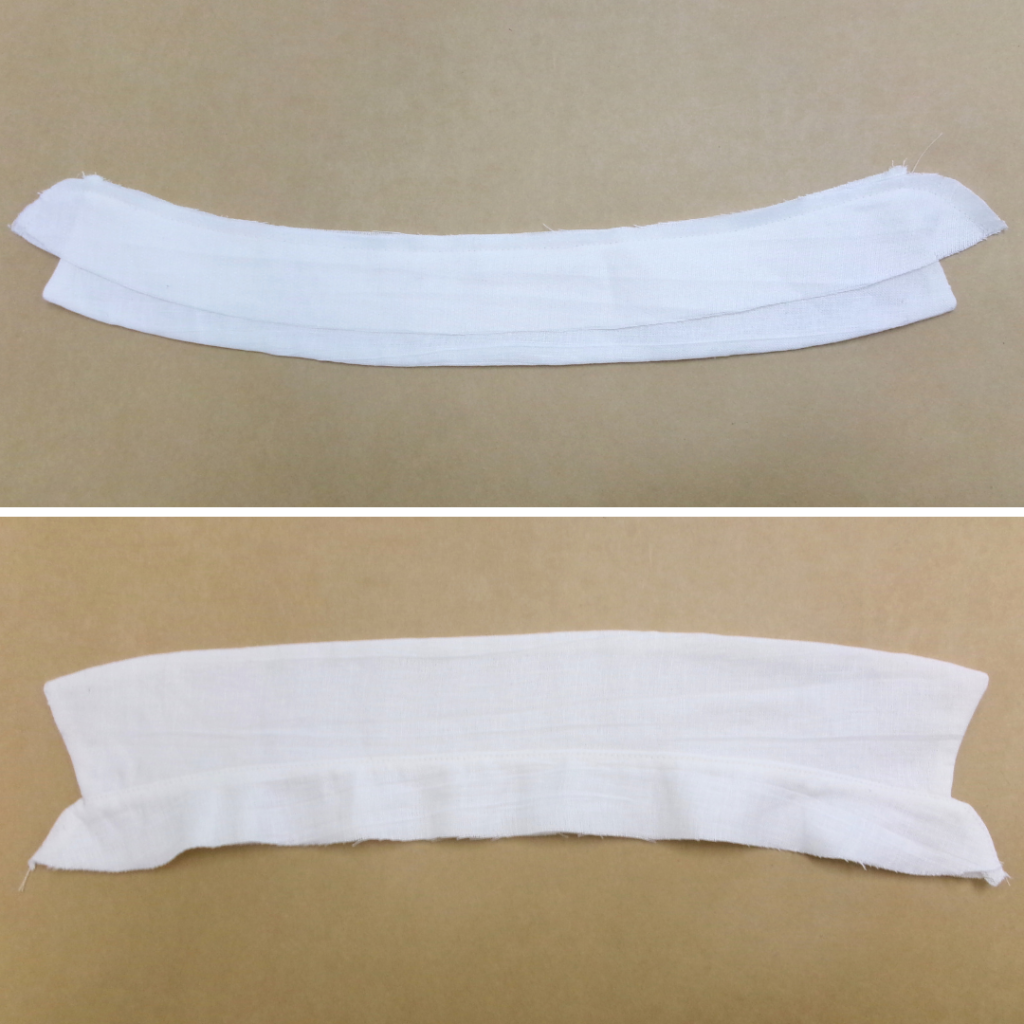
With RST and matching notches, pin the top edges of the collar stands (9) to the collar, sandwiching the collar in between. Sew, then turn out to the right side and sew an understitch to the inside of the collar stand. Press and put aside until Step 21.
INSEAM POCKETS:
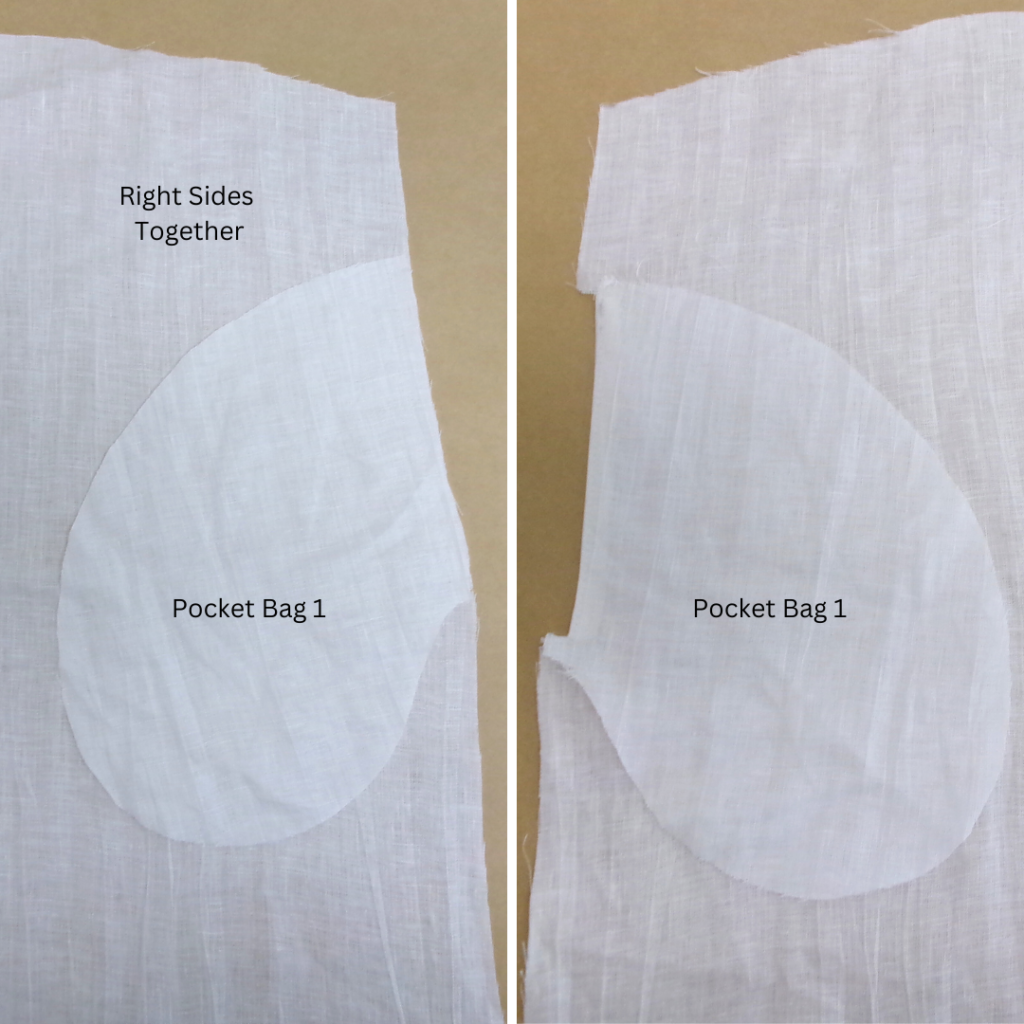
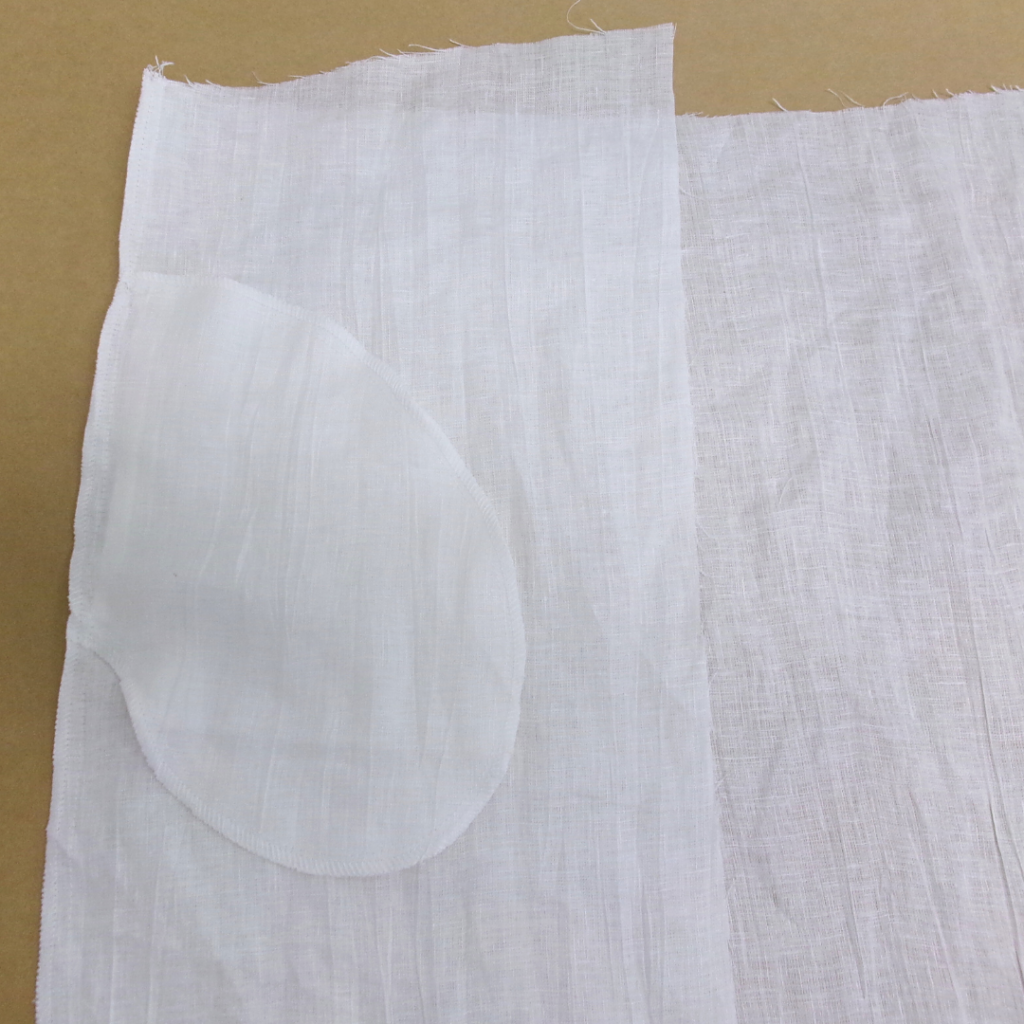
With RST and matching notches, sew one set of pockets (11) to the side front skirt (6) at the side seam as marked on the pattern. Clip into the seam at the notches and sew an understitch on the side of the pocket bag.
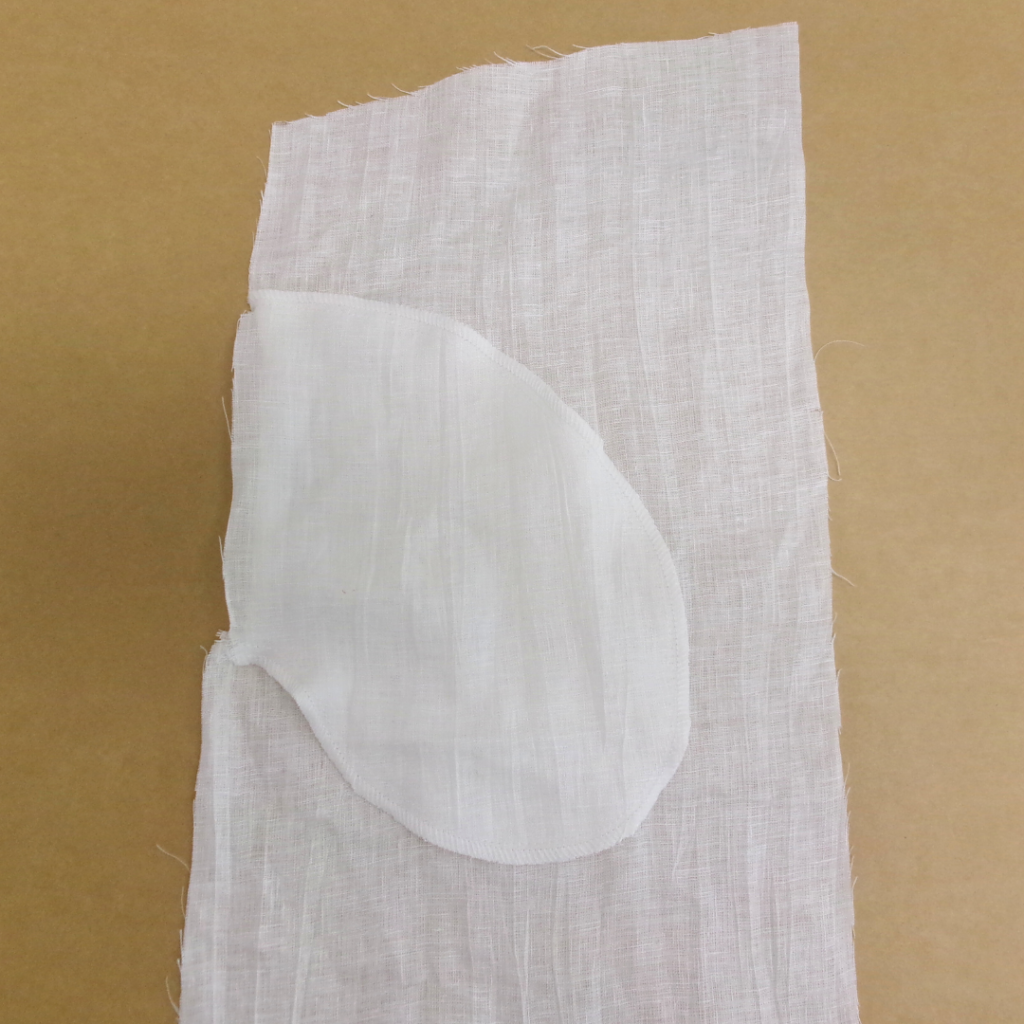
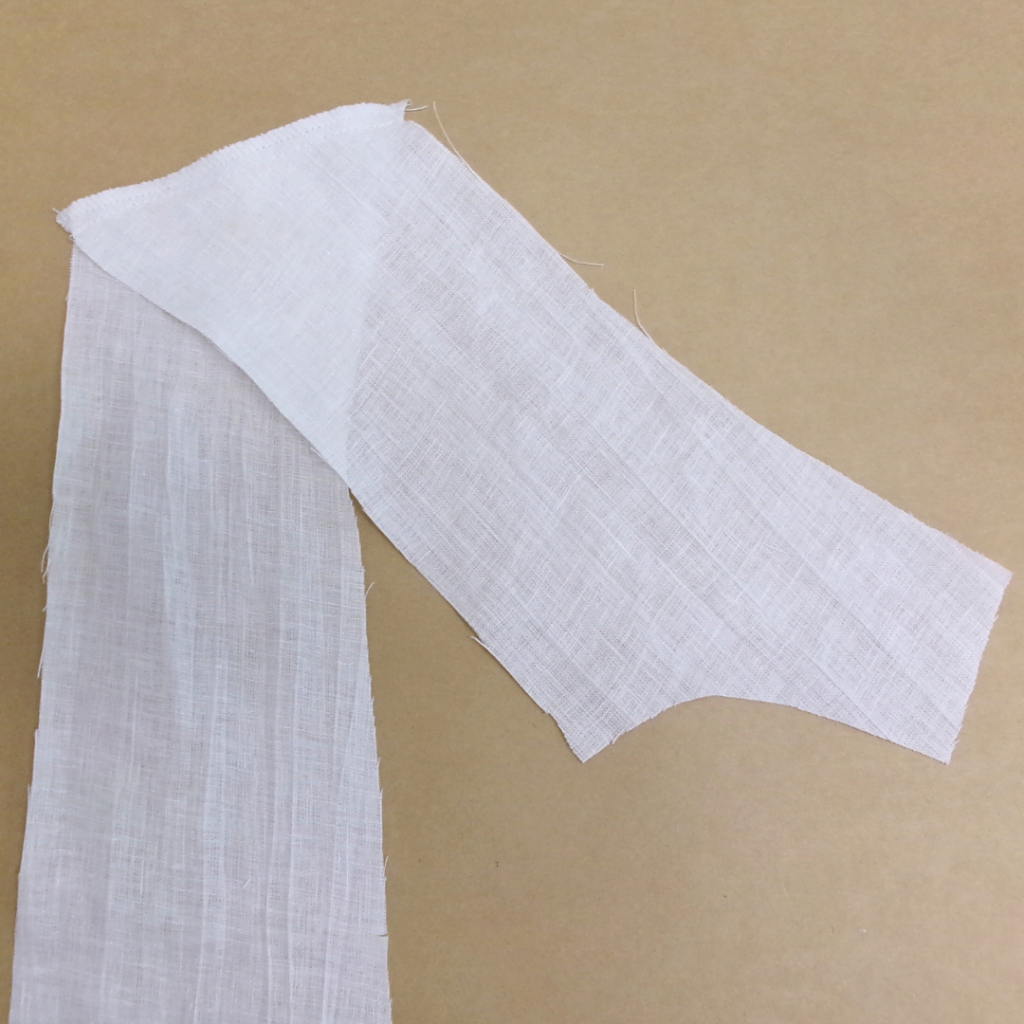
With RST, lay pocket bag 2 on top of pocket bag 1, align and sew both pocket bags together. Note that the straight edge of the under pocket is left free to sew to the back skirt side seam. Neaten around the pockets using an overlocker/serger. Secure stitch each end of the pocket opening.
With RST, pin the side front to back skirt (7) at the side seam. Sew along the side seam, stitching through the straight edge of the back pocket and finishing at the hem. Take care to not catch the front pocket opening as you go. Neaten using an overlocker/ serger and press towards the back.
BODICE:
With RST, sew the lower edge of the CF Bodice (2) to the upper edge of the CF Skirt (5). Neaten using an overlocker/serger and press upwards.
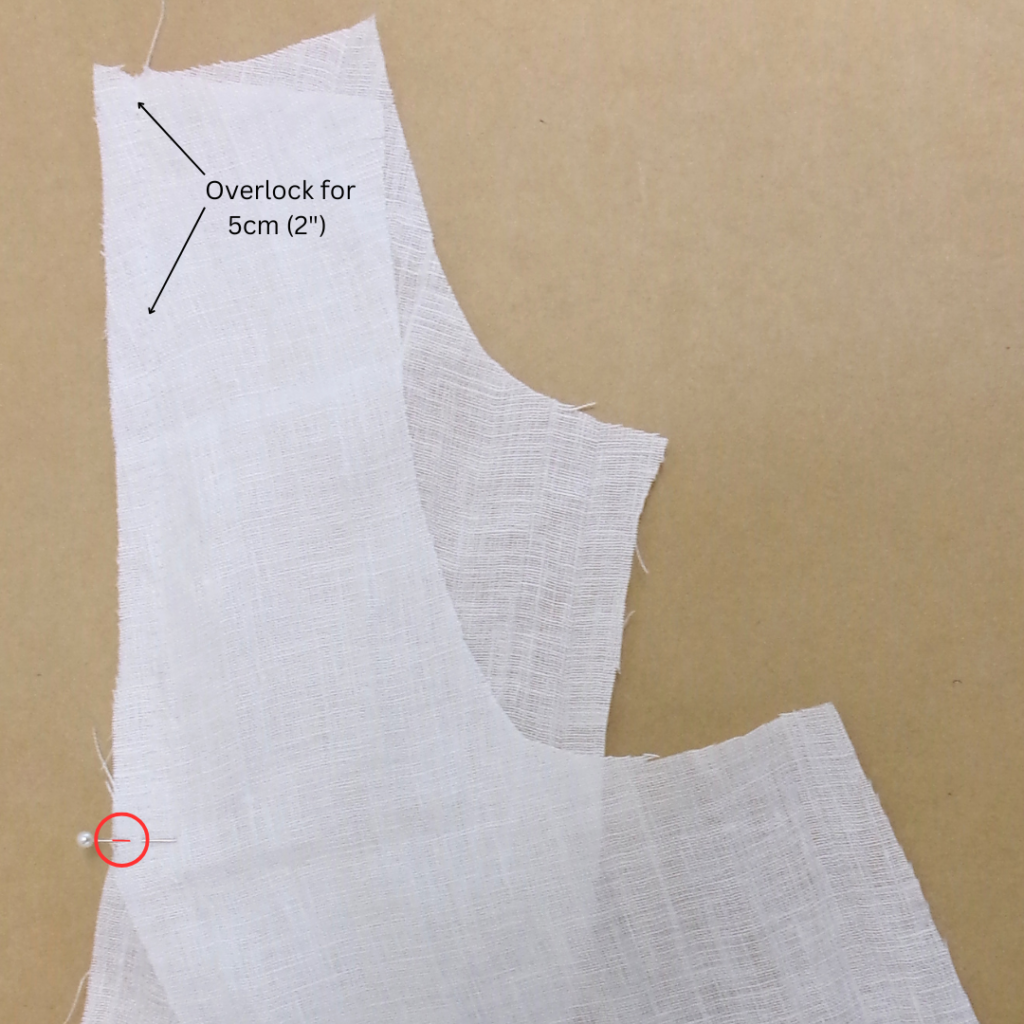
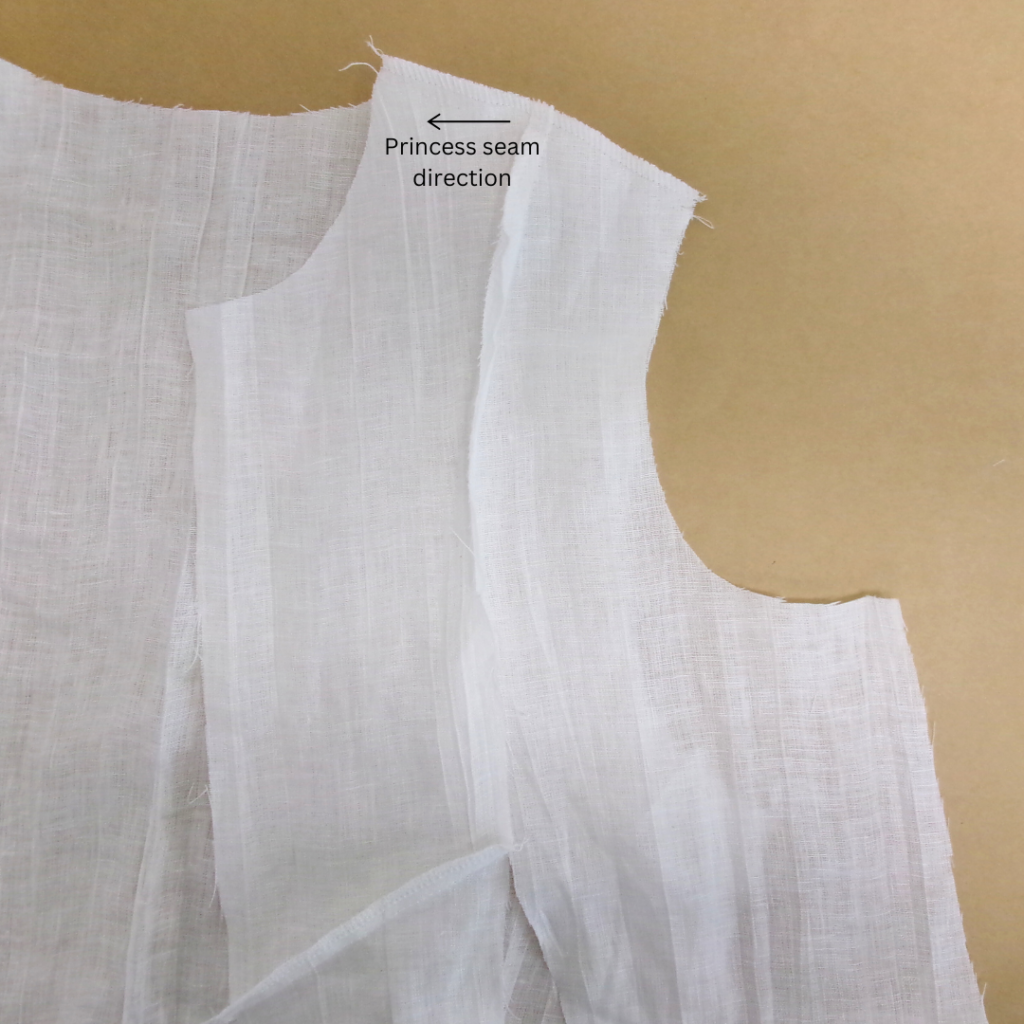
With RST, pin the Side Front Bodice (4) to the CF bodice at the bust seam. Starting at the shoulder, sew down as far as the first notch. Using an overlocker/serger, and starting at the shoulder seam, neaten along the princess seam for 5cm (2″). This will be completed at step 17.
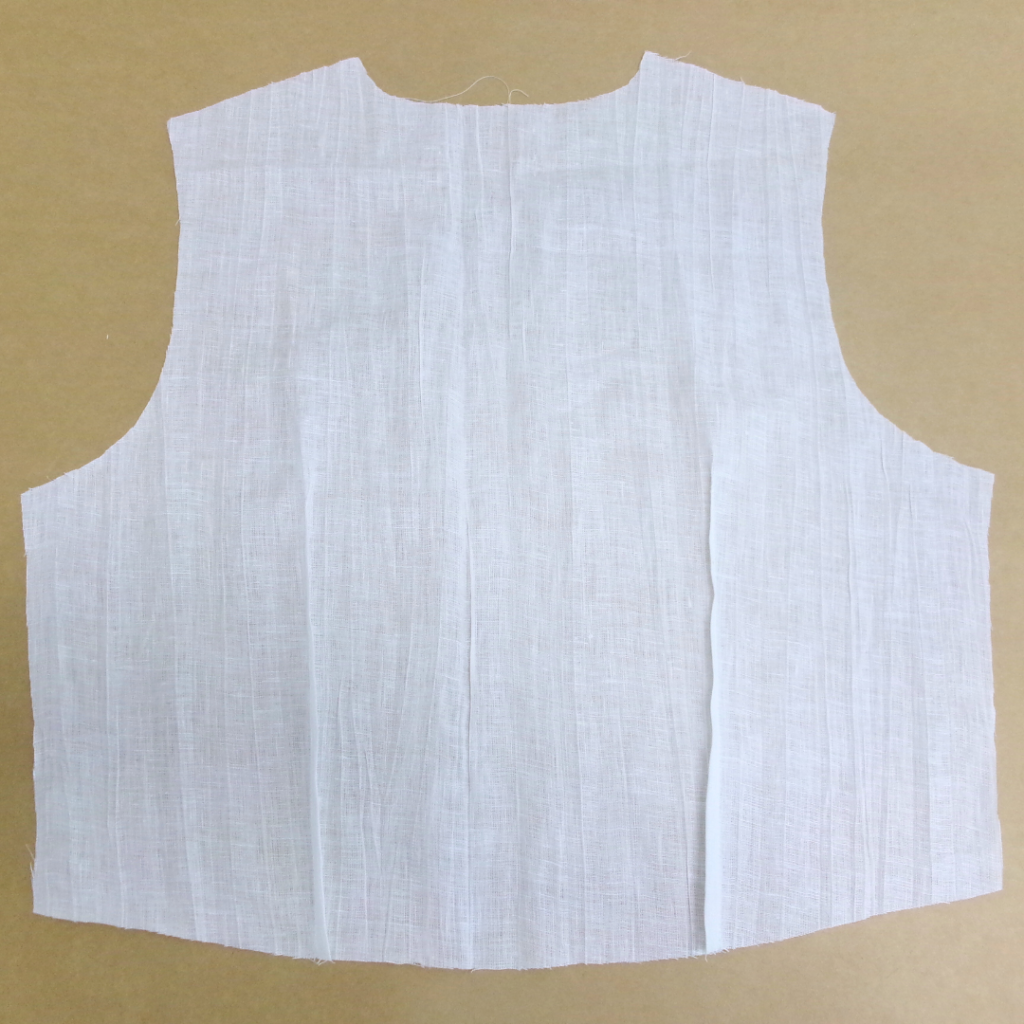
Sew the darts in the Back Bodice (1) and press towards the back.
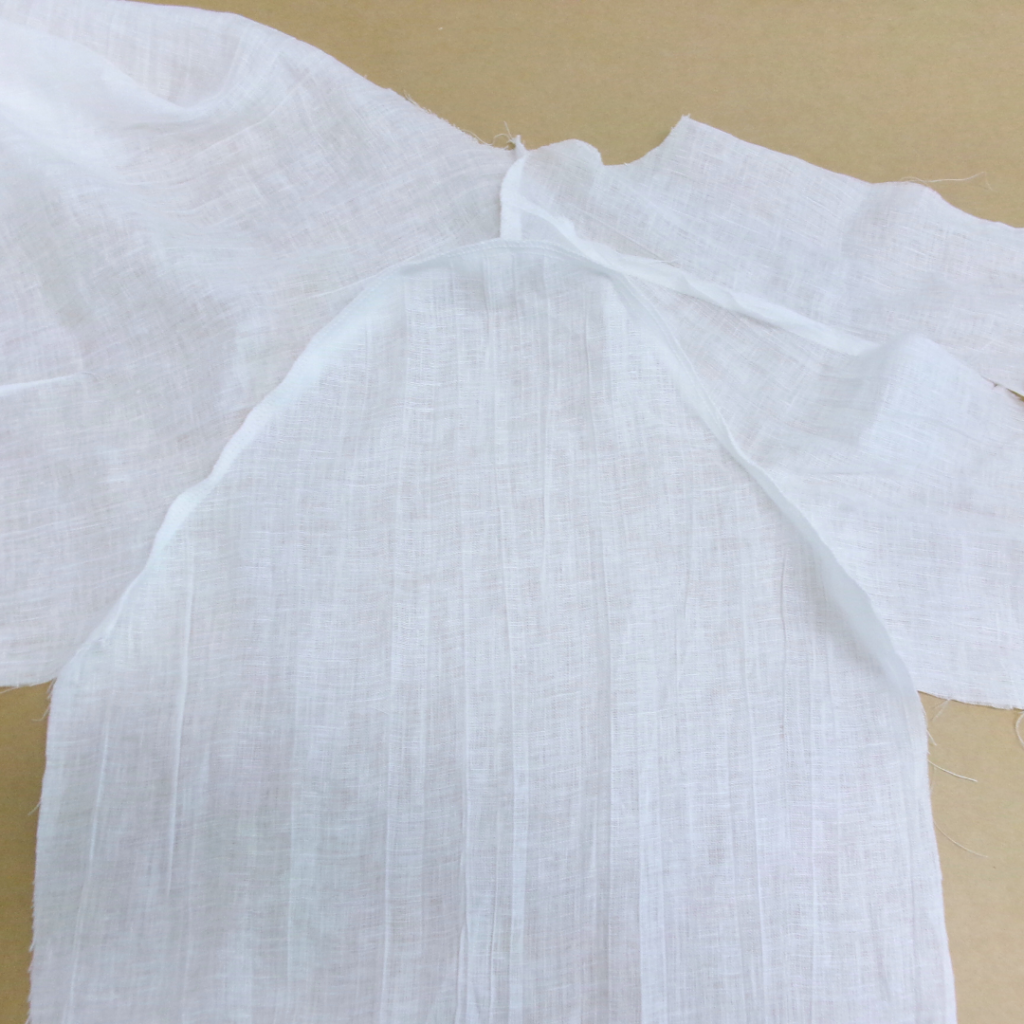
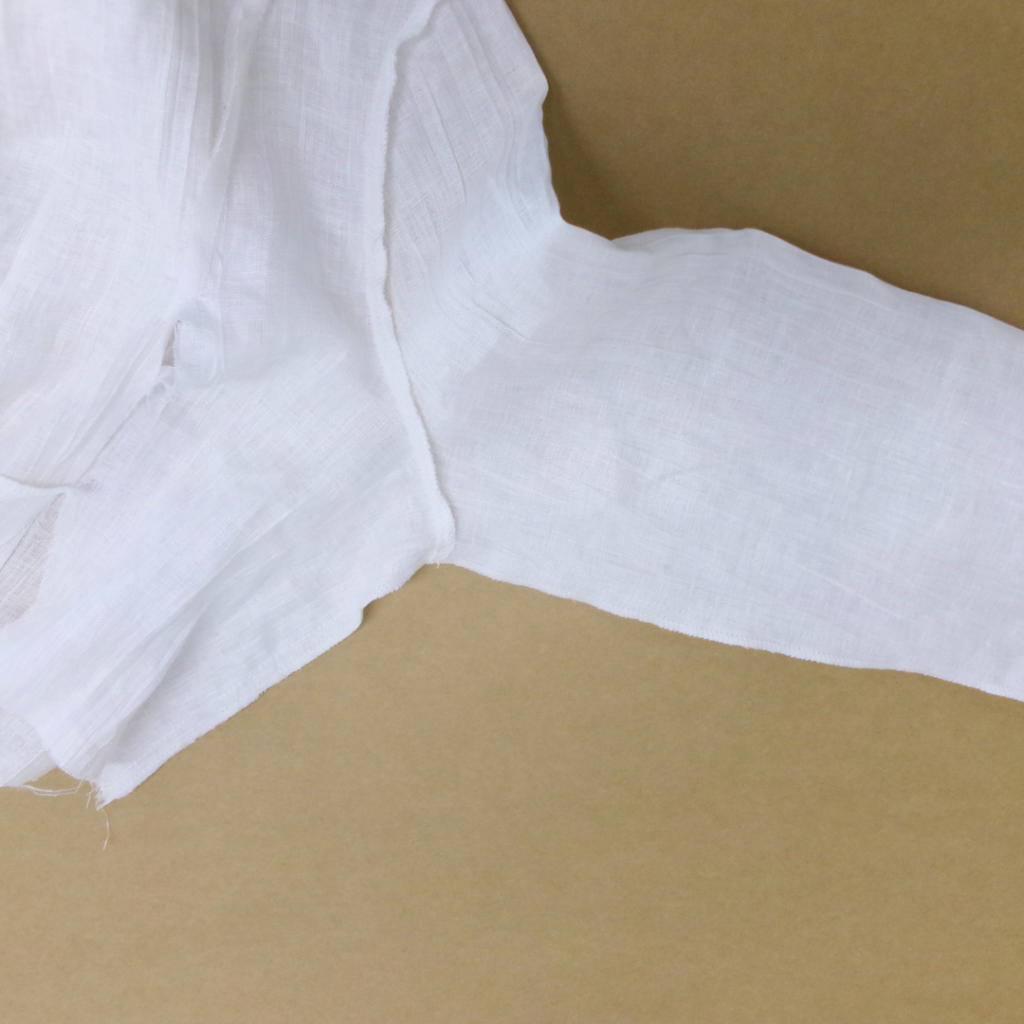
With RST and matching the notches to seams, sew the front bodice to the back bodice at the shoulder seams, with the bust seam facing toward the centre front. Neaten using an overlocker/serger and press towards the back. Sew a stay stitch around the neck opening to prevent stretching.
ARMHOLES BINDING (FOR SLEEVELESS BODICE):
With RST, pin the binding (8) to the arm opening. Note this seam is 6mm as marked on the binding. Sew, then press the seam toward the binding and understitch on the side of the binding.
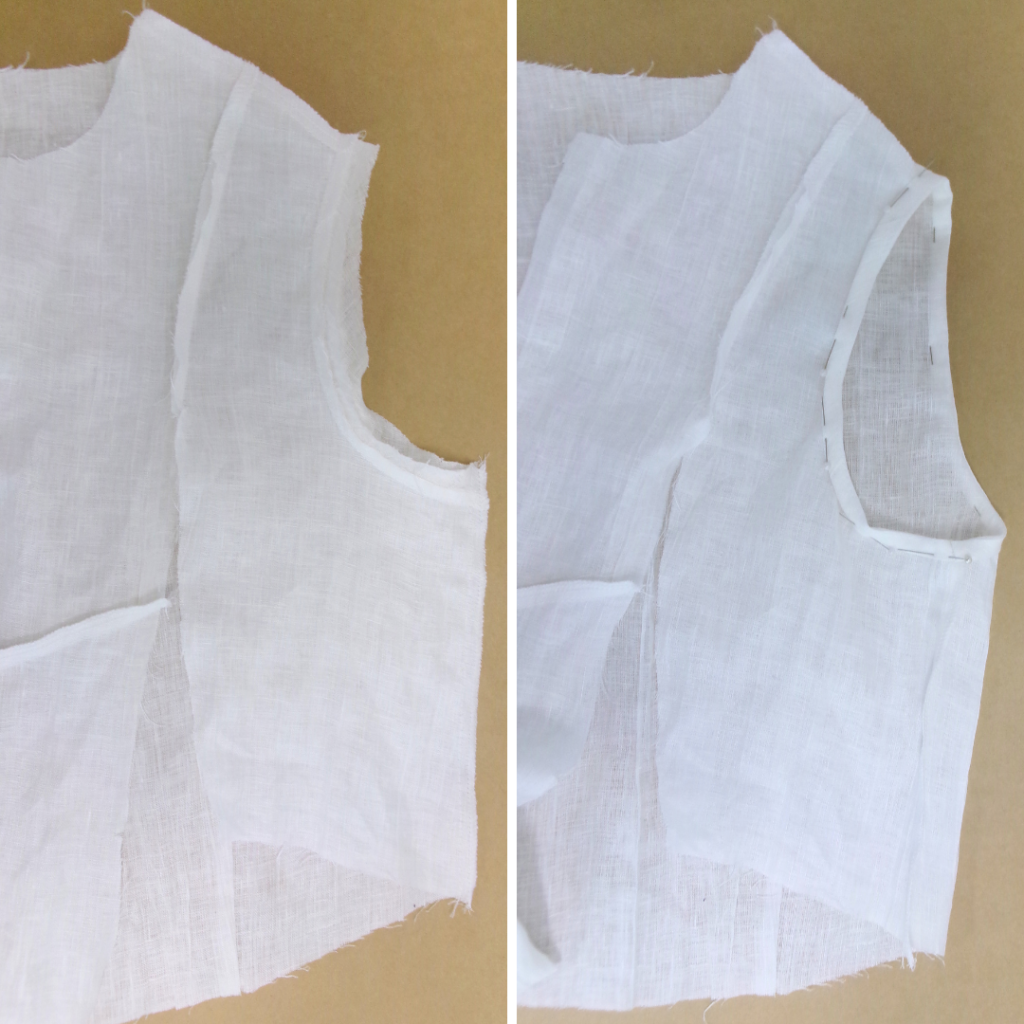
Sew the bodice front to back at the side seam. Neaten using an overlocker/serger and press toward the back. Fold the raw edge of the binding twice to the inside so the binding is on the inside of the arm opening covering the raw edge, pin into place. Sew, then press.
SLEEVES (FOR SLEEVED BODICE):
To make the tuck in the sleeve (14), lay the fabric right side up, fold the fabric RST matching the notches and pin. Fold the tuck in the direction of the arrow on the pattern and baste into place.
With RST and matching notches and seams, pin the sleeve to the arm opening in the bodice. Sew, then neaten using an overlocker/ serger and press towards the sleeve.
With RST and matching the under-arm seams, sew the front to back at the side seam and under sleeve seam. Neaten using an overlocker/ serger and press towards the back.
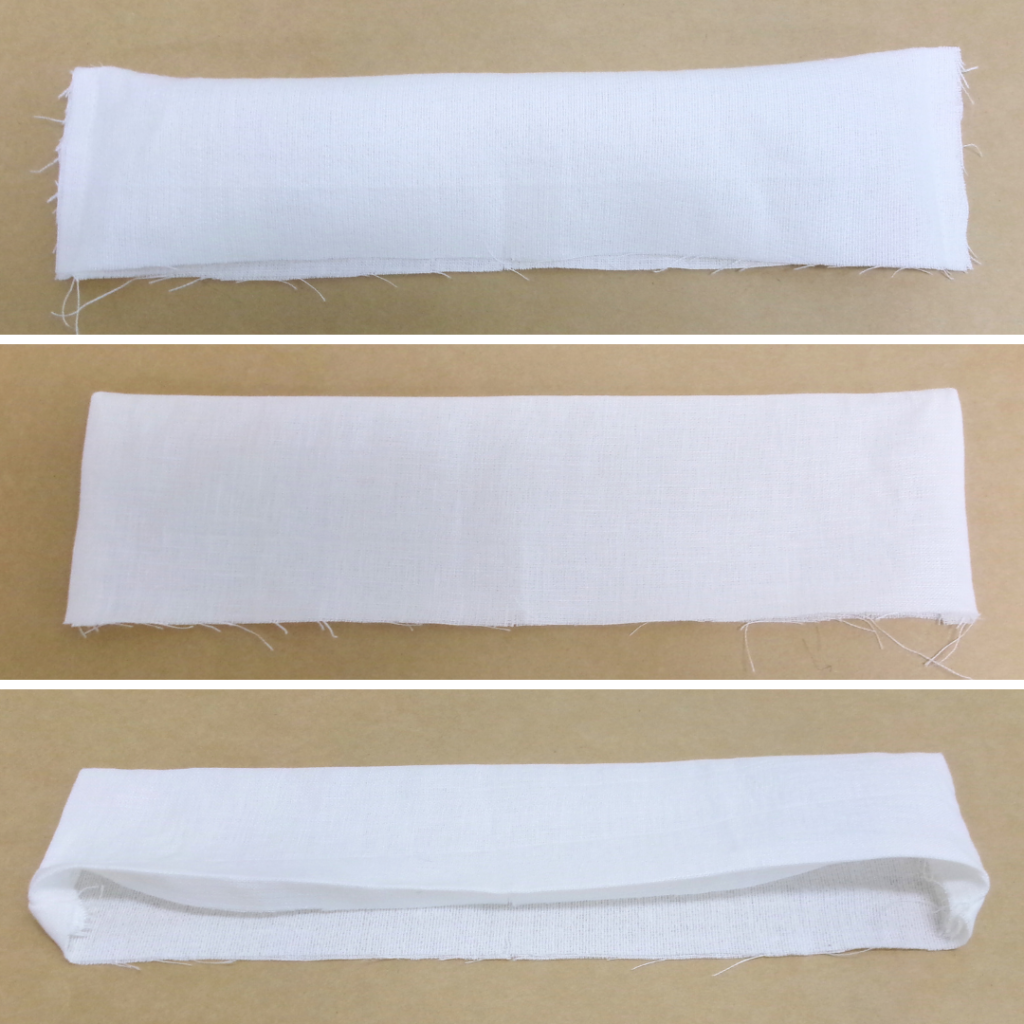
With RST, fold the Sleeve Cuff (15) in half lengthways and sew the short ends. Turn to the right side and press. Press one raw edge 1cm (3/8”) to the inside.
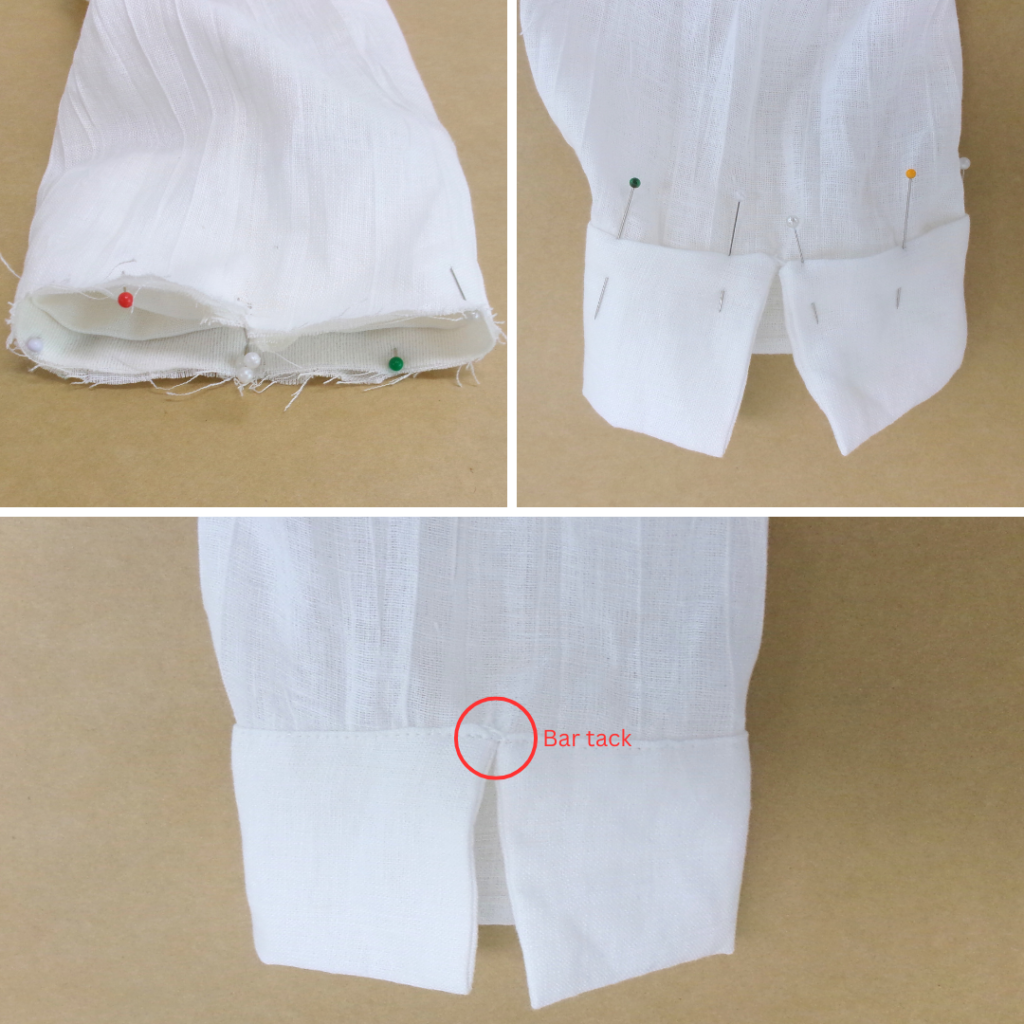
With the sleeve turned right side out, place the cuff inside matching the cuff opening to the notch, and pin the unfolded edge to the wrong side of the sleeve. Pull the cuff through to the right side and pin the folded edge to the right side of the sleeve opening. You may need to clip at the notch a tiny bit to release the fabric. Edge stitch the cuff into place. Make a small bar tack where the cuff opening meets to reenforce the seam. Press.
SKIRT:
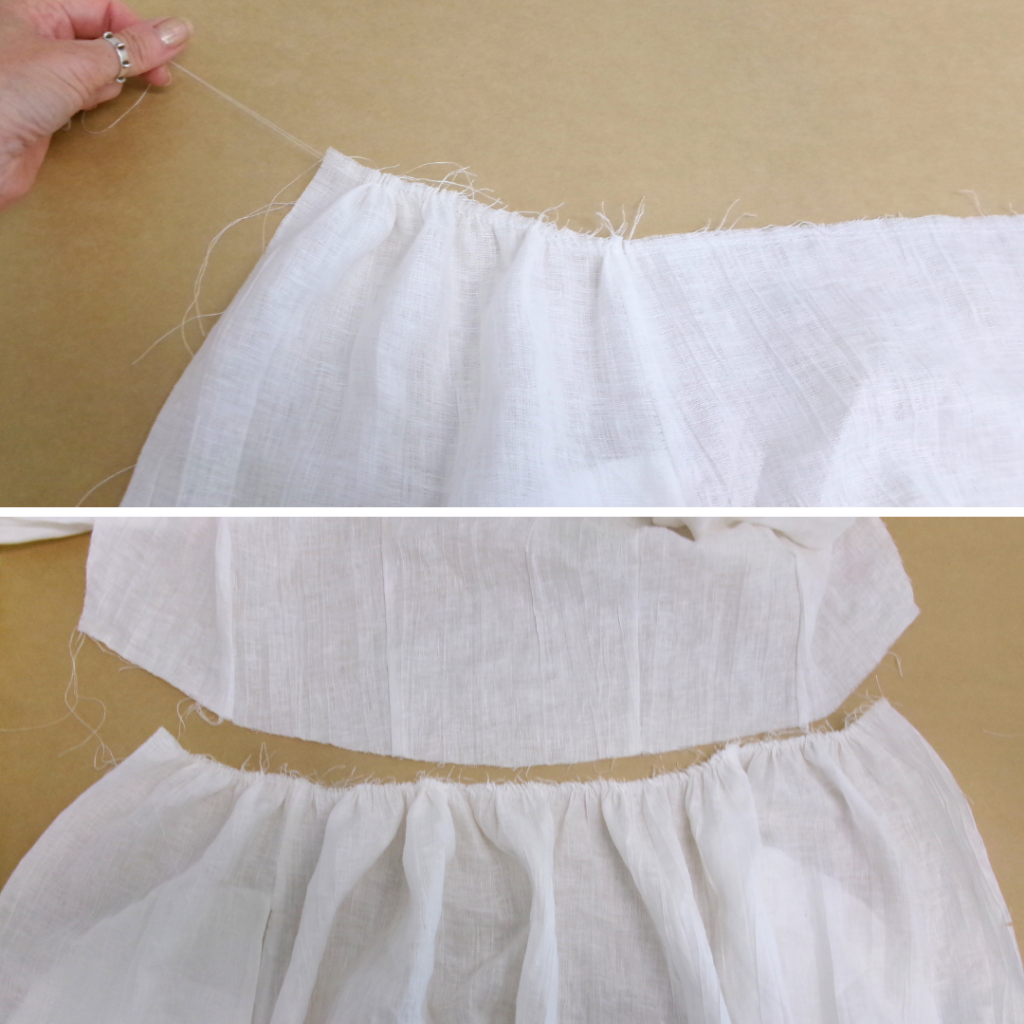
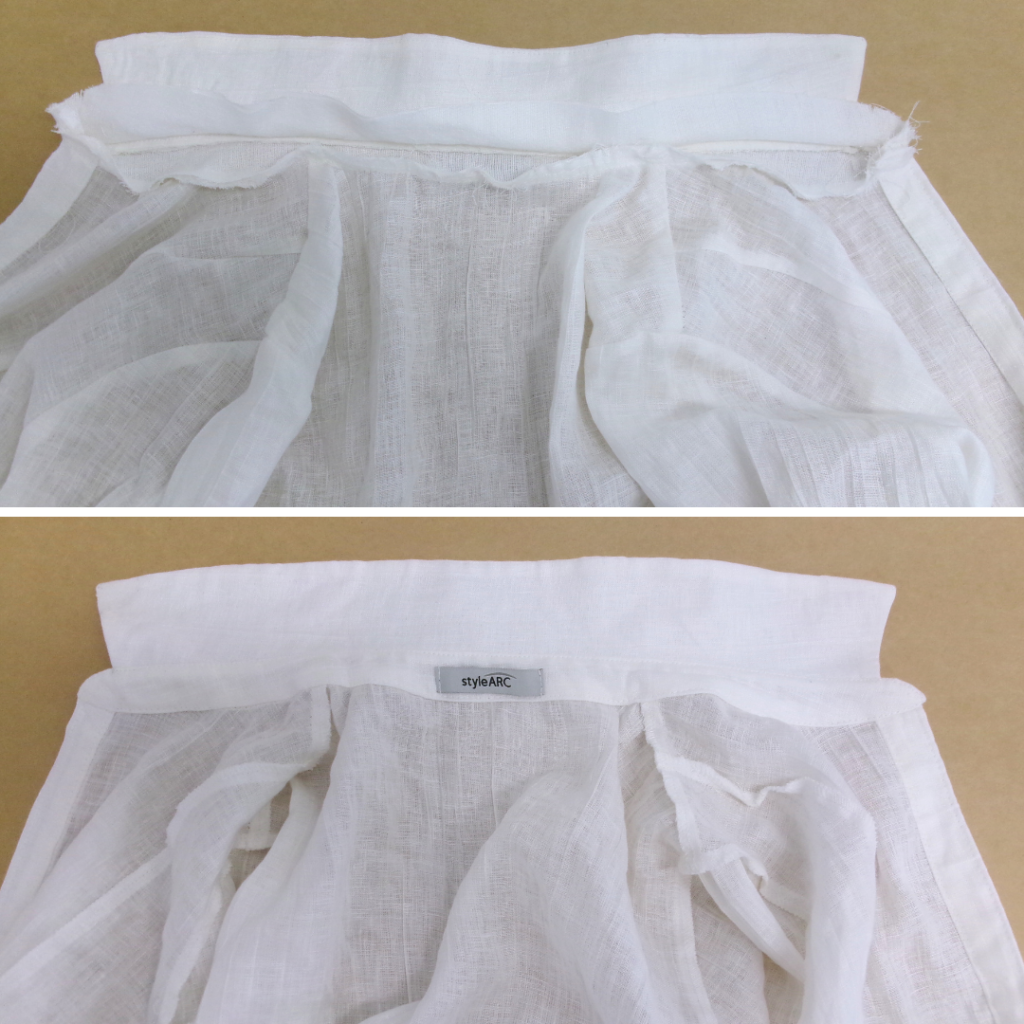
Sew two rows of long gathering stitches to the waist of the skirt. Draw in the gathering evenly to match the circumference of the bodice.
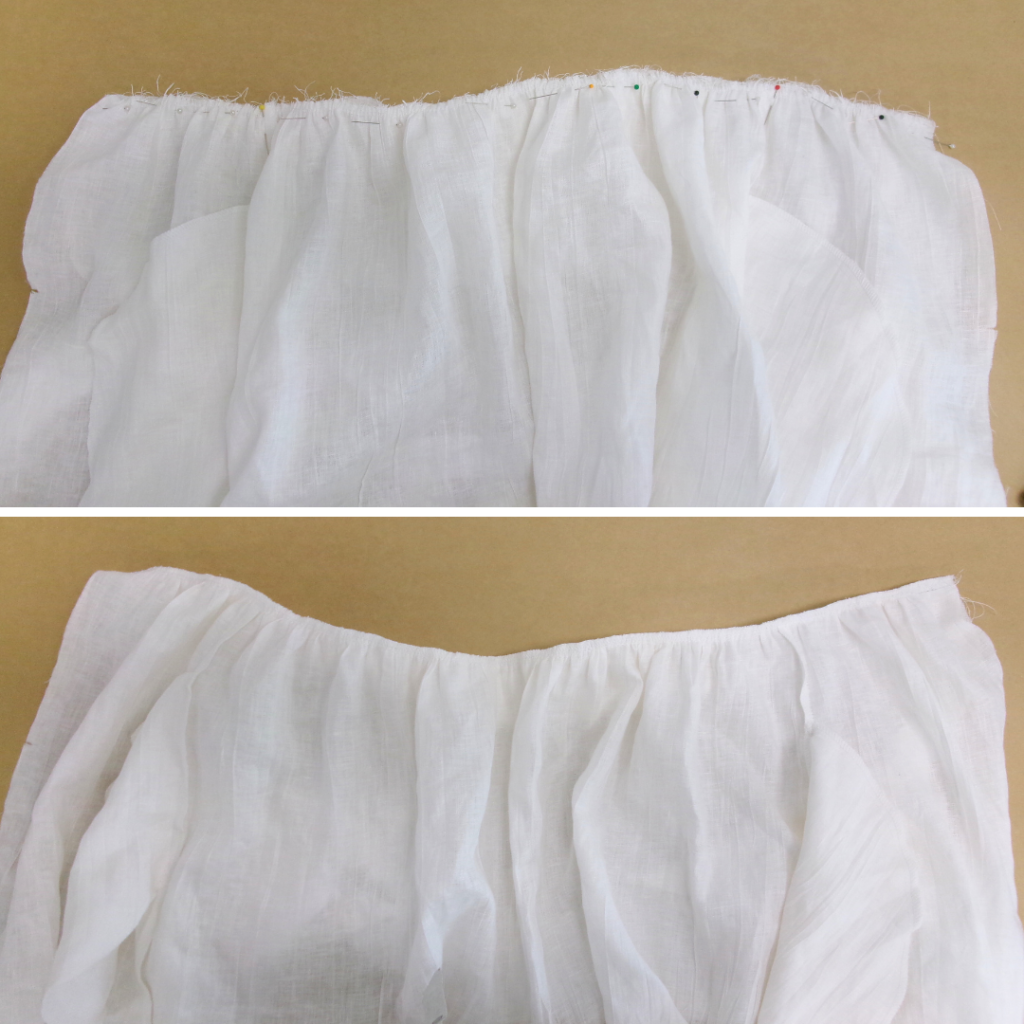
With RST, pin the gathered edge of the skirt to the bodice, matching notches and seams. Sew the waist seam, then neaten using an overlocker/serger and press upwards.
With RST and matching notches, pin the Side Front Bodice and Side Front Skirt to the CF Bodice and CF Skirt. Sew, then neaten using an overlocker/serger and press towards the front, completing Step 7.
HEM:
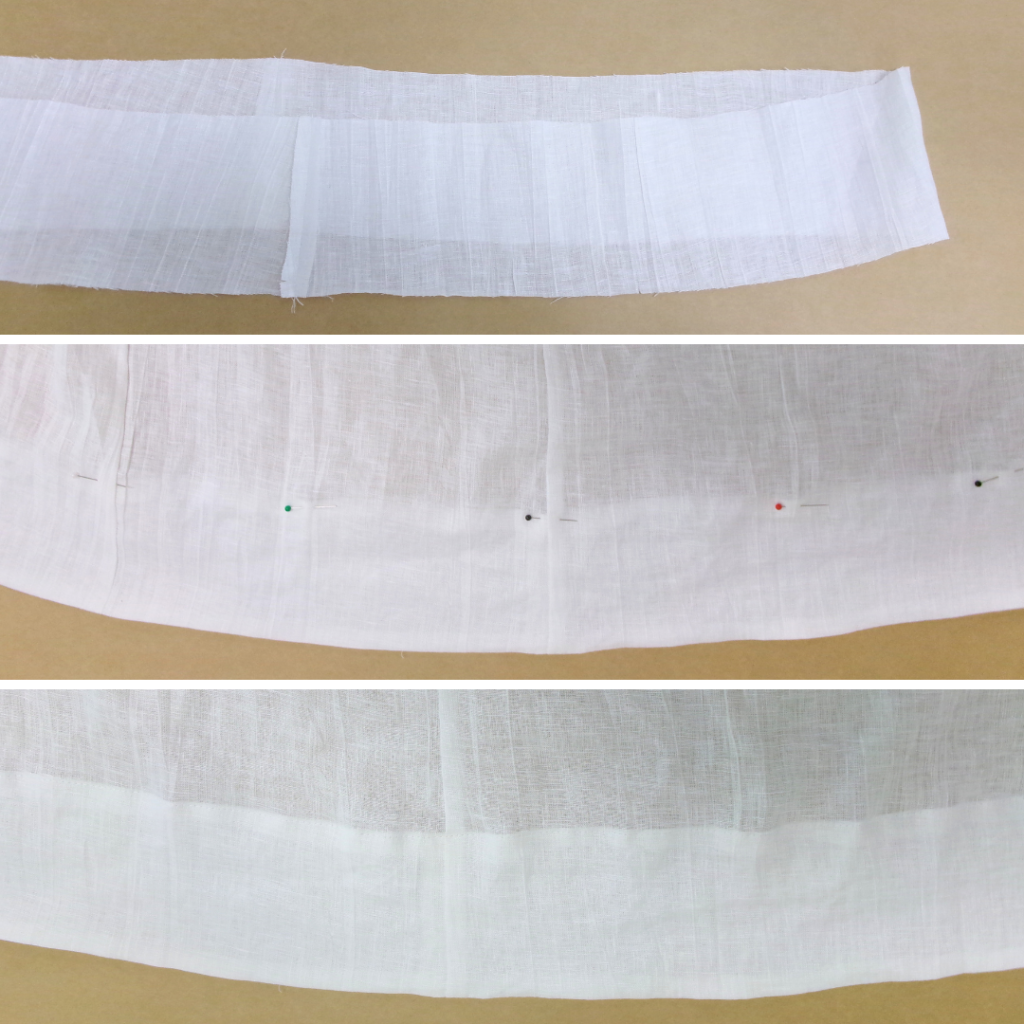
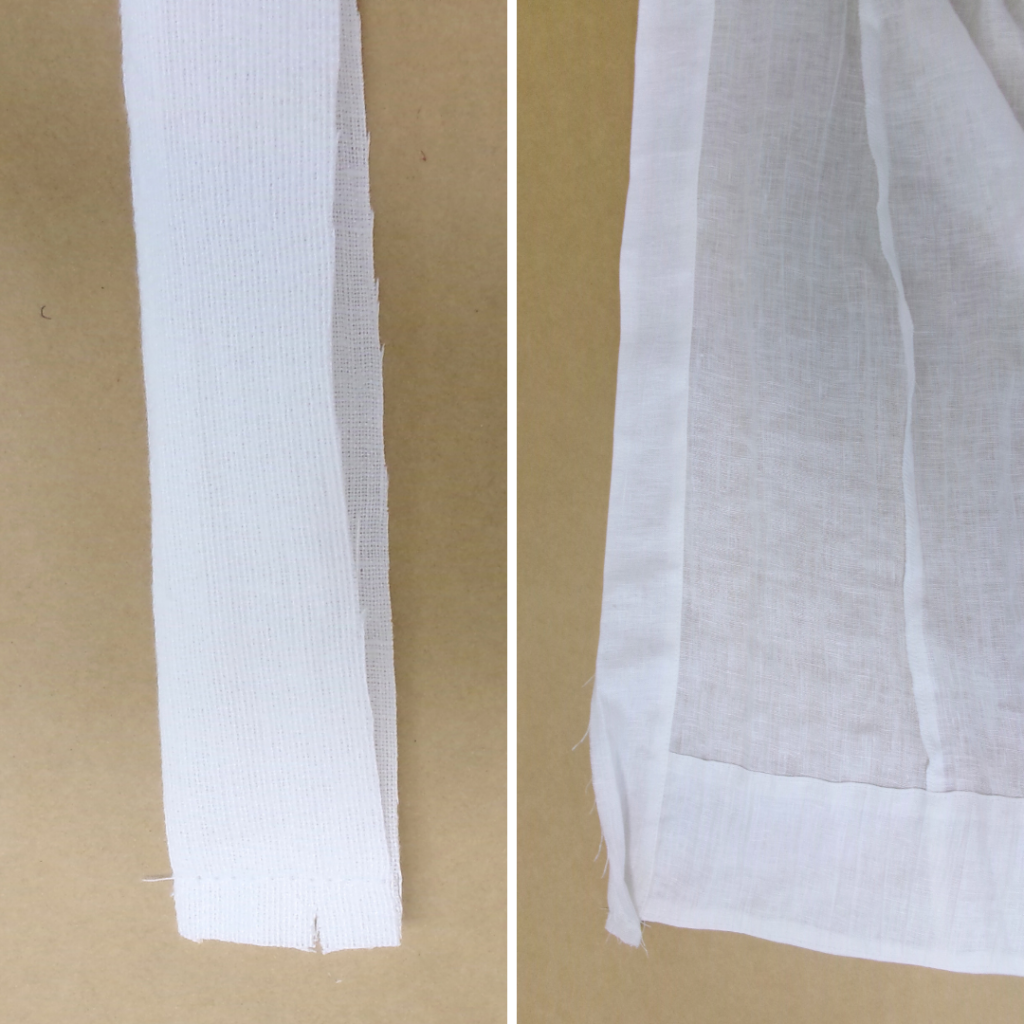
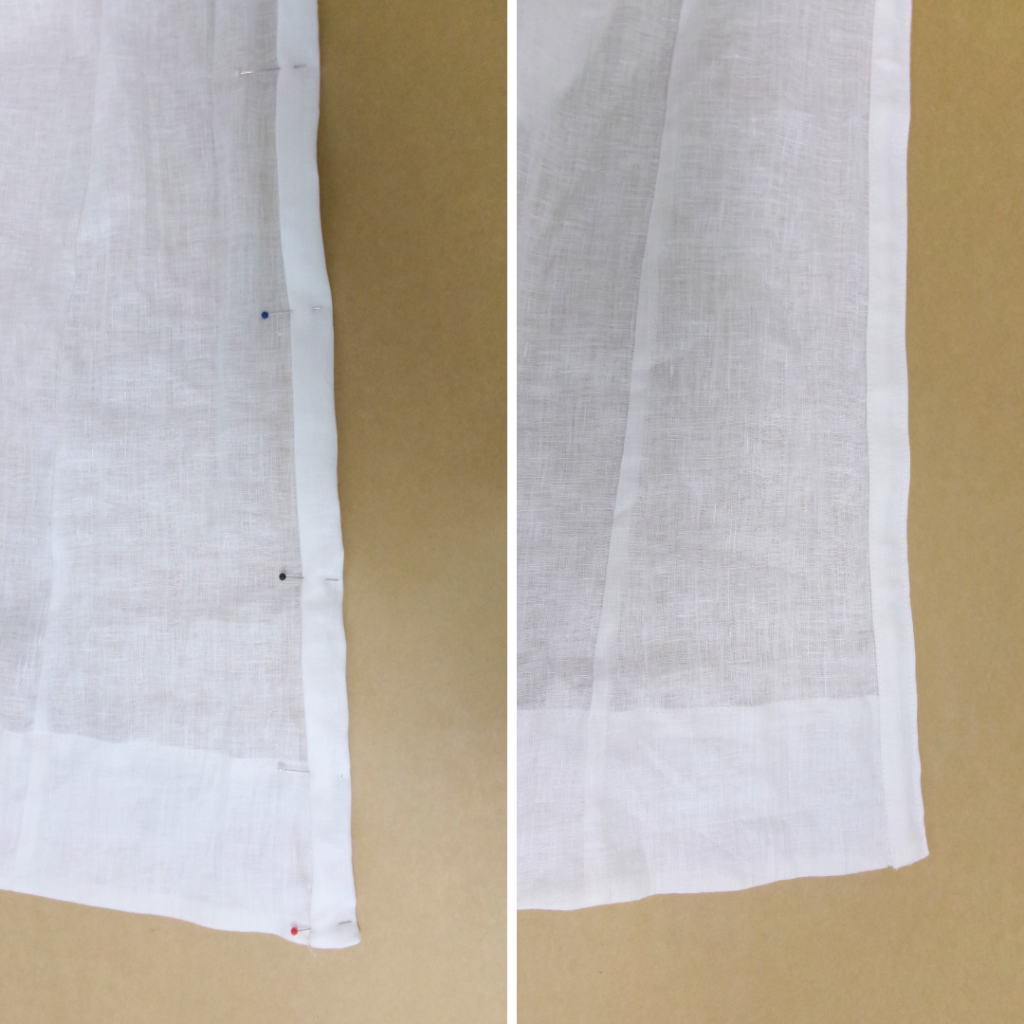
With RST, sew the Front Hem Facing (12) to the Back Hem Facing (13) at the side seams. Press open.
With RST and matching notches, sew the hem facings to the hem of the dress. Under stitch the seam on the side of the facing. Press the raw edge of the facing under 1cm (3/8”). Fold the facing up to the inside of the skirt, pin into place and top stitch. Press.
FRONT PLACKET:
Fold the Front Placket (3) in half lengthways with RST and sew the short end at the hem. Turn out to the right side and press. Sew the right side of one of the raw edges the placket to the wrong side of the front opening of the dress.
Press the raw edge of the placket under 1cm (3/8”) and pin into place to the right side of the front opening. Sew. Edge stitch along the length of the placket at the outer edge.
ATTACHING COLLAR TO NECKLINE AND COMPLETION:
With notches matching, sew the right side of the inside collar stand to the wrong side of the neck opening. Turn the outer edge of the collar stand under and press. Pin into place and edge stitch.
COMPLETION:
Mark the button and buttonhole placement on the front of the placket and collar stand as indicated on the pattern. Make the buttonholes using your preferred method and attach the buttons.
Trim any loose threads and press your new Hampton dress!
