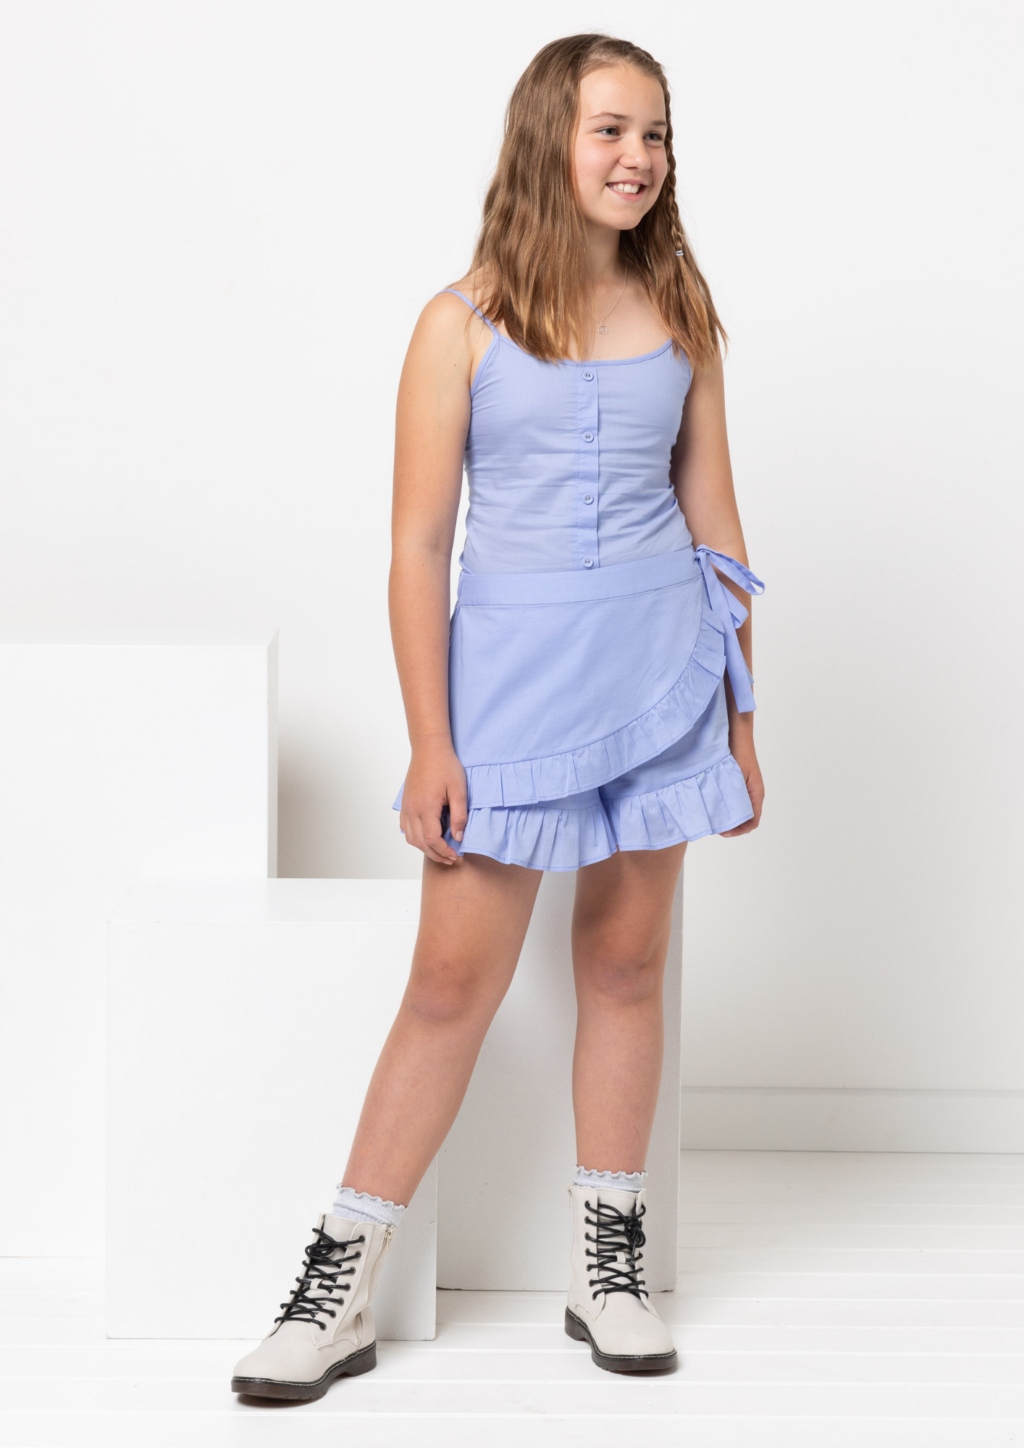
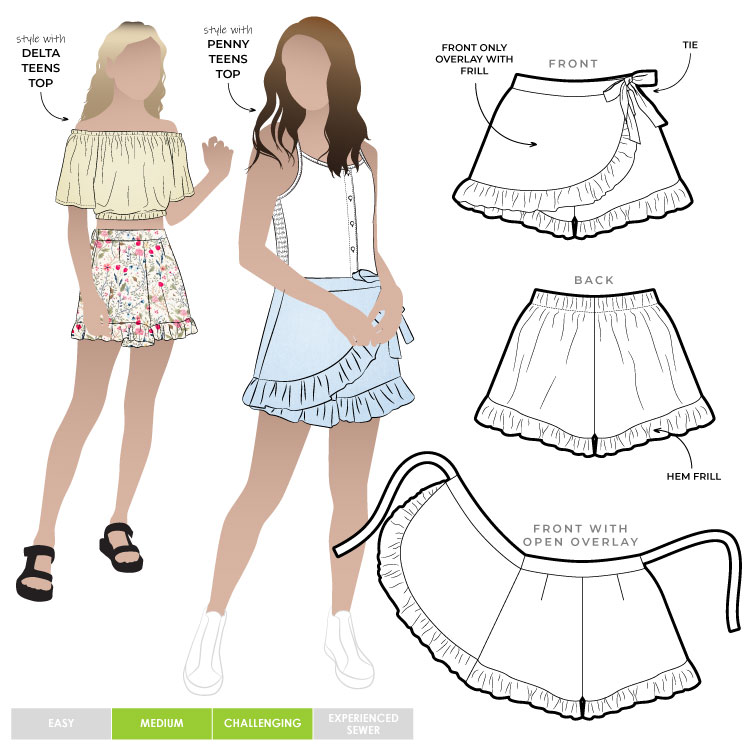
M A R G O T . T E E N S . S K O R T
STEP-BY-STEP TUTORIAL
TIES & OVERLAY:
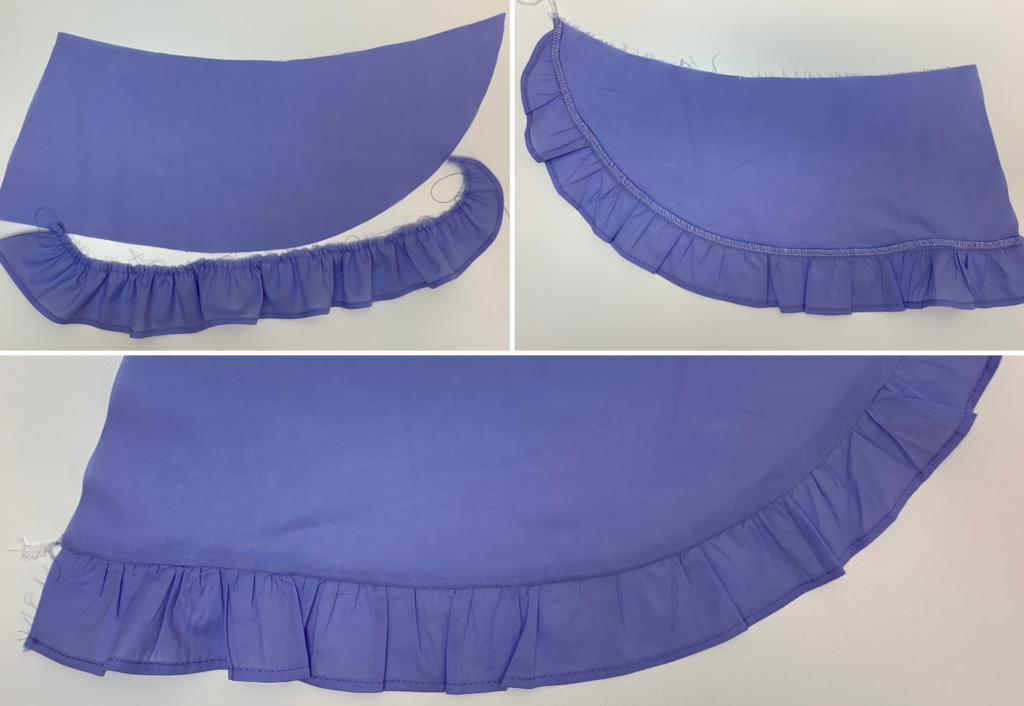
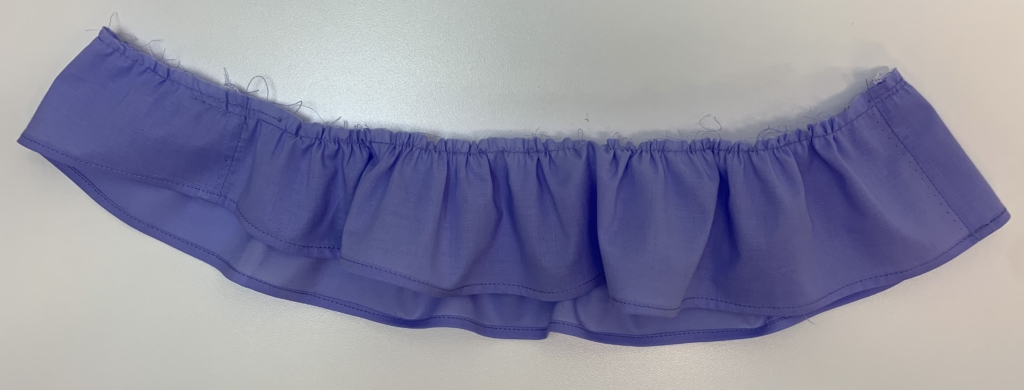
Neaten the lower edge of the overlay frill, by either double turning or overlocking and folding seam allowance inwards.
Sew two rows of a large gathering stitch to the straight edge of the overlay frill and gather up to the length of the overlay. With right side facing sew the frill to the base of the overlay, neaten seam with overlocker/serger and press the seam up.
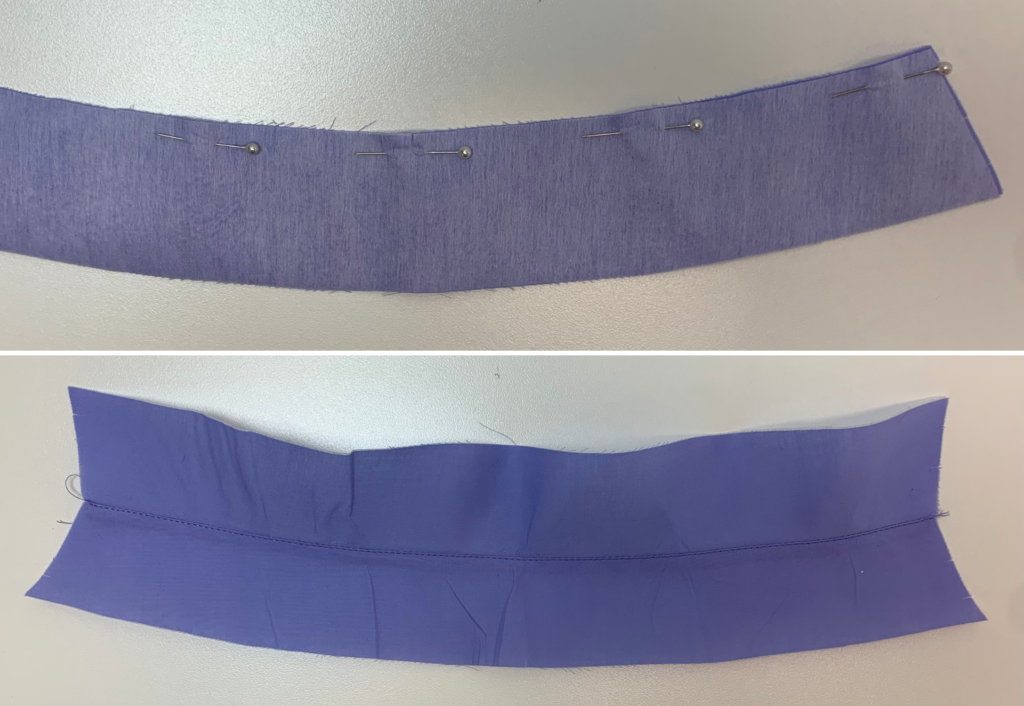
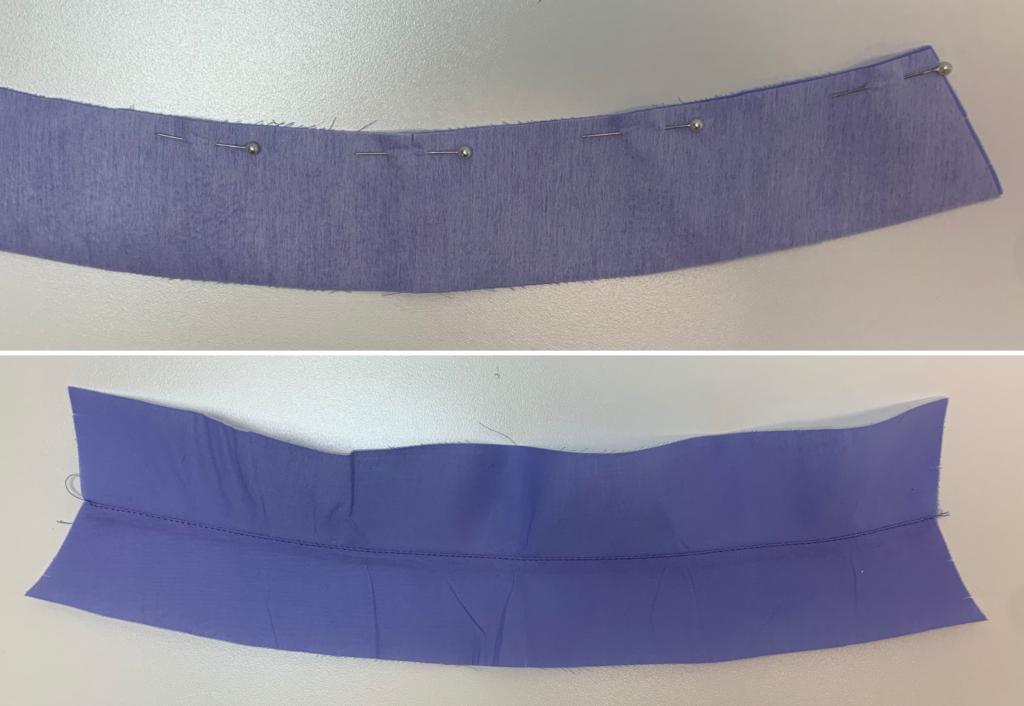
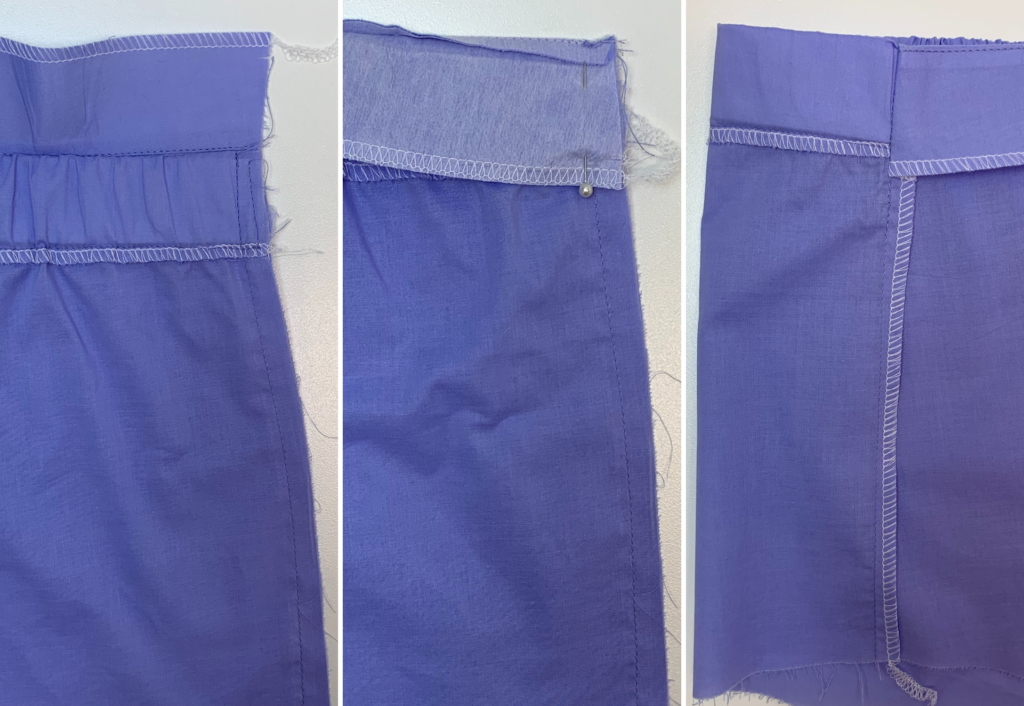
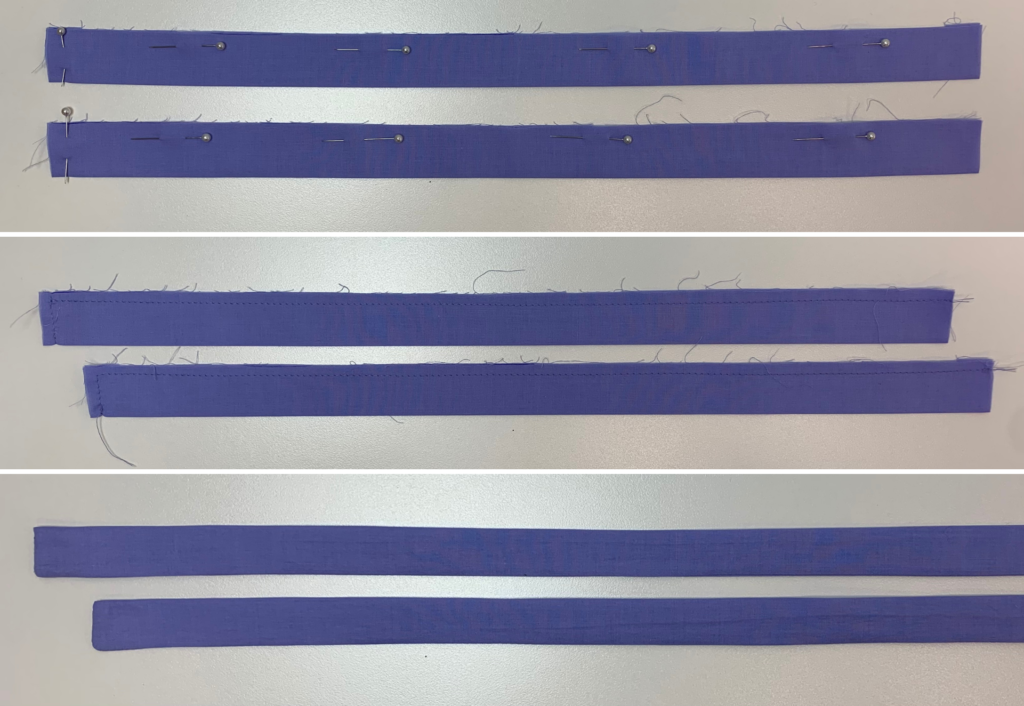
With right sides facing sew the top edges of the two overlay waistbands together. Press seam towards one side and from the correct side of the fabric sew an understitch close to the seam, through the seam allowance. This will become the inner waistband.
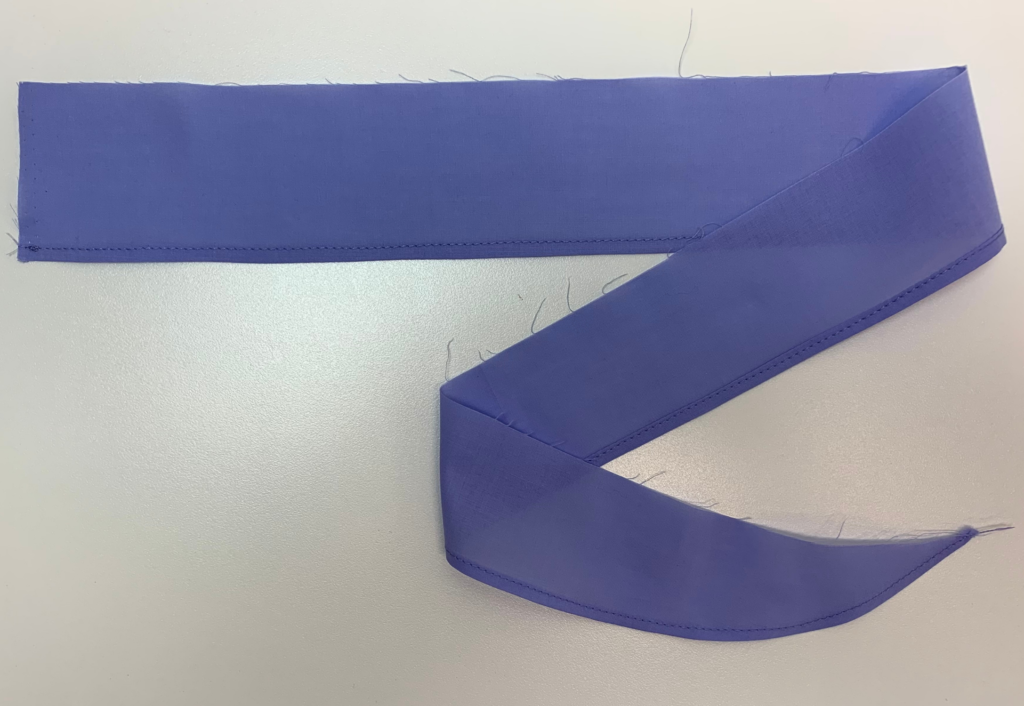
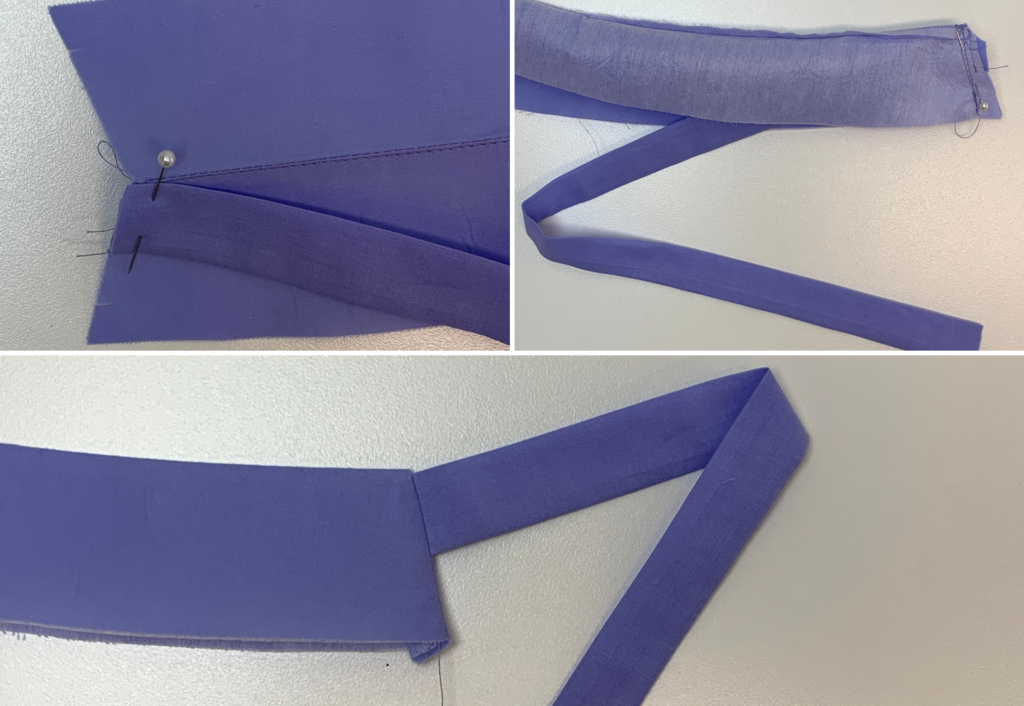
Stay stitch the raw edge of one tie to the left edge of the outer waistband with right sides facing. Fold the inner waistband over with right sides facing and sew together, sandwiching the tie in between as you sew. Turn out to the right side and press.
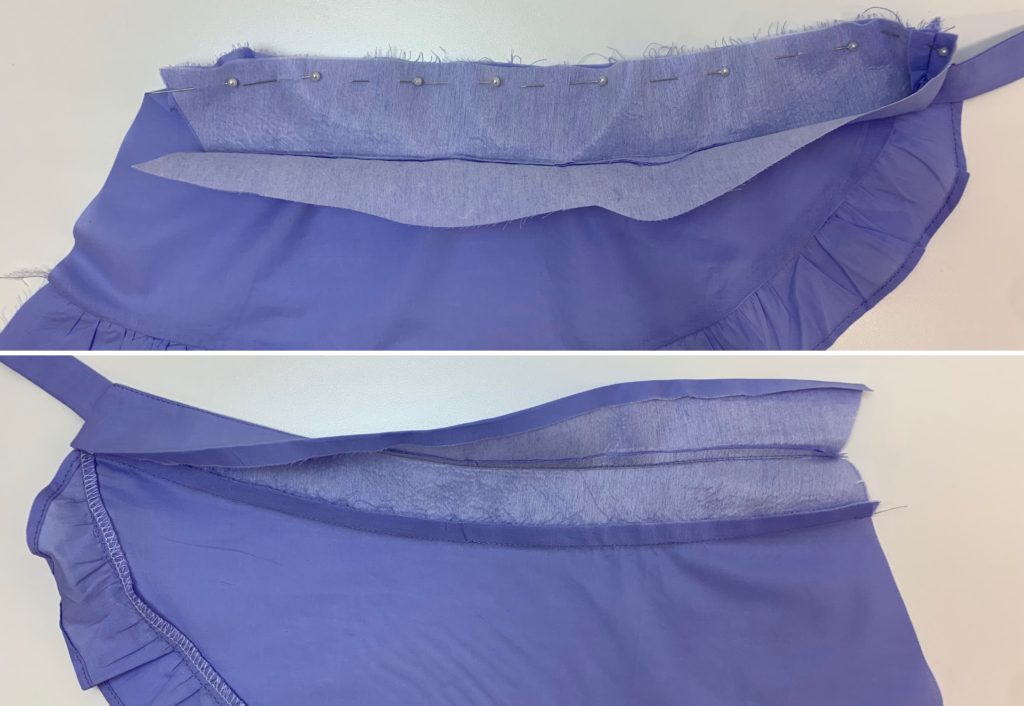
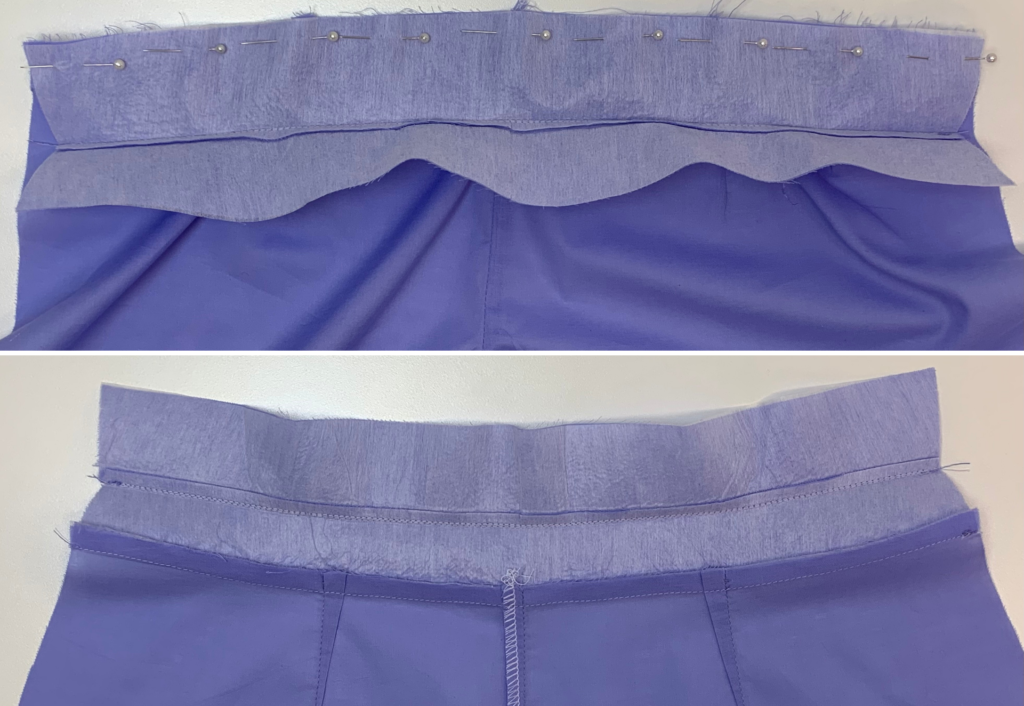
With right sides facing sew the outer waistband to the waist of the over lay, press seam upward. Press the seam allowance of the inner waistband inwards and pin down to the waist.
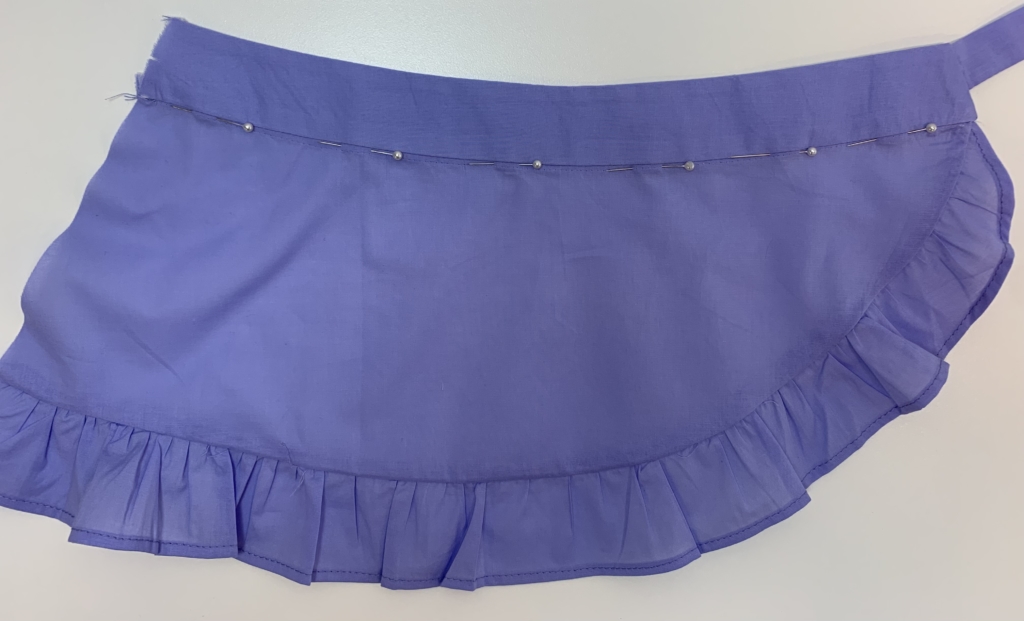
From the correct side of the fabric stitch the inner waist down with a sink stitch (stitch in the ditch).
Press and put overlay aside until arriving at step 25 of the construction sheet.
SHORTS:
Note: Due to the overlay the right side seam is sewn last
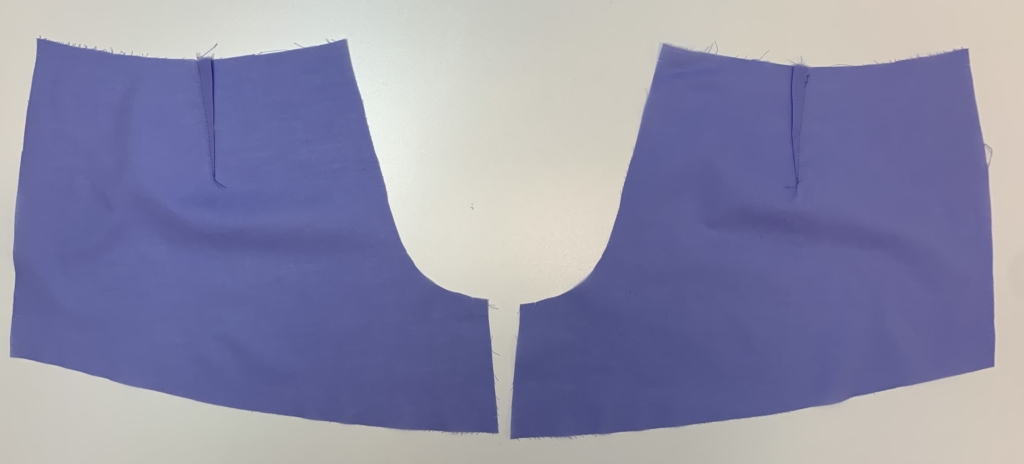
Sew the front waist darts and press to the inside.
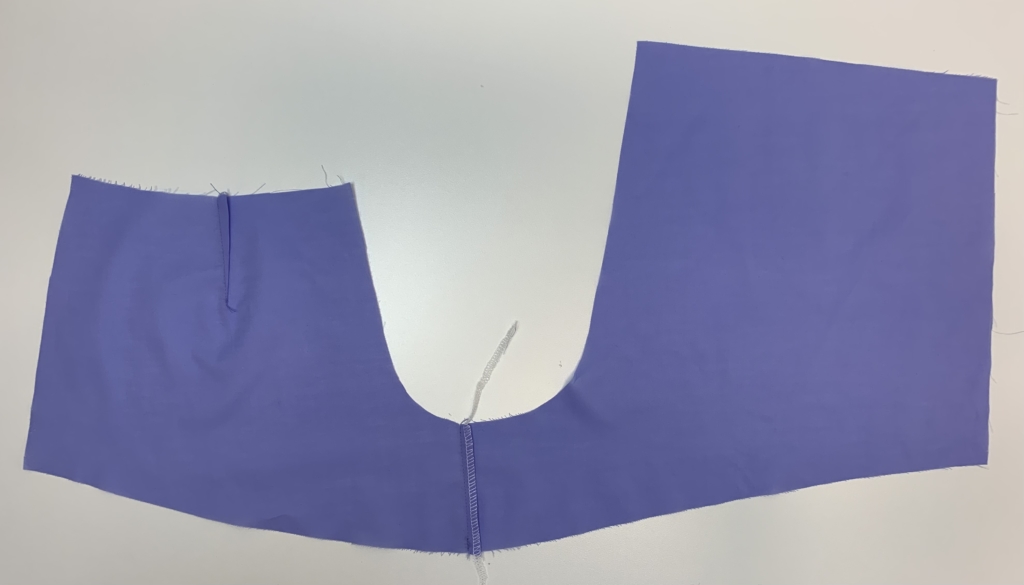
With the rights sides facing sew the front and back inseam legs together. Neaten with overlocker/serger and press to the back.
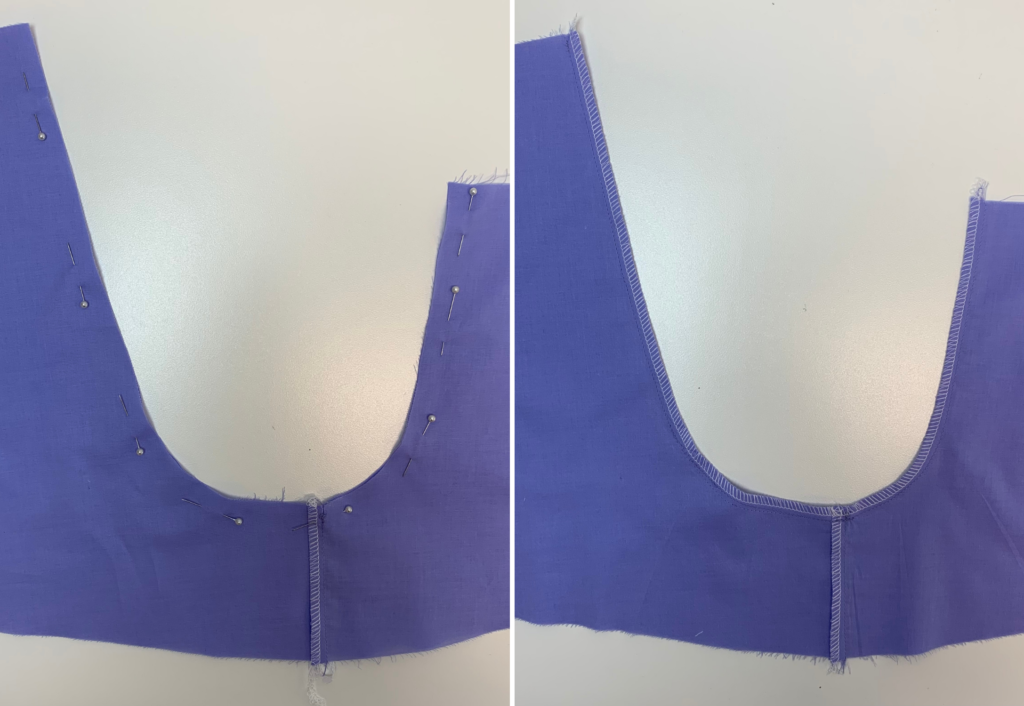
With right sides facing sew the back crotch seams together, sew from the back waist down to the crotch junction and continue sewing up the joining the front crotch seams. Neaten with overlocker/serger and press to one side.
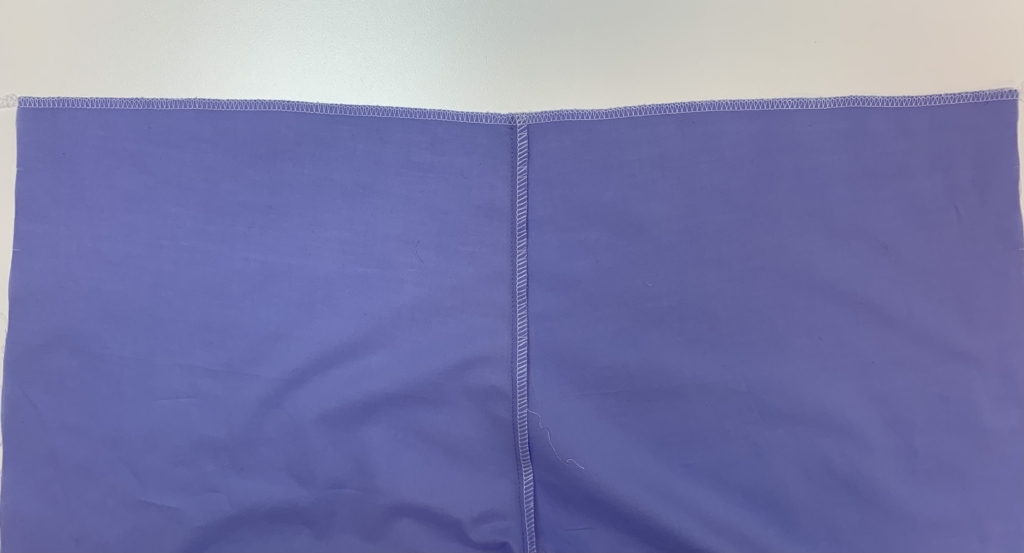
Neaten the top edge of the back with overlocker/serger.
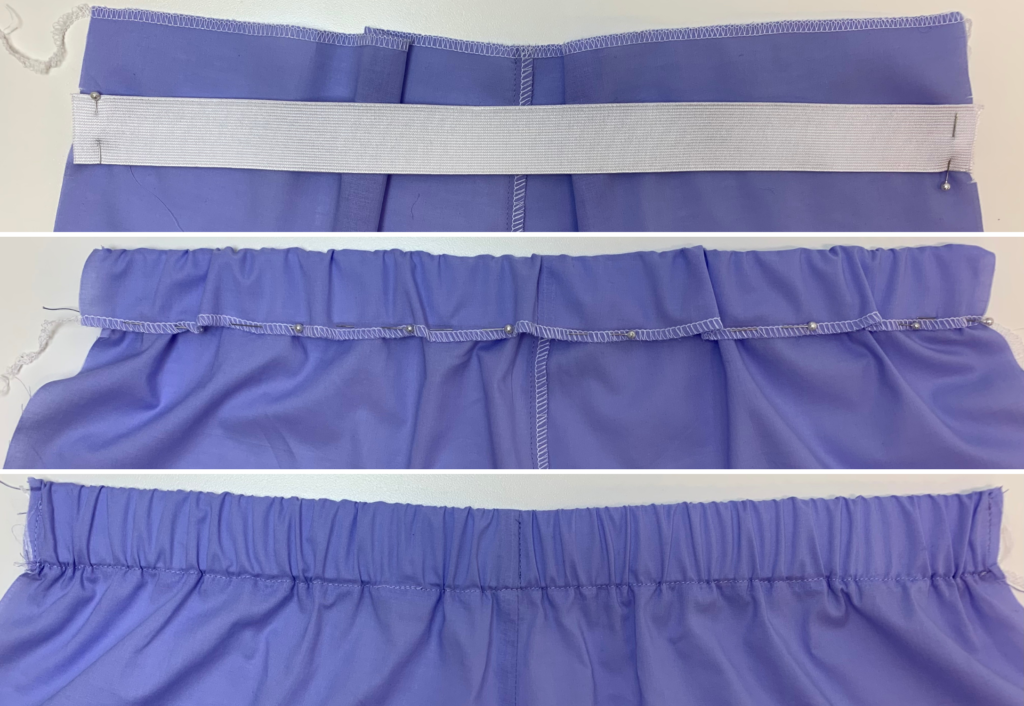
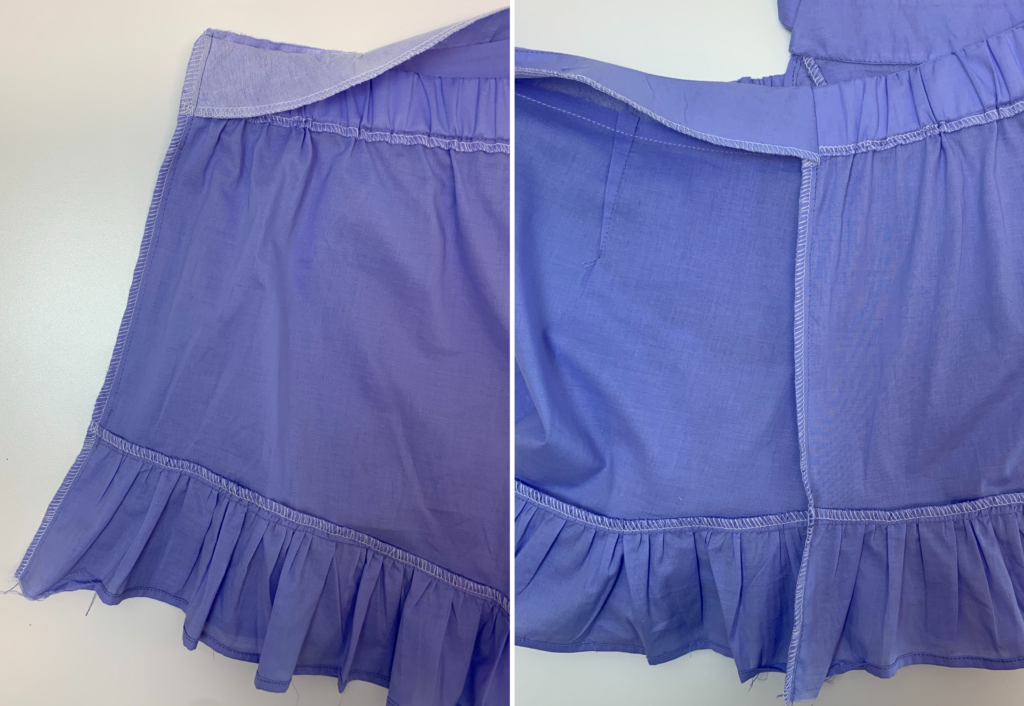
Cut the elastic to your preferred length and stitch to each side seam below the fold line of the back waist, fold the fabric over along the fold line, covering the elastic. Sew along the base of the casing. Stretch out the elastic to achieve even gathering then stitch a vertical stitch through the centre back casing to stop the elastic from rolling.
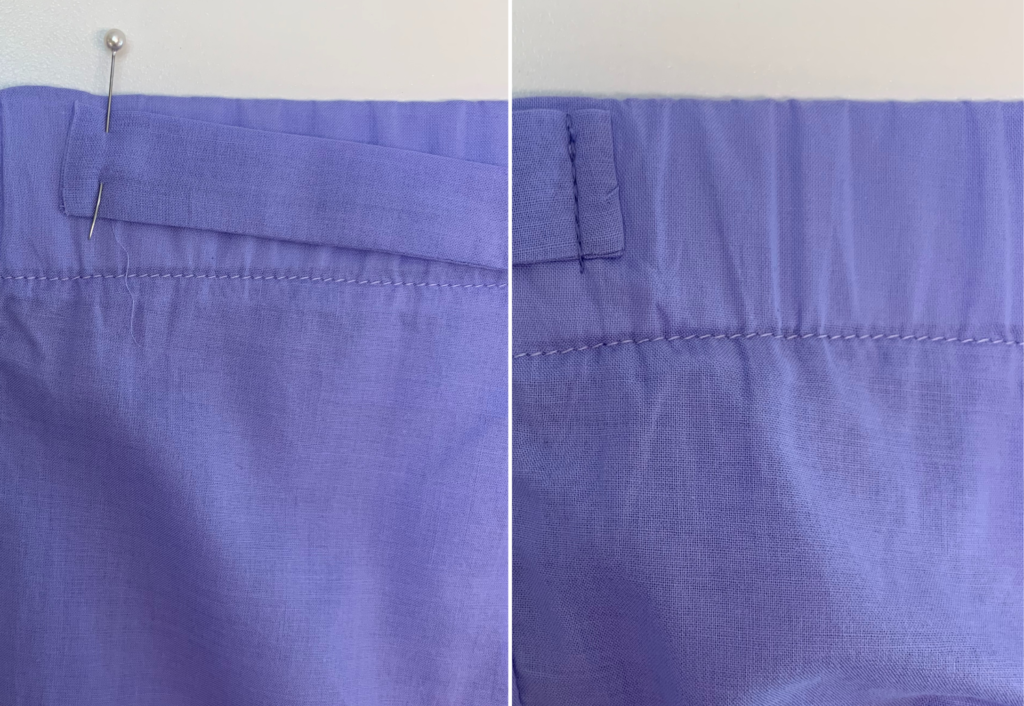
Stitch the 2nd made-up tie to the top of the back elastic approximately 2cm (¾”) in from the left side seam.
With right sides facing sew the top edge of the two front waistbands together. Press seam towards one side and from the correct side of the fabric sew an understitch close to the seam through the seam allowance, this will become the inner waistband.
With right sides facing sew the outer waistband to the waist of the front short, leaving the inner waist band open as the back elastic will be sandwiched between the side seams front waist bands.
LEFT LEG:
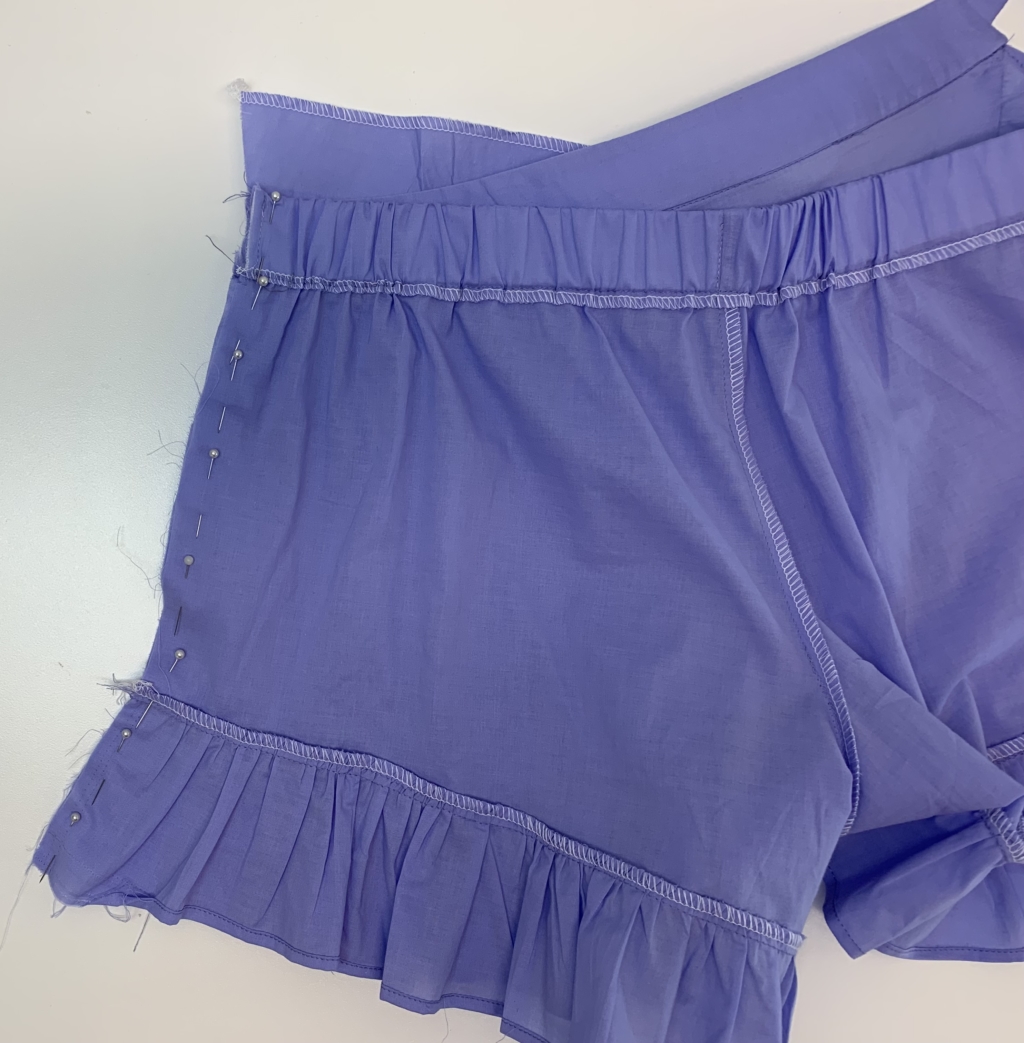
With right sides facing sew the front and back side seams together, lining the top of the back waist with the top of the inner front waistband. Fold the front outer waistband over the back waistband and stitch down. Neaten seam with overlocker/serger and press to the front. Pull out through to the right side and press.
With right sides facing sew the side seams of the frill together. Neaten seams with overlocker/serger and press to the back.
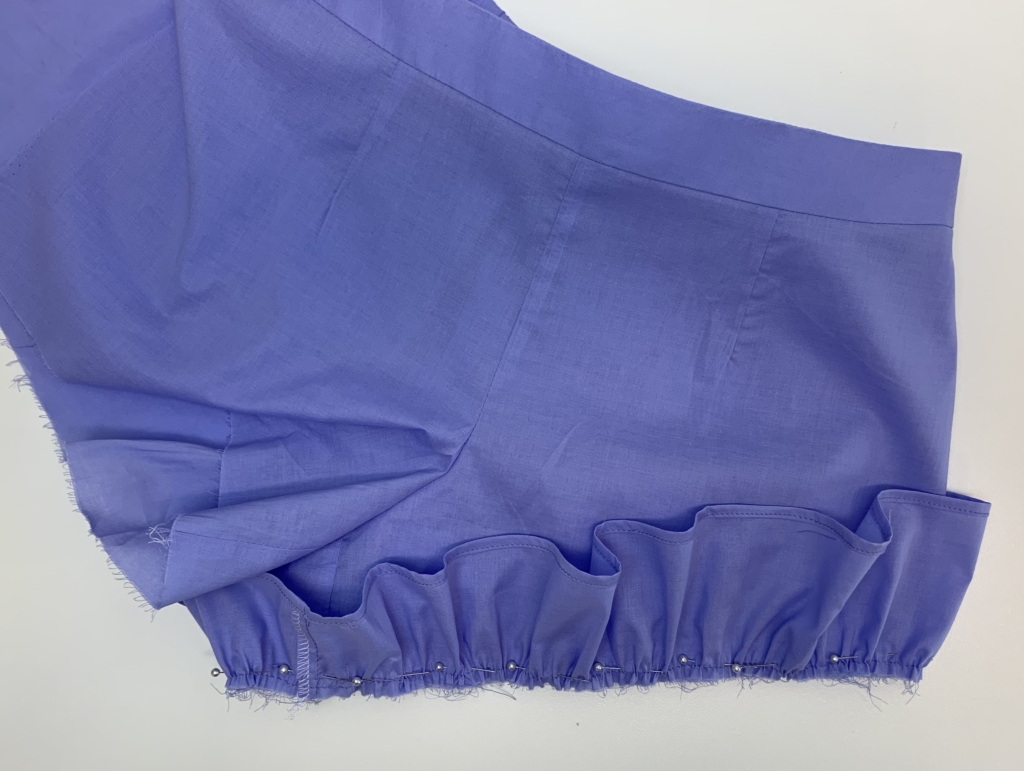
Neaten the lower edge of the frill, by either double turning or overlocking and folding inwards. Sew two rows of a large gathering stitch to the straight edge of the frill, gather the frill up to match the length of the leg opening.
With right sides facing sew the frill to the left leg opening, matching side seams as you sew. Neaten with overlocker/serger and press upwards. Note: the wider ends of the frills are at the side seam and the narrow ends are at the crotch.
RIGHT LEG:
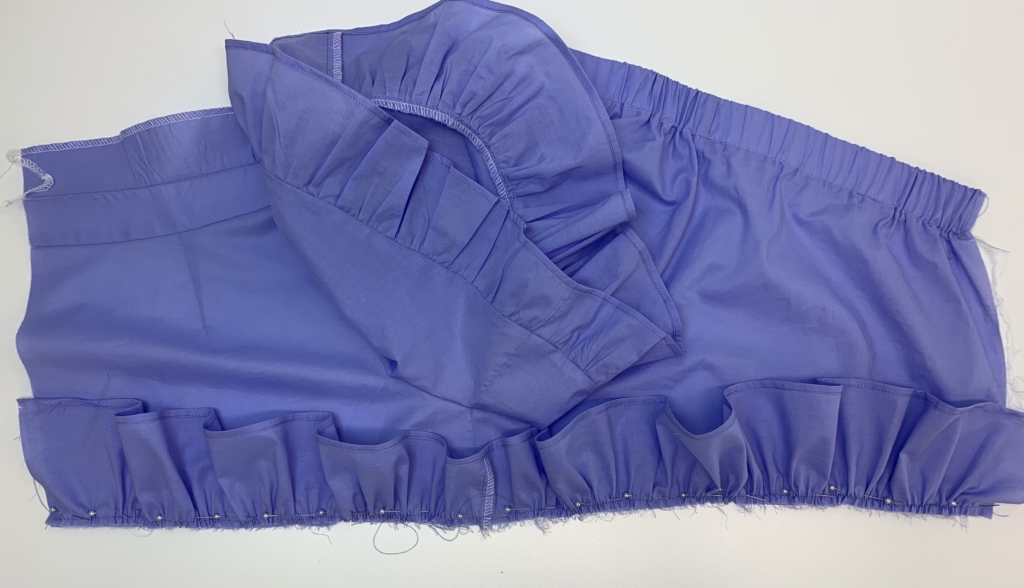
Prepare the leg frills as per the left leg but leaving the side seams of the frill open. Refer to steps 18, 19 & 20. Sew the frills to the right leg leaving the side seam open.
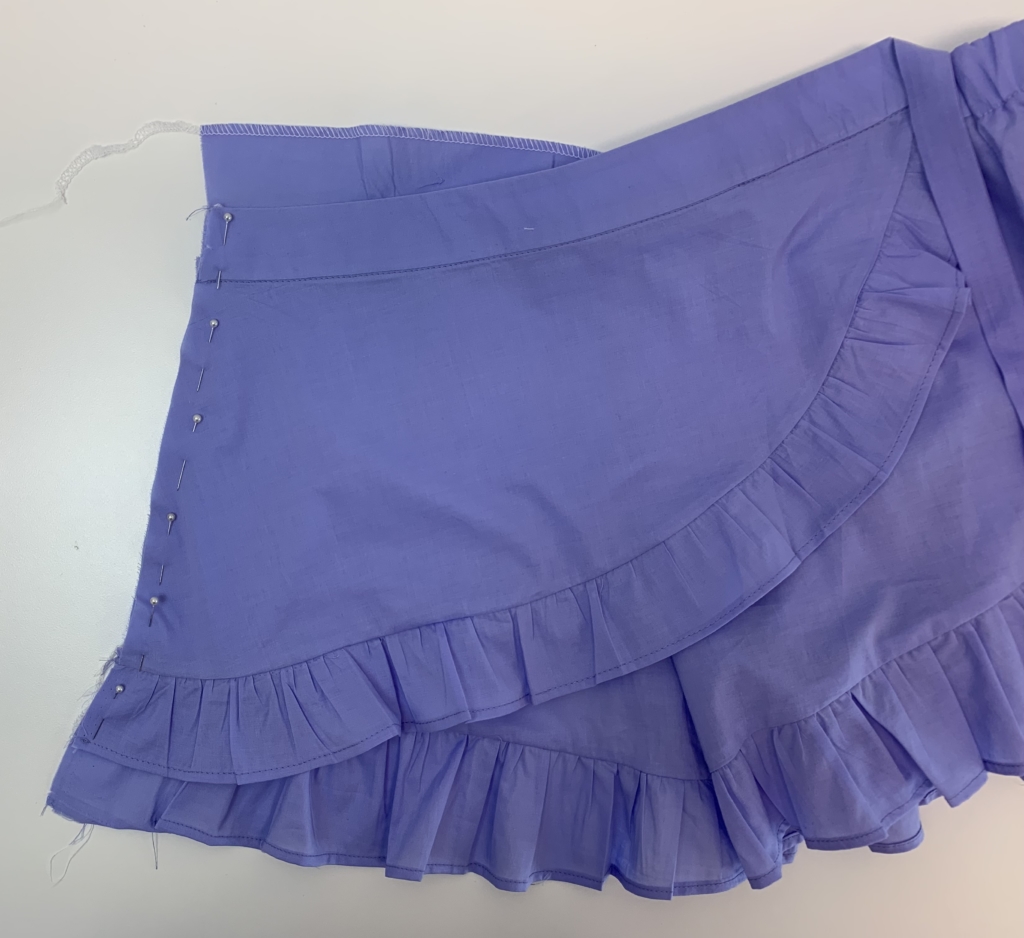
Lay the overlay on top of the right front, matching side seams and stitch down.
With right sides facing sew the front and back side seams together sandwiching the overlay in between as you sew. Neaten with overlocker/serger and press to the front.
Fold the inner right waistband over the elastic seam and stitch from the inside for a clean finish. Turn through to the right side and press.
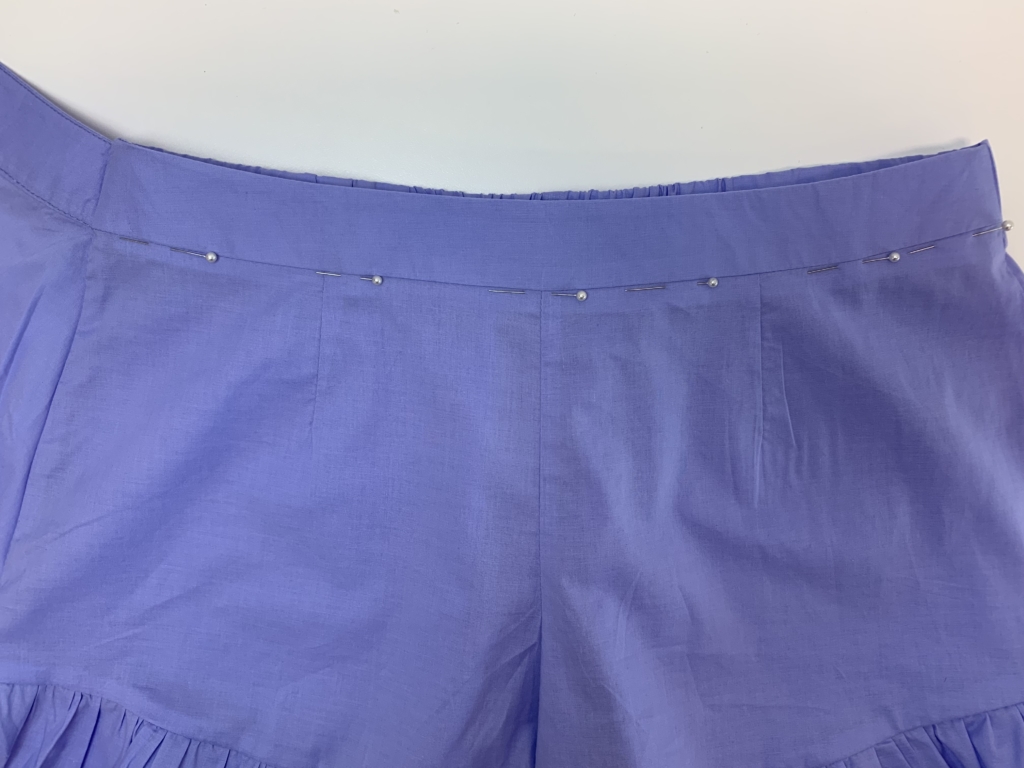
Lightly press your completed shorts.

