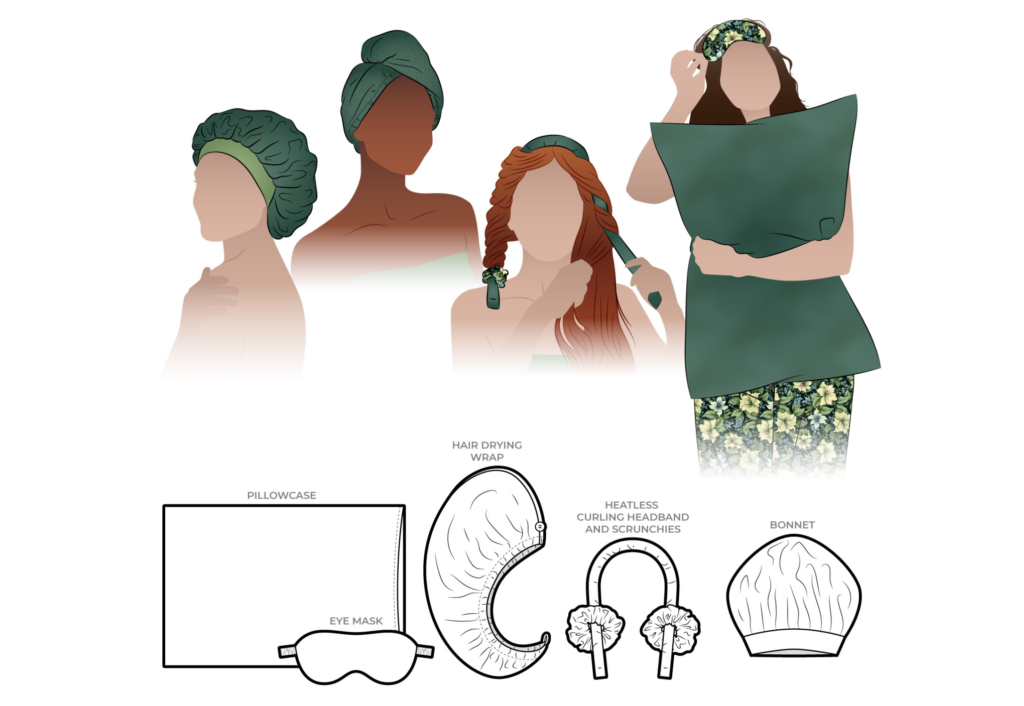
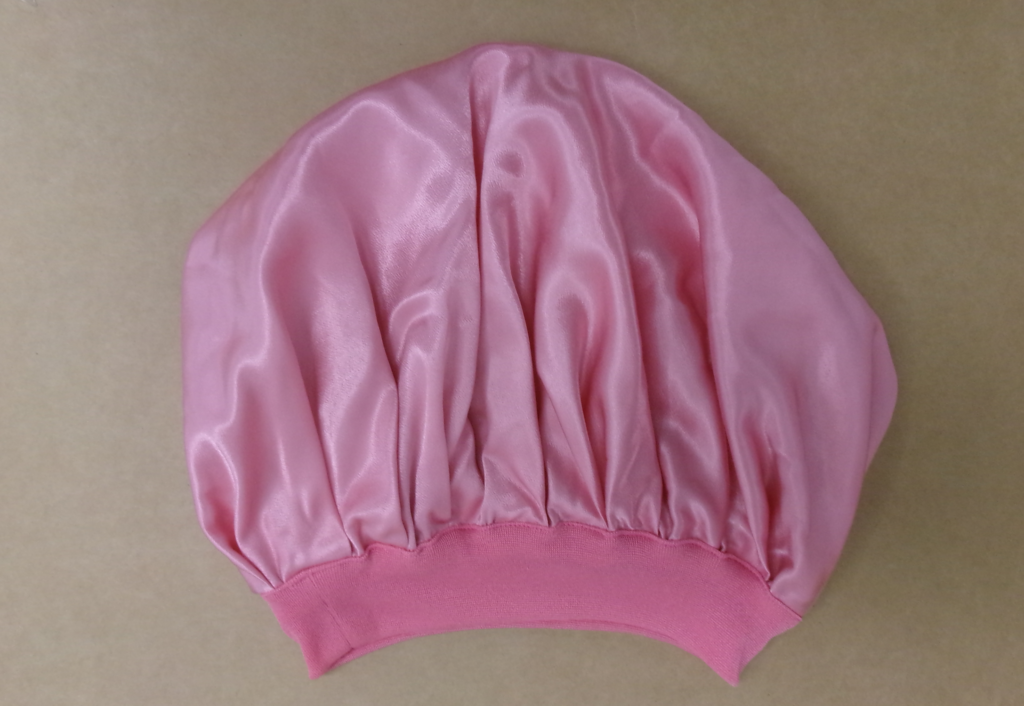
BONNET CONSTRUCTION:
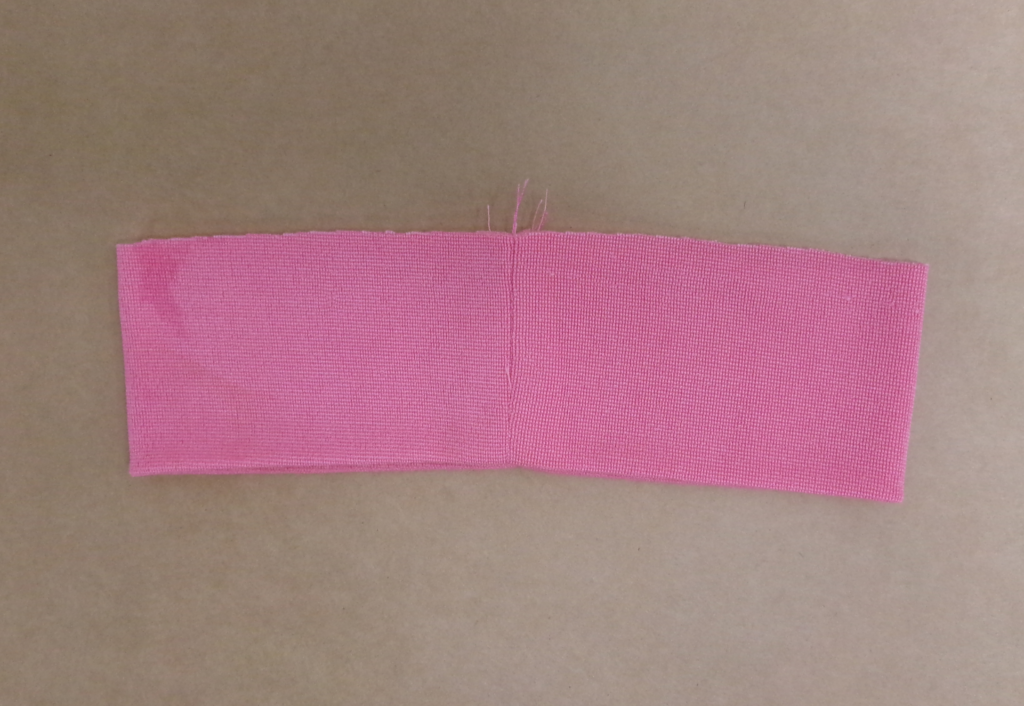
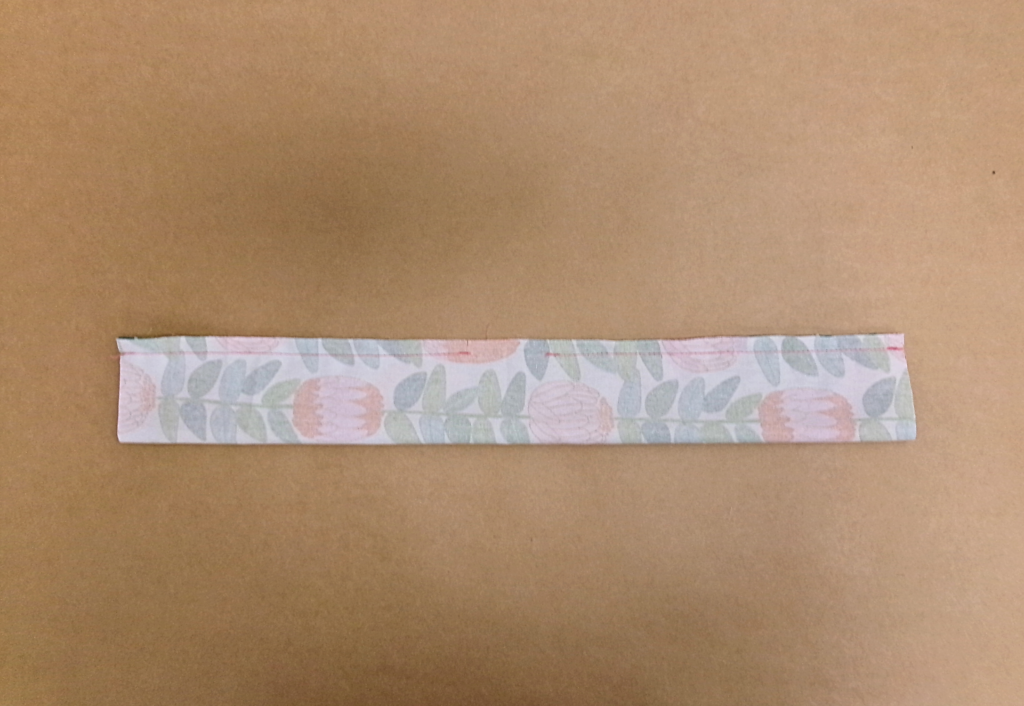
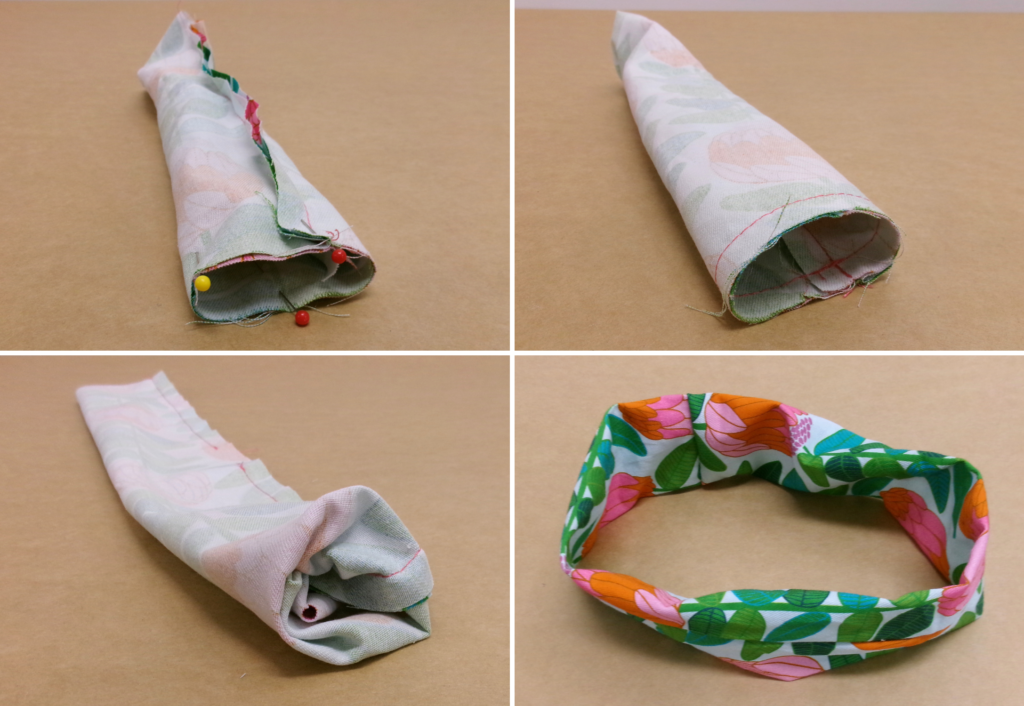
With RST sew the short ends of the band to create a loop, press the seam open and then fold the band in half with RST.
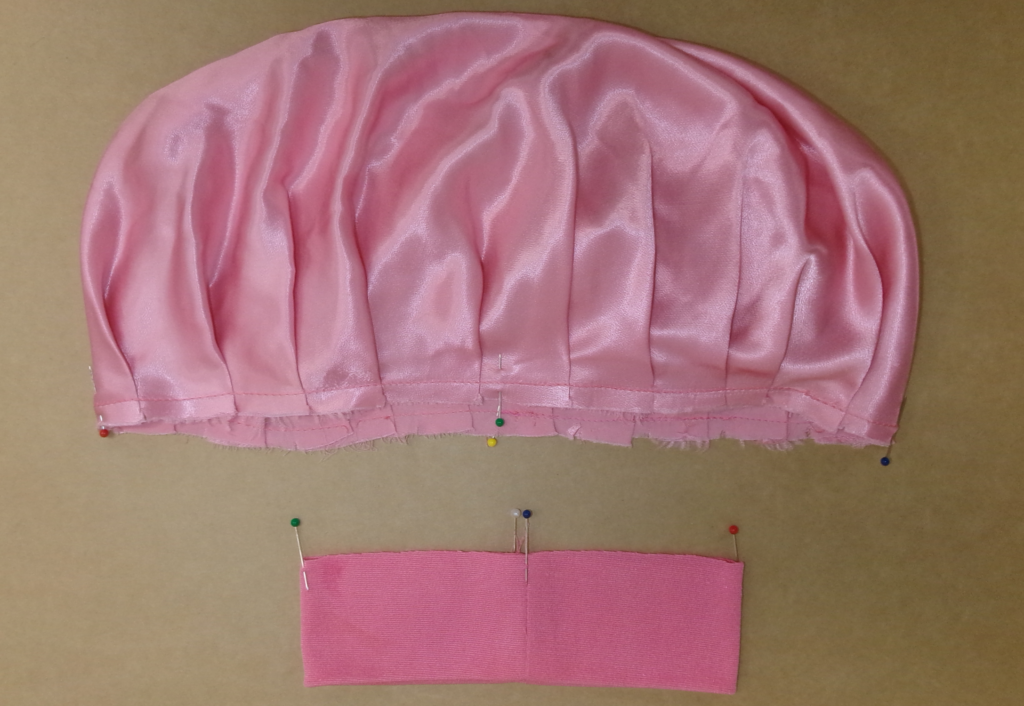
Match up the notches on the bonnet and pin together, taking note of the arrows on the pattern. Baste stitch around the bonnet, folding all pleats in the same direction. (You’ll need to gather, not pleat, for the L-XL size.)
Fold the band into four quarters and mark the quarters with pins. Do the same with the bonnet. This will help you stretch the band on evenly.
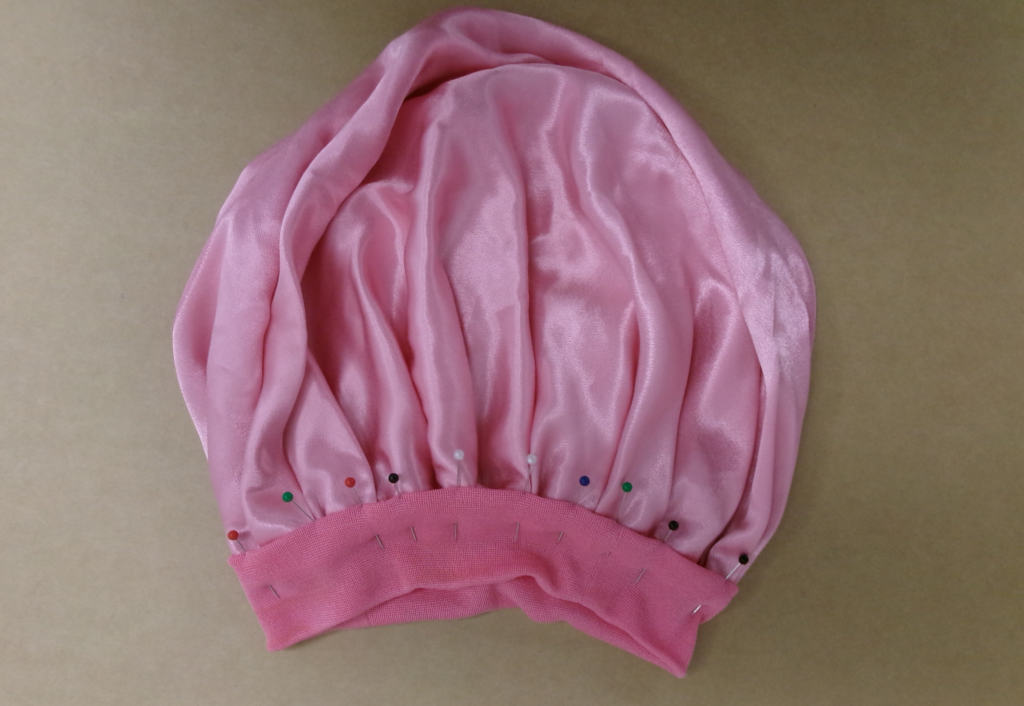
Sew the inside edge of the band to the wrong side of the bonnet, lining up the pins and stretching the band as you go.
Fold the outside edge of the band in 1cm (3/8”), pin into place to the bonnet and top stitch close to the seam.
PILLOWCASE CONSTRUCTION:
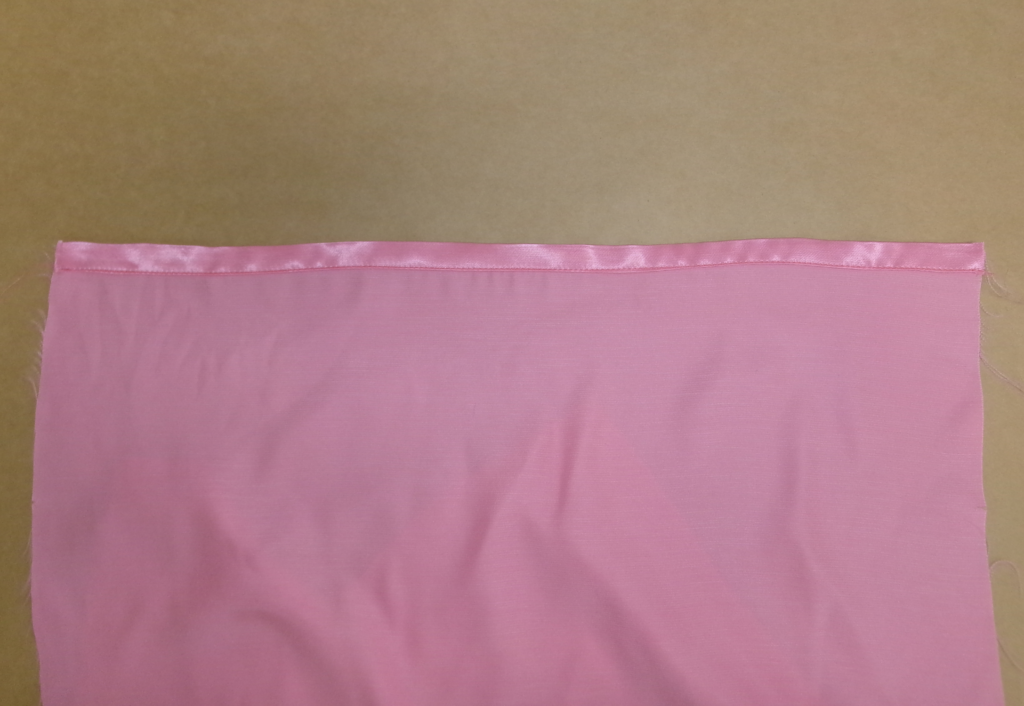
Double fold the two ends at the notches, pin and edge stitch.
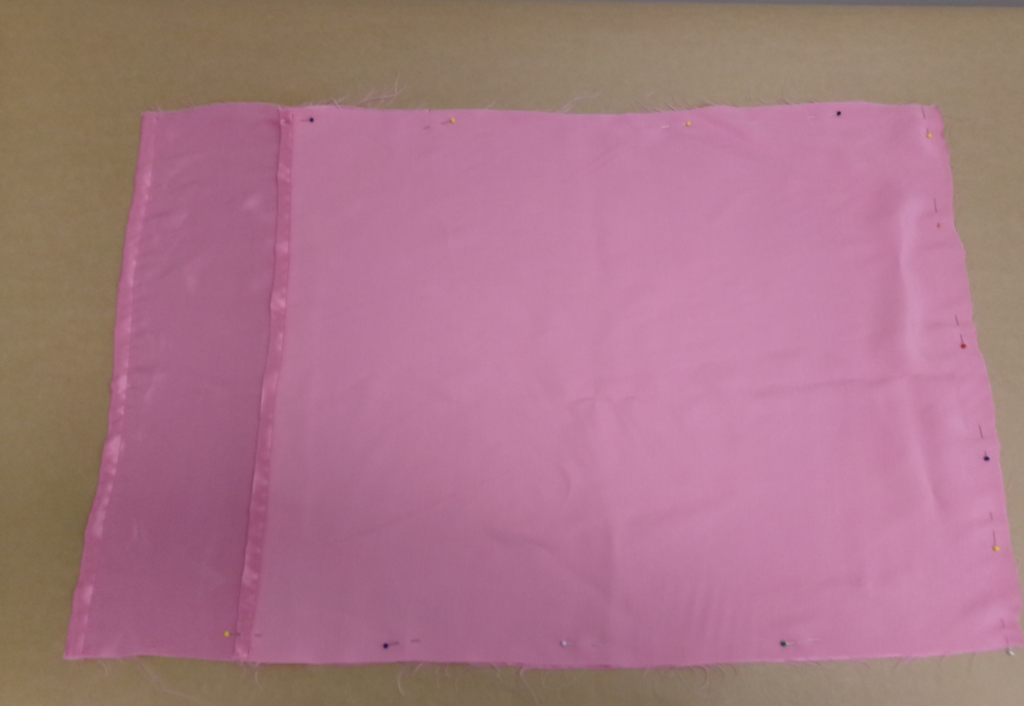
With RST, pin the front to the back, matching notches. The front hem will match the fold line notch marked on the back pattern piece. Then fold the back over the front at notch and pin into place.
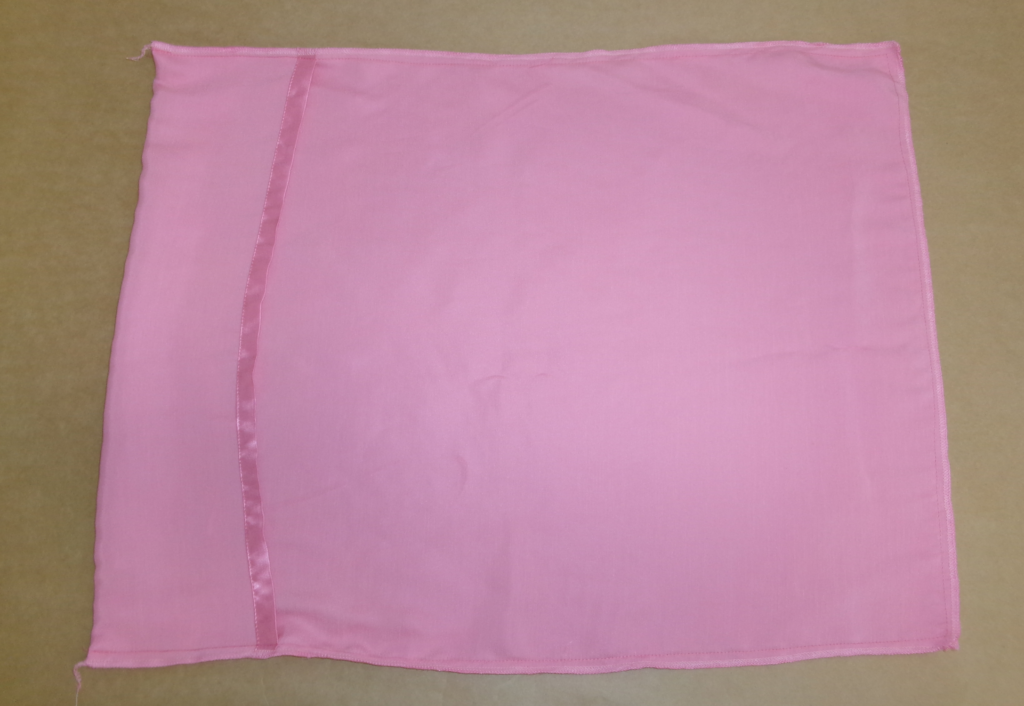
Sew around the three edges. Neaten with an overlocker/serger. Turn out and press.
CURLING HEADBAND CONSTRUCTION:
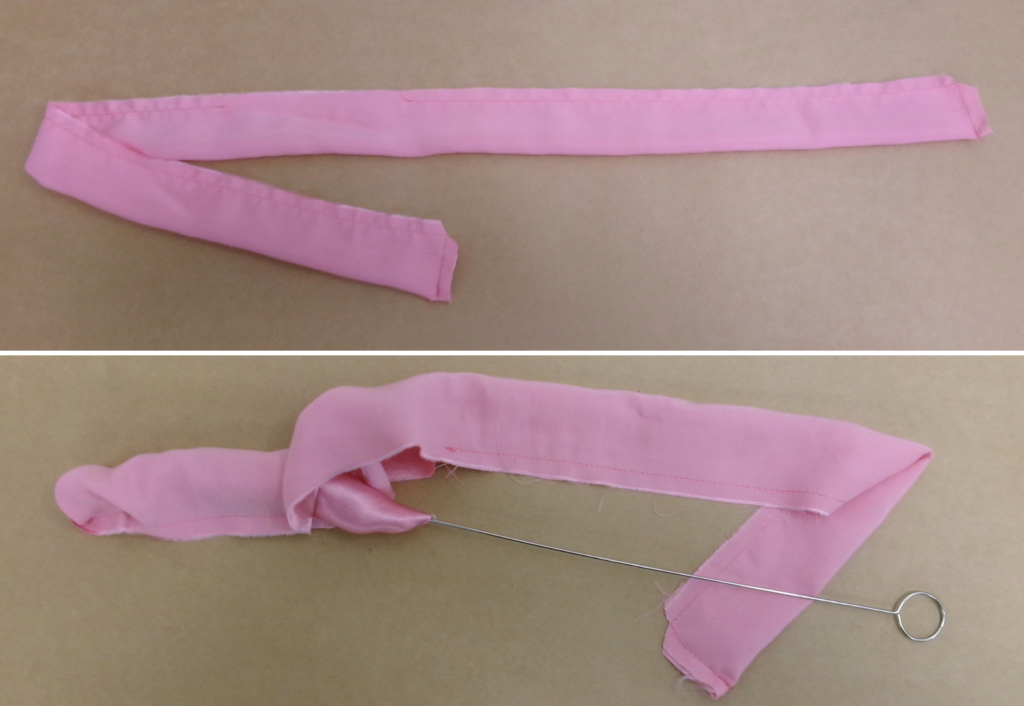
With RST fold in half lengthways. Sew the ends and along the length, leaving a gap between notches. Clip corners and turn out to the right side.
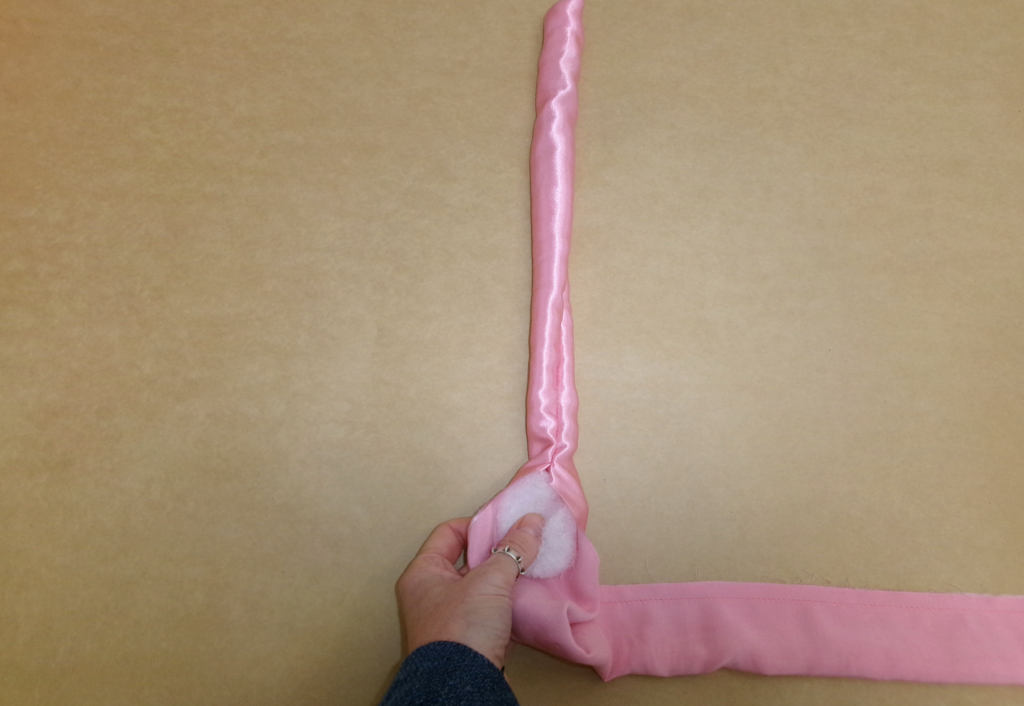
Carefully push the stuffing in through the gap, use a pencil or chopstick to get it into the ends.
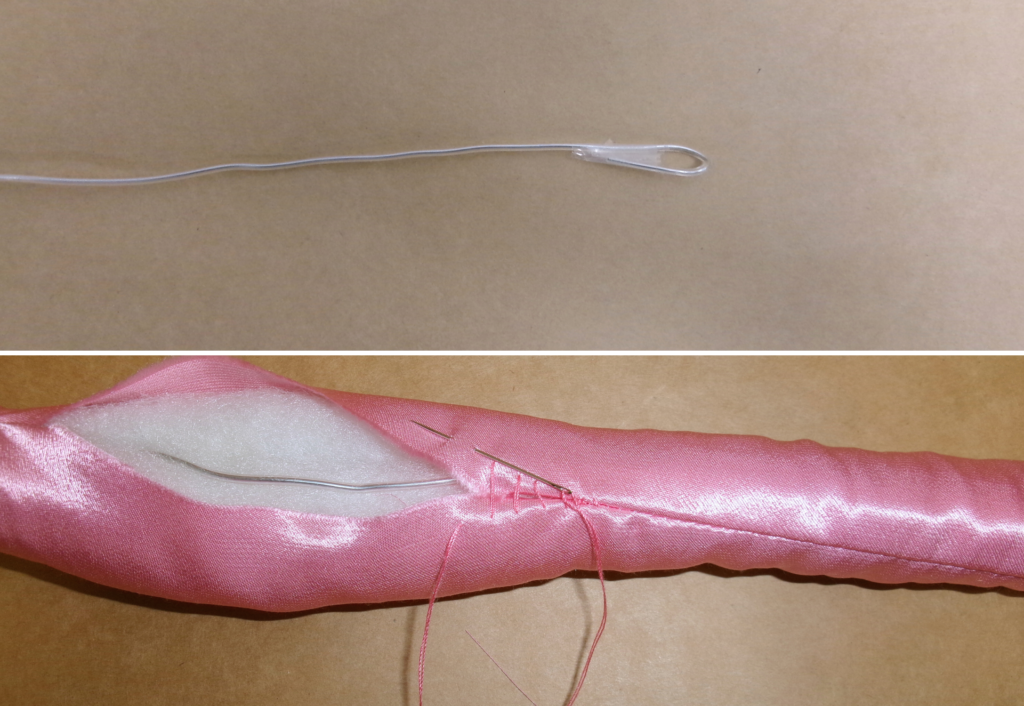
Take the wire, bend the ends so they are rounded and secure with tape. Push the wire through the gap till it is straight along the headband.
Hand sew the gap closed using a ladder stitch.
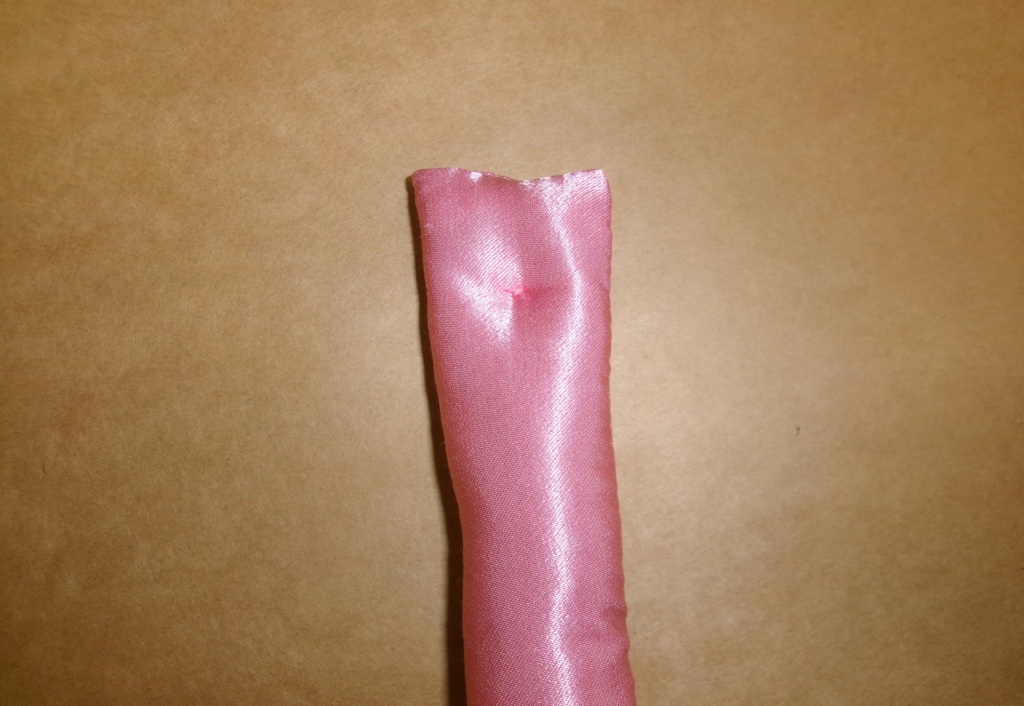
Tack the wire into place at the ends.
SCRUNCHIES CONSTRUCTION:
Fold the fabric in half lengthways. Sew long edge leaving a gap between notches.
Push one end inside until the two short ends are together, RST. Sew ends together. Turn out through the gap.
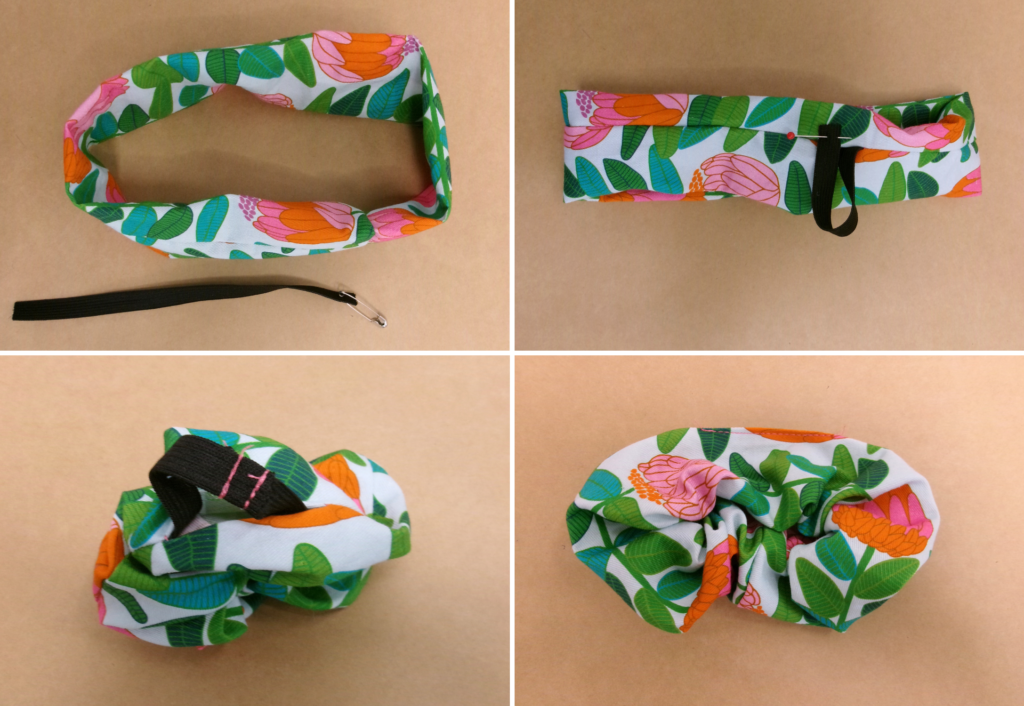
Attach a safety pin to one end of the elastic and thread it through the gap. Secure the other end with a pin to avoid pulling it through.
Secure the end of the elastic together by sewing two stitch lines perpendicular to the stretch.
Sew the gap closed.
EYE MASK CONSTRUCTION:
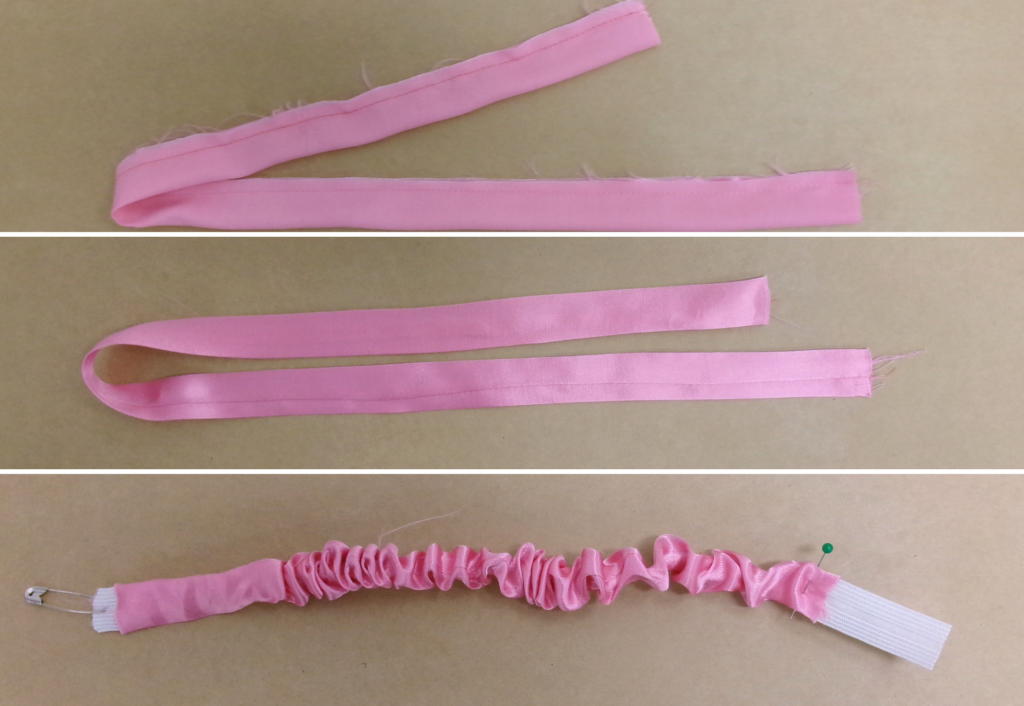
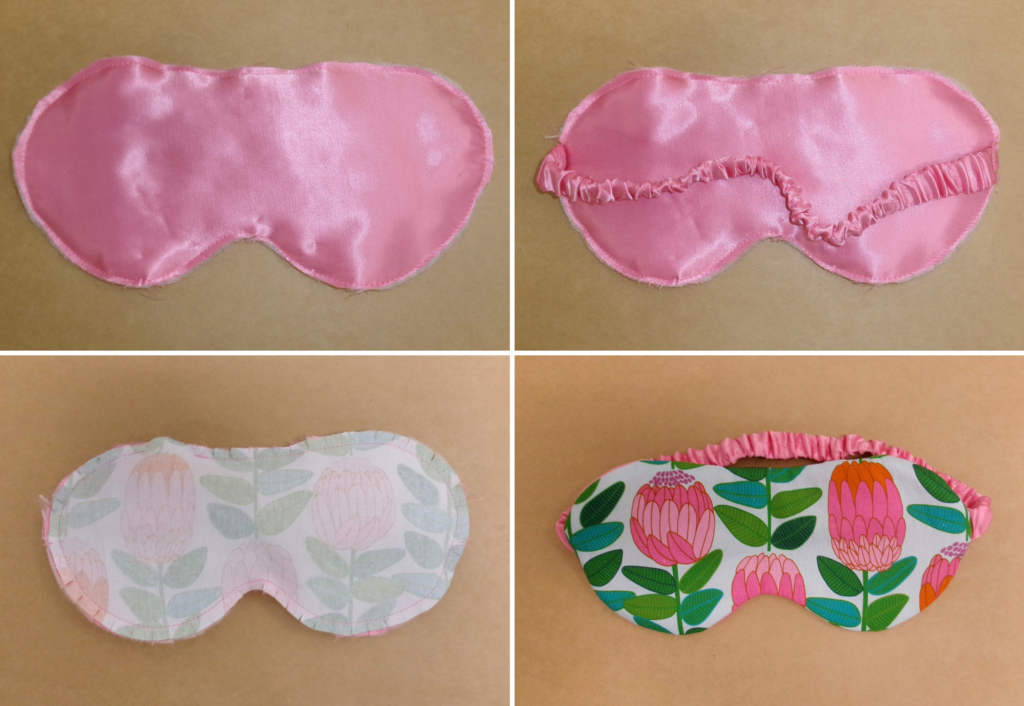
With RST, fold elastic casing in half lengthways and sew the long edge with a 6mm (1/4”) seam. Turn out and press with the seam in the centre.
Thread the elastic through the casing with a safety pin. Baste ends of elastic to the fabric.
Pin then baste the wadding to the wrong side of lining. Baste the elastic band to the lining at the notches.
With RST, pin then sew the main fabric to the lining. Clip the seams, turn out and hand sew the gap closed. Carefully press your new eye mask.
HAIR WRAP CONSTRUCTION:
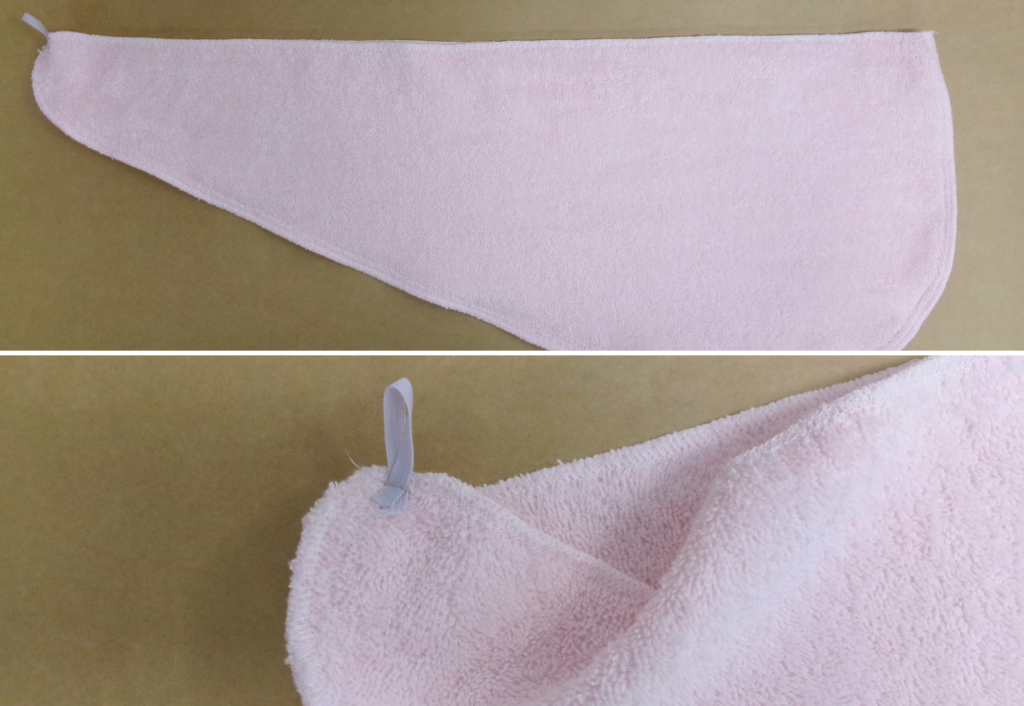
With RST, sew around the top curved edge. Neaten with an overlocker/serger. Neaten the opening with an overlocker/serger.
Cut a piece of elastic 6cm (1/4”) and create a loop. Secure it to the seam at the narrow end, on the wrong side.
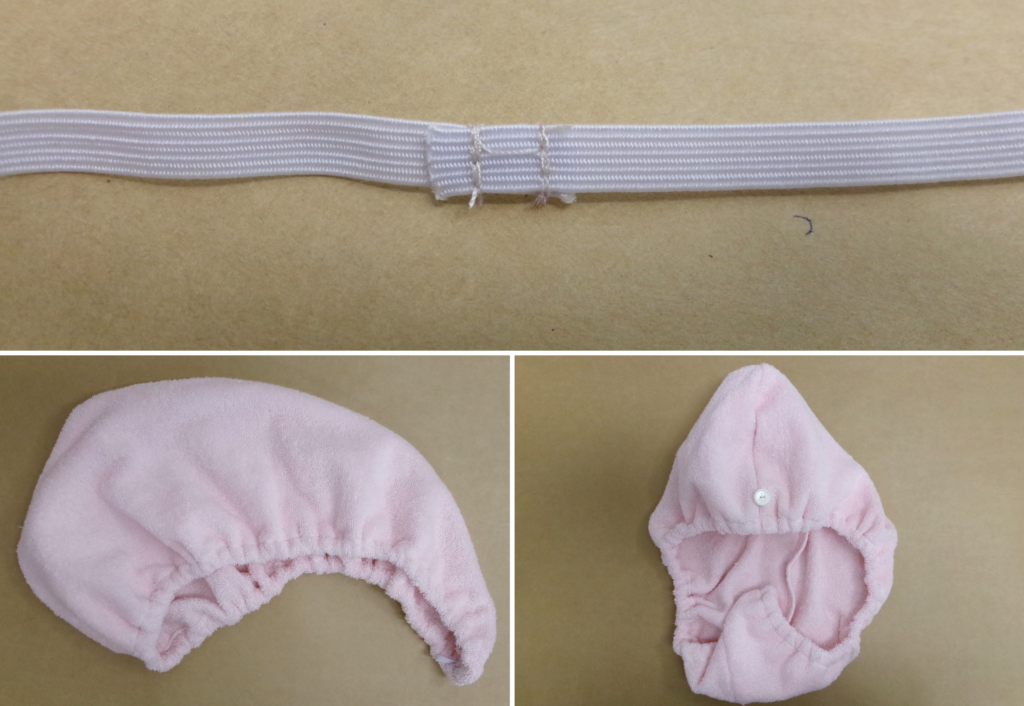
Take the long elastic 78cm (31”), overlap the ends and sew together, creating a loop. Fold under the neatened edge, 2 cm (3/4”), and pin into place, encasing the elastic inside. Top stitch the opening on the side of the overlocking/serging, stretching the elastic as you go.
Sew the button onto the outside of the front of the hair wrap, above the stitch line.
Trim any loose threads.

