CONSTRUCTION
SIDE POCKETS (PP4)
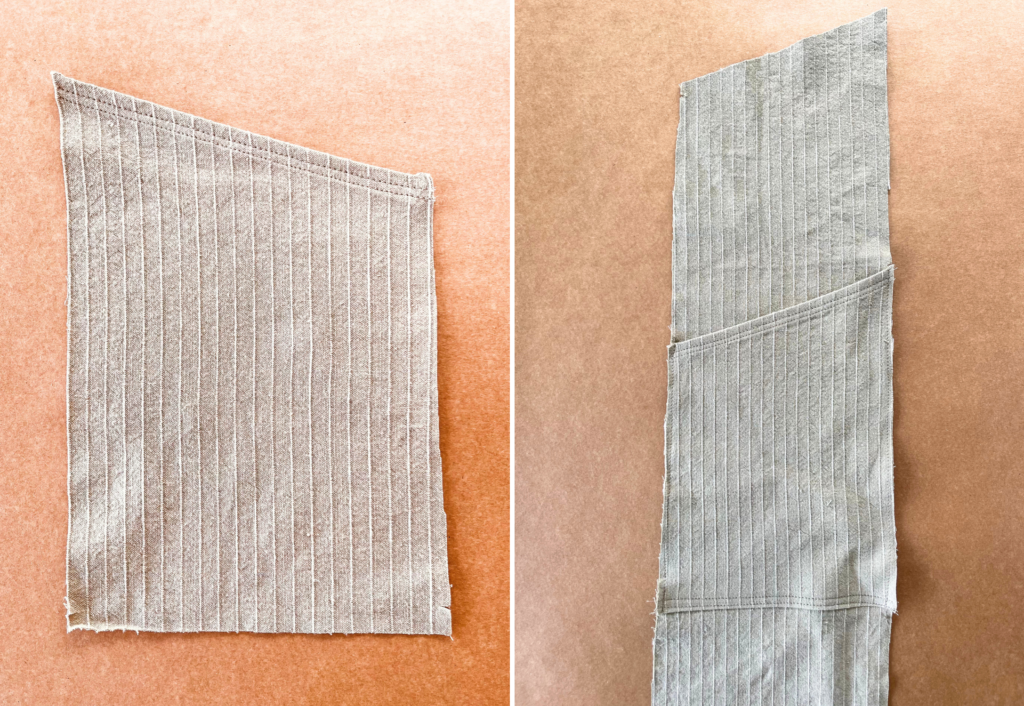
Double fold the tops of the side pockets, press, topstitch.
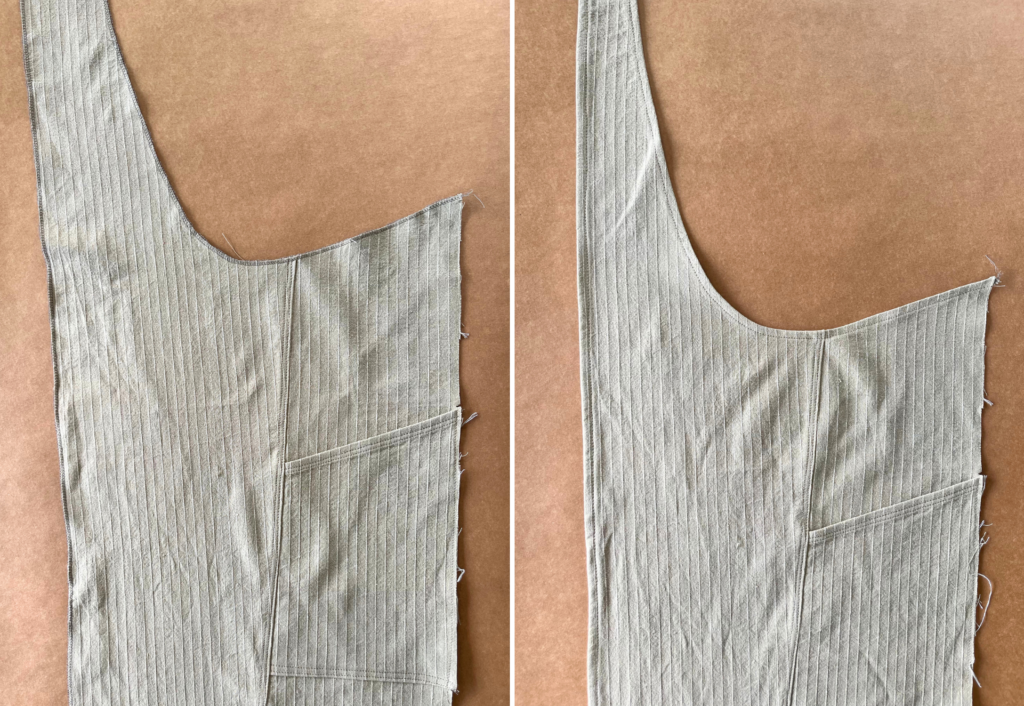
With RST, Place the pocket upside down onto the side panel, matching notches. Sew along the bottom of the pocket.
Fold the pocket up to match the notches. Top stitch the bottom of the pocket. Baste the sides of the pocket to the side panel. Repeat with the other side.
PATCH POCKET (PP5) OR FRONT SLANT PATCH POCKET (PP6)
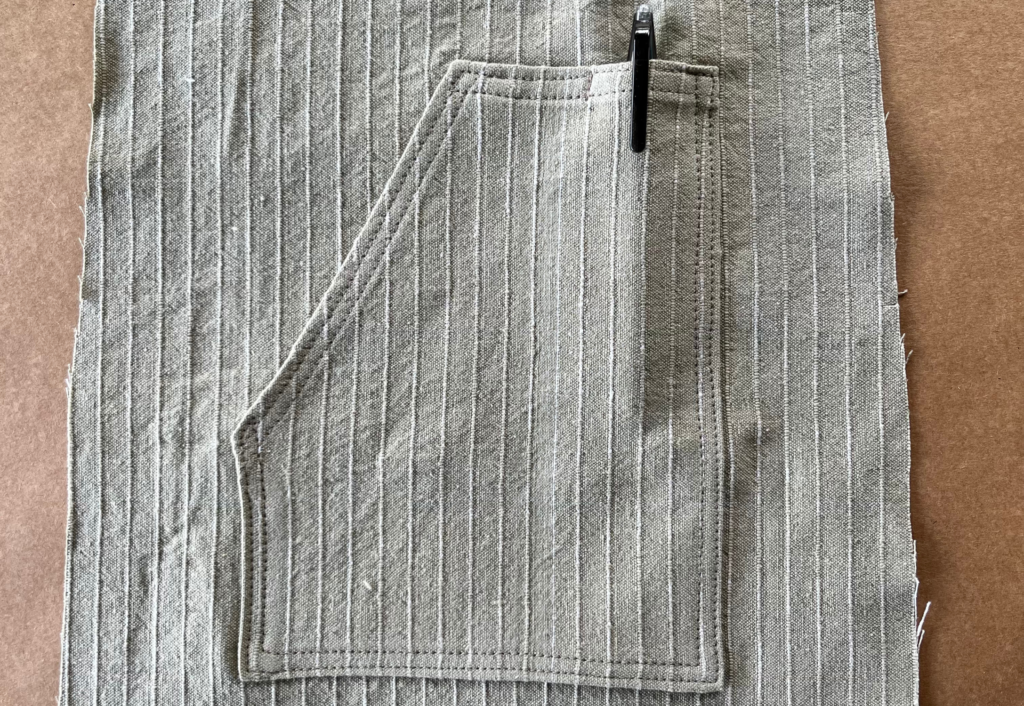
We have used the front slant patch pocket (PP6) for our sample here, but you may choose to use the patch pocket (PP5) instead!
Double-fold the pocket opening, press and top stitch.
Double fold the top edge, and top stitch the section for the pen holder.
Fold under the remaining three edges; press.
Position the pocket to the front of the pinnie where indicated by the drill holes on the pattern. Top stitch the pocket, be careful to leave the gap for the pen opening.
BACK AND SIDES (PP2 AND 3)
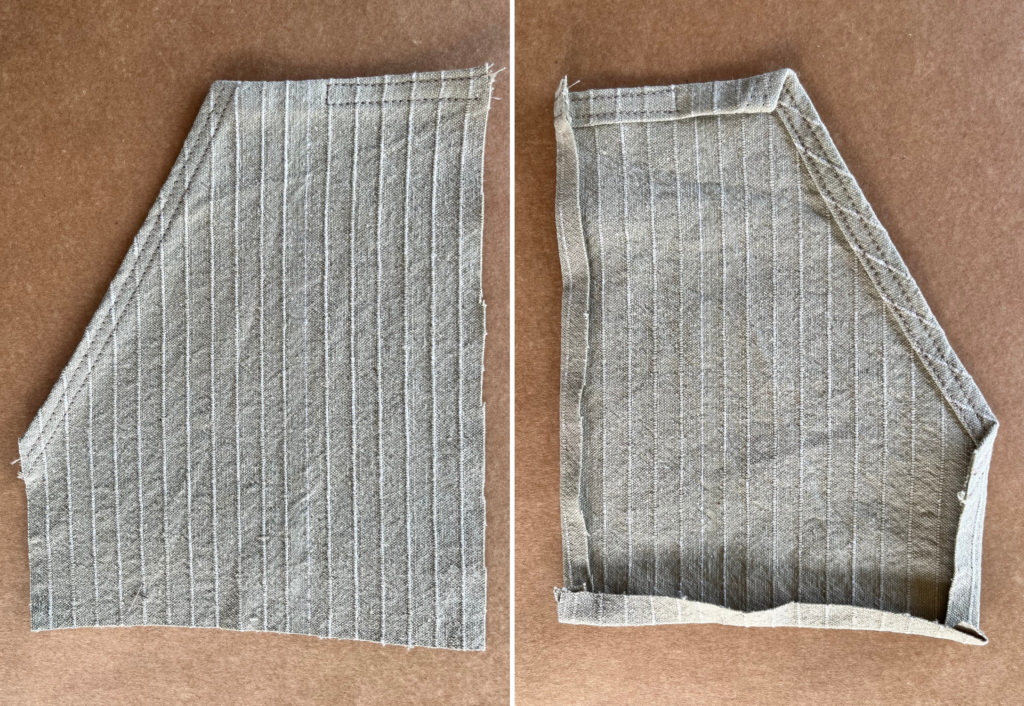
With RST and matching notches, sew the backs to side panels. Neaten with an overlocker or serger and press to the back. Top stitch if you choose.
Neaten the under-arm curve and side of back strap. Neaten back edge.
Turn under the under-arm curve and side of back, press and top stitch into place.
Double-turn the centre back edges, press and top stitch.
FRONT FACING AND STRAPS
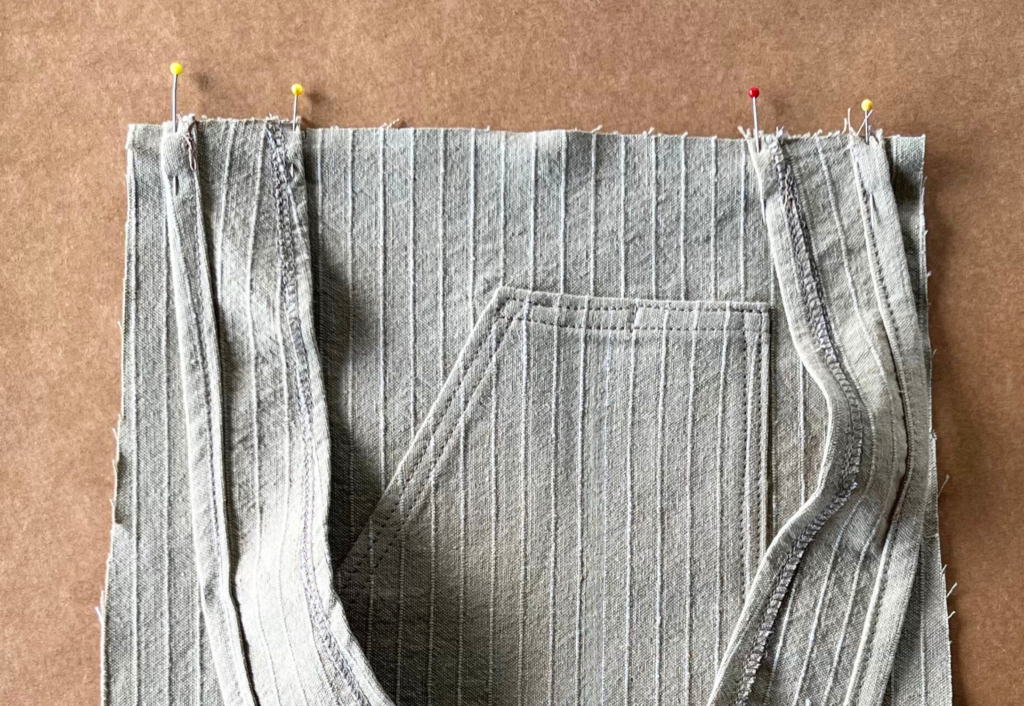
With RST lay straps to the top of the front, matching notches and taking care to cross the straps. Baste the straps into place.
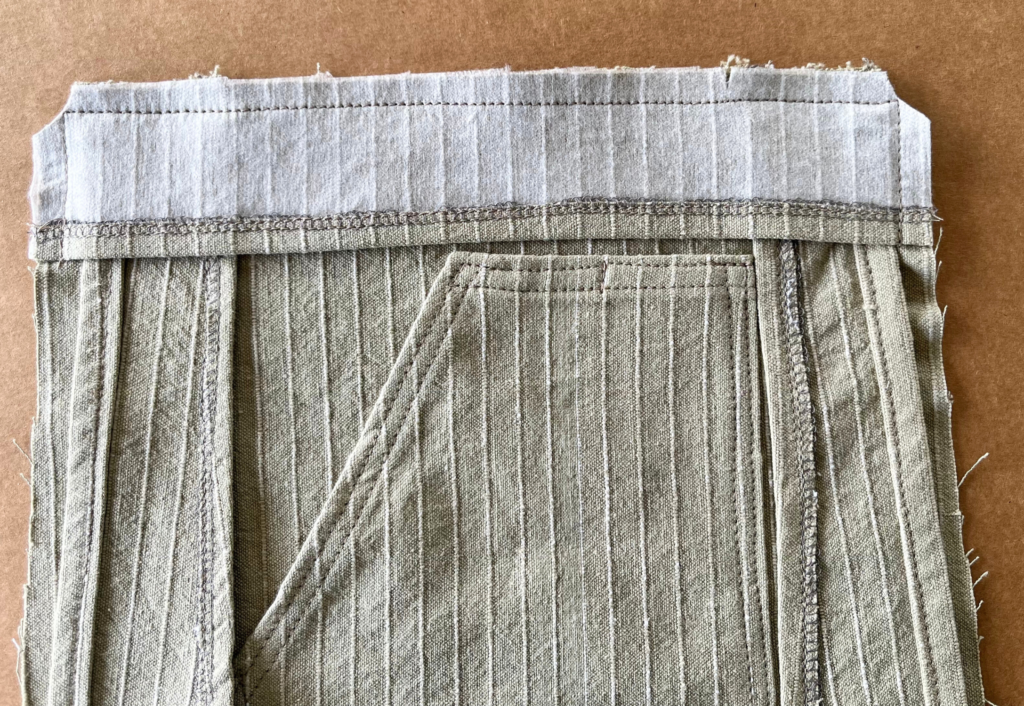
Neaten the bottom edge of the facing using an overlocker or serger. Turn under, press and top stitch.
With RST, place the top edge of the facing onto the top of the front, matching notches. Sew around the three facing edges, sandwiching the straps in between. Clip the corners.
FINISHING
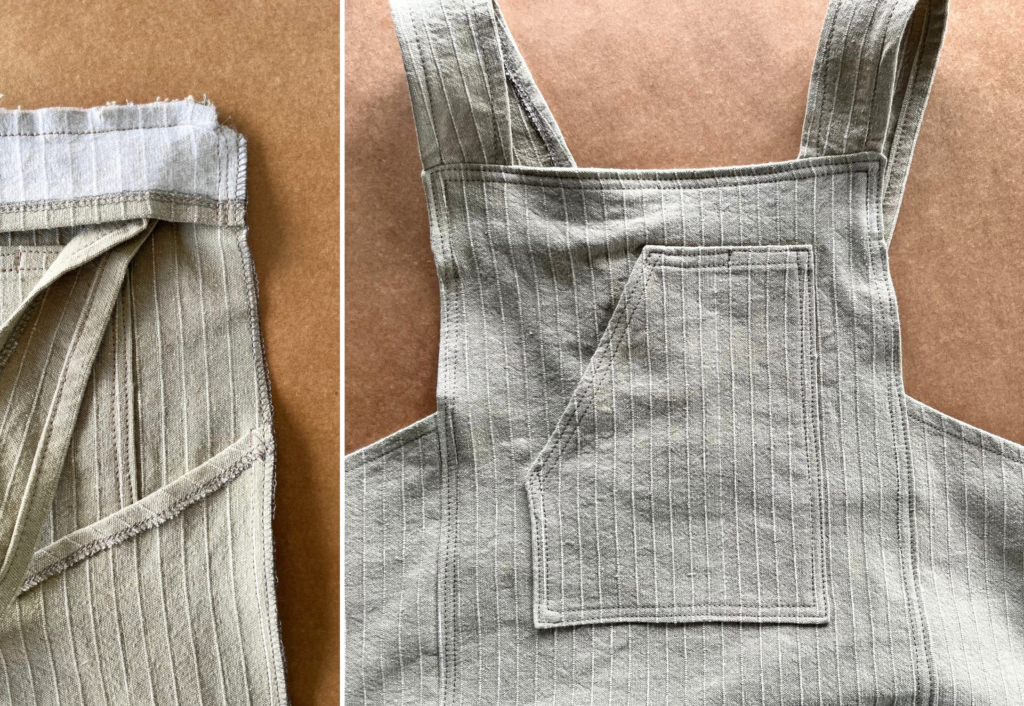
With RST, sew the sides to the front, matching notches. Neaten using an overlocker or serger.
Turn out the facing, press. Press the seam to the front.
Starting at the hem, top stitch around the front panel.
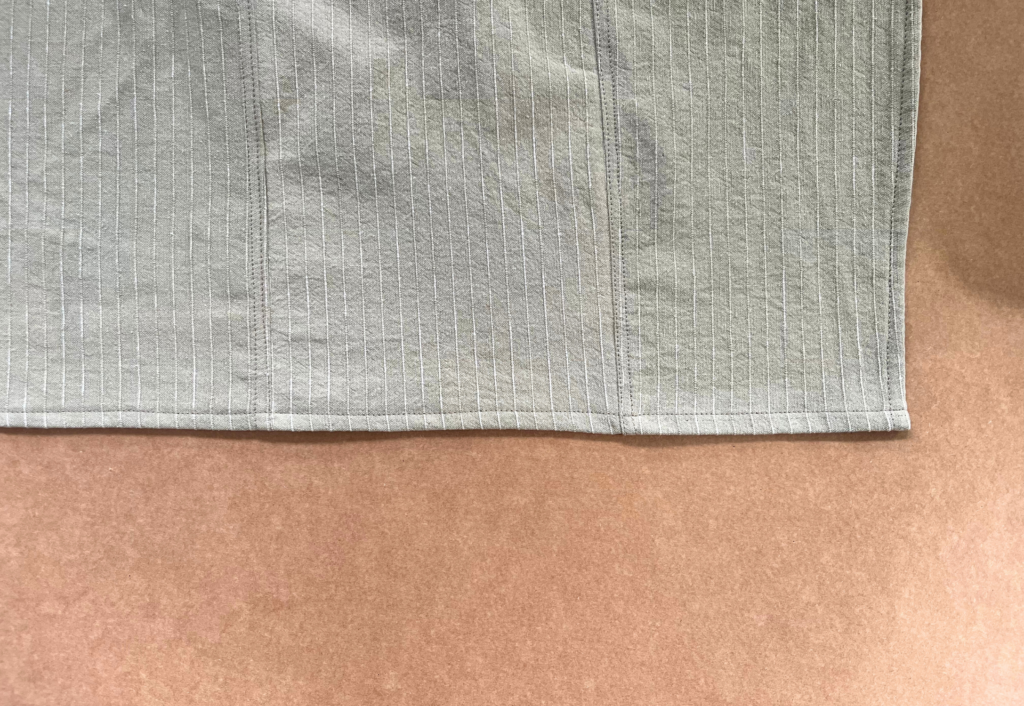
Double turn the hem, press and top stitch into place.
Clip off any stray threads and press your new Pinnie!

