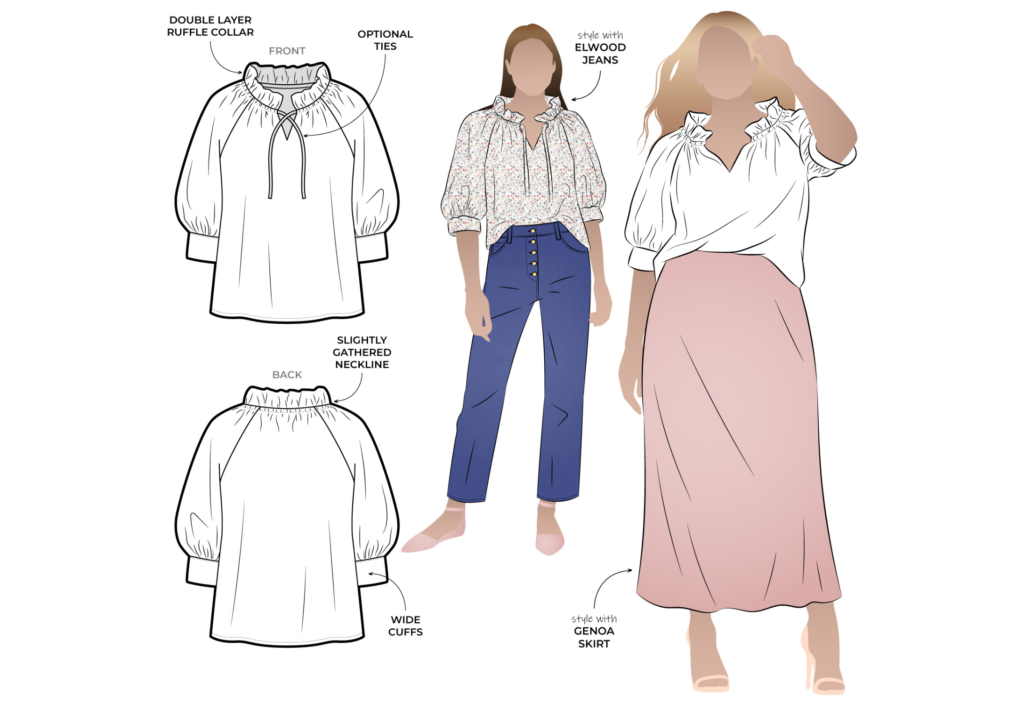
CONSTRUCTION:
NECKLINE AND FRILL:
With right sides together sew the front Sleeve (3) armhole to the Front (1) body matching the notch on the front. Repeat for the other side. Neaten with an overlocker/serger and press the seam towards the sleeve. Repeat for the Back (2) armholes.
Fold the Neck Frill (6) in half lengthways with right sides together and stitch down both short ends. Clip the corners, turn out to the right side and press. Sew a stay stitch along the cut edges to hold in place.
Using a 12mm (½”) seam and with right sides together sew the frill to the main neckline matching the ends of the frill to the ‘frill to here’ notch on the pattern. The seam is 12mm
(½”), wide enough to encase the elastic. Neaten the neck seam with an overlocker/serger.
Optional neck ties: With right sides facing sew along the length and one end of the Rouleau Ties (7) and turn out to the right side and press.
Stitch one end of the ties to the to the centre front below the neck seam, where marked on the pattern. The tie will be facing inward towards the body when stitched to the split and will turn outwards when the facing is sewn to the front split opening.

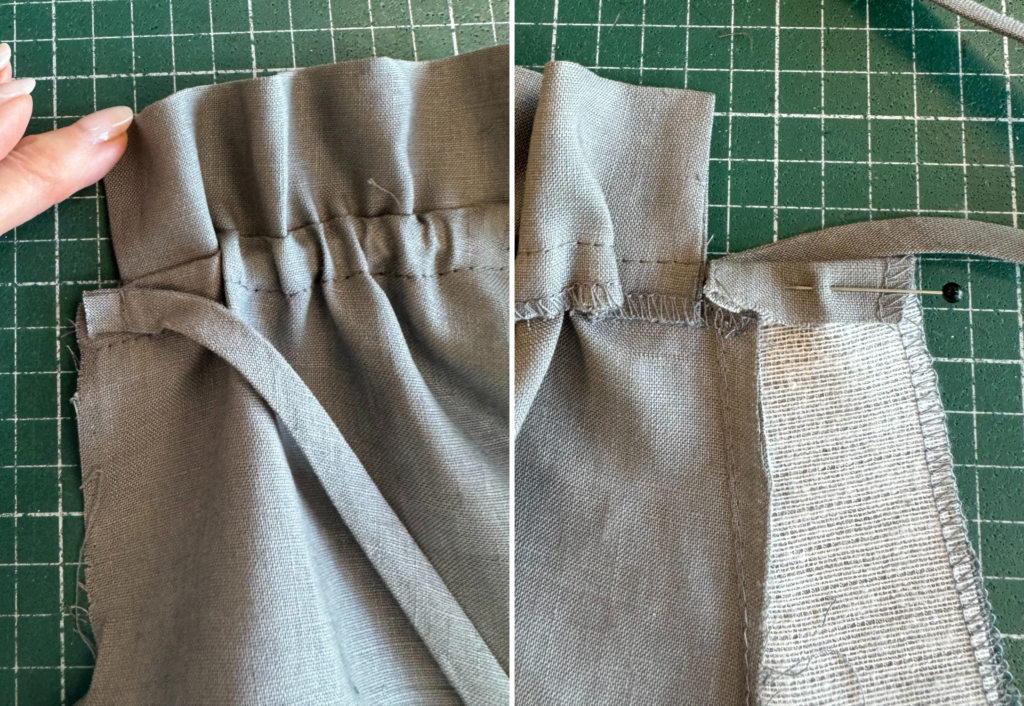
Cut the elastic measurement for your preferred size. Stitch the ends of the elastic to the neck seam on the underside of the seam at the * marking, approximately 1cm (3/8”) in from the centre front seam (this is to reduce bulk created by the elastic).

Fold the neck seam down over the elastic and stitch the overlocked edge of the seam to the neck encasing the elastic as you sew. Stretch the elastic as you go but be careful not to catch the
elastic in your stitching. When the elastic neck is completed stretch the elastic out fully to obtain an even spread.
Fuse the Front Split Facing (5) and neaten the edges with an overlocker/serger.
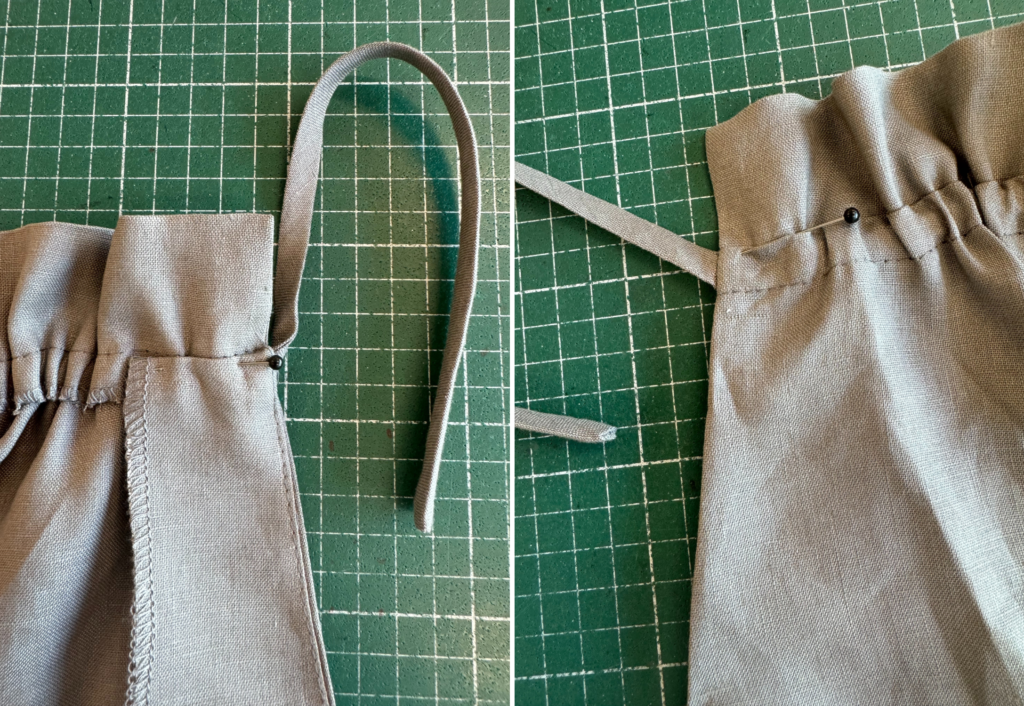
With right sides together sew the front split facing to the front split, sandwiching the ties (if using) in between as you sew. Clip any bulk away and carefully clip into the base of the split. Turn out and understitch as far as you can close to the seam on the side of the facing.
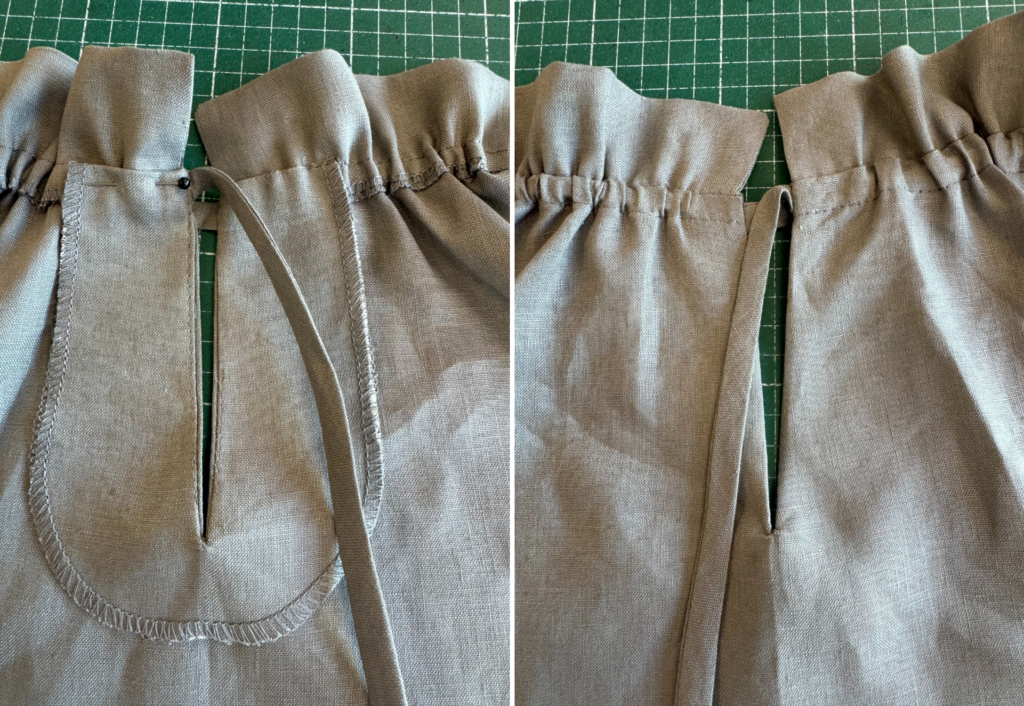
Fold the facing to the inside, turn the top seam allowances of the facing to the inside and pin to the neck seam, once in place stitch in the ditch or hand stitch the neck edge of the facing to the neck.
BODY AND SLEEVES:
Neaten each side seam and sleeve seam with an overlocker/serger, these seams will be pressed open.
With right sides together sew the side seams starting at the hem split notch, continue up through the armhole and finish at the sleeve opening. Press the seam open.
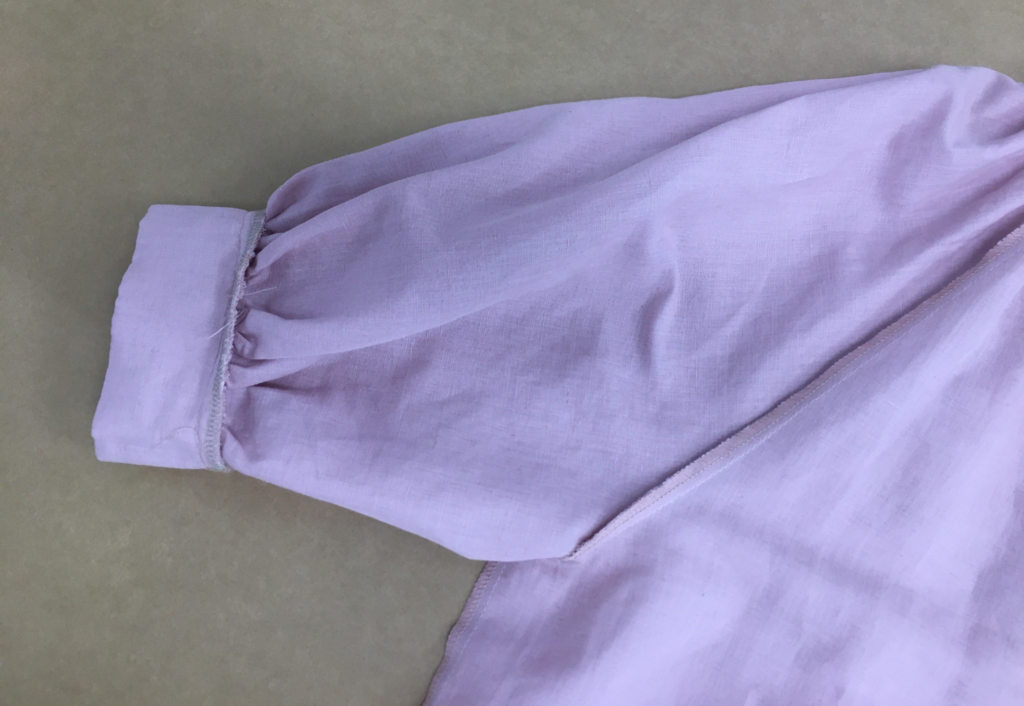
Fold the sleeve Cuffs (4) in half with right sides facing and sew the short ends together, press the seams open. Turn out to the right side and press in half lengthways with wrong sides facing.
Sew a gathering stitch around the sleeve hem and gather to match the cuff circumference. With right sides together sew the sleeve cuffs to the sleeve, matching the centre notch to obtain even gather. Neaten the seam with a overlocker/serger and press up towards the sleeve.
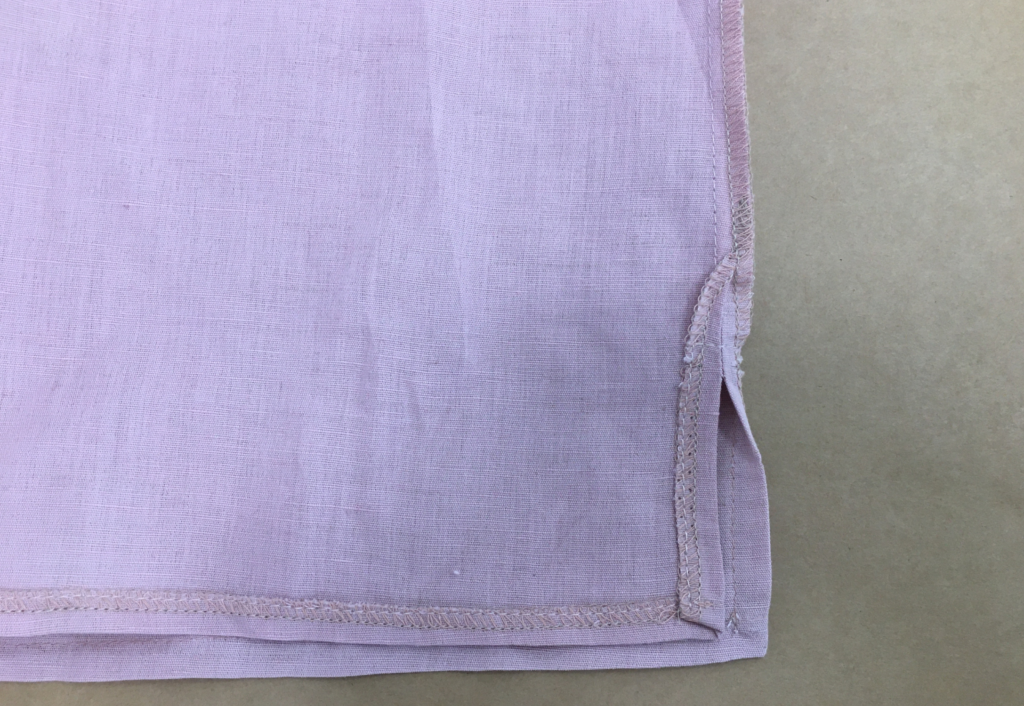
Press the side splits to the inside and topstitch around the length and top of the splits to secure to the body.
Neaten the hems of the front and back body with an overlocker or serger and press to the inside and finish with topstitch.
Press your new top.