
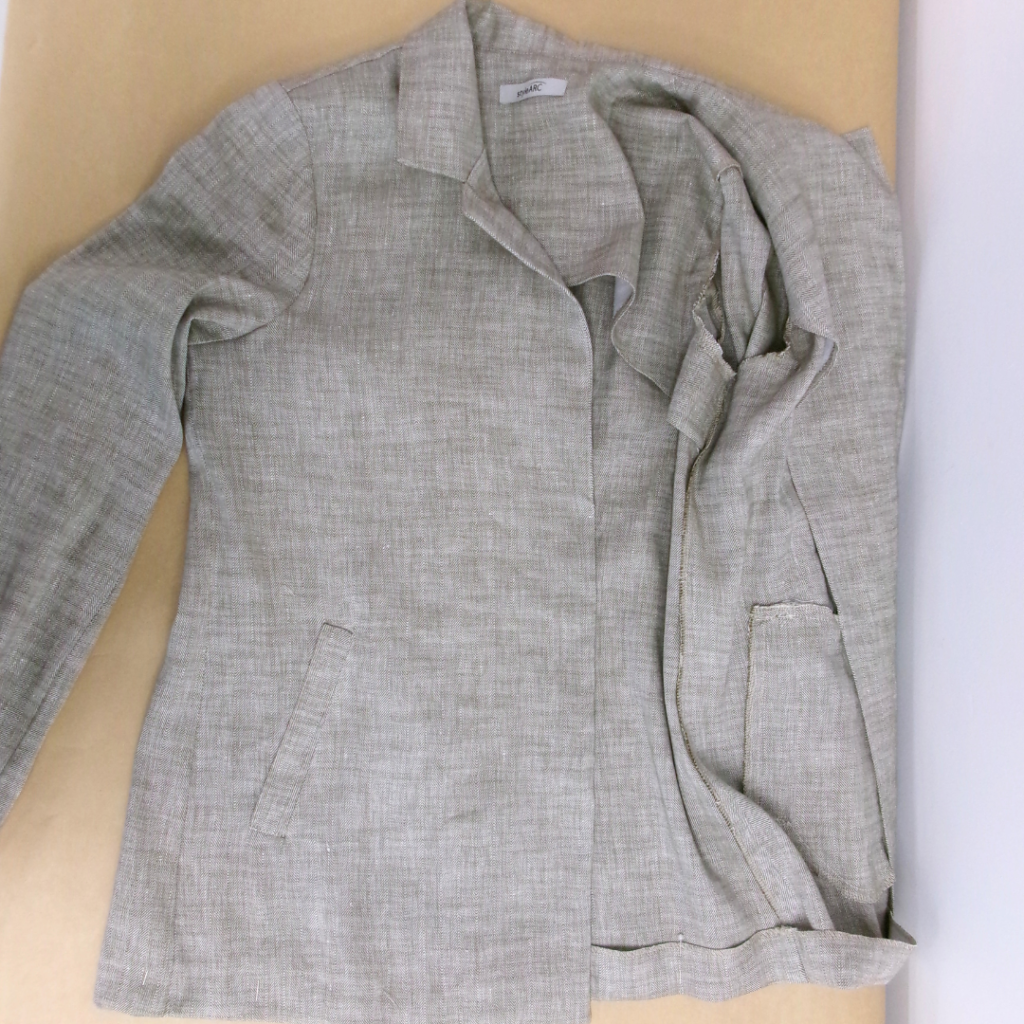
CONSTRUCTION:
WELT POCKET:
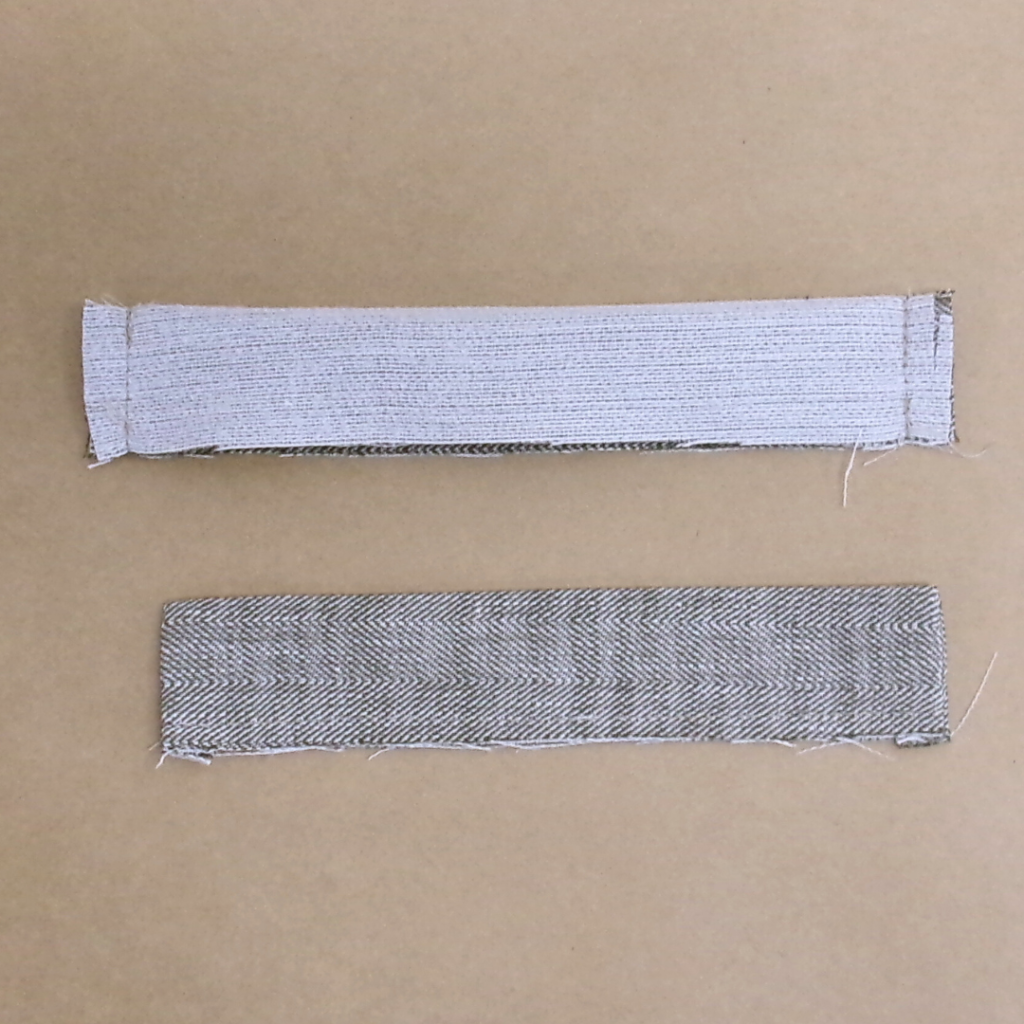
With RST fold the fused pocket welt (11) in half lengthways and stitch down both ends, clip the corners, turn out to the right side and press. Sew a stay stitch to the cut edges to hold in place.
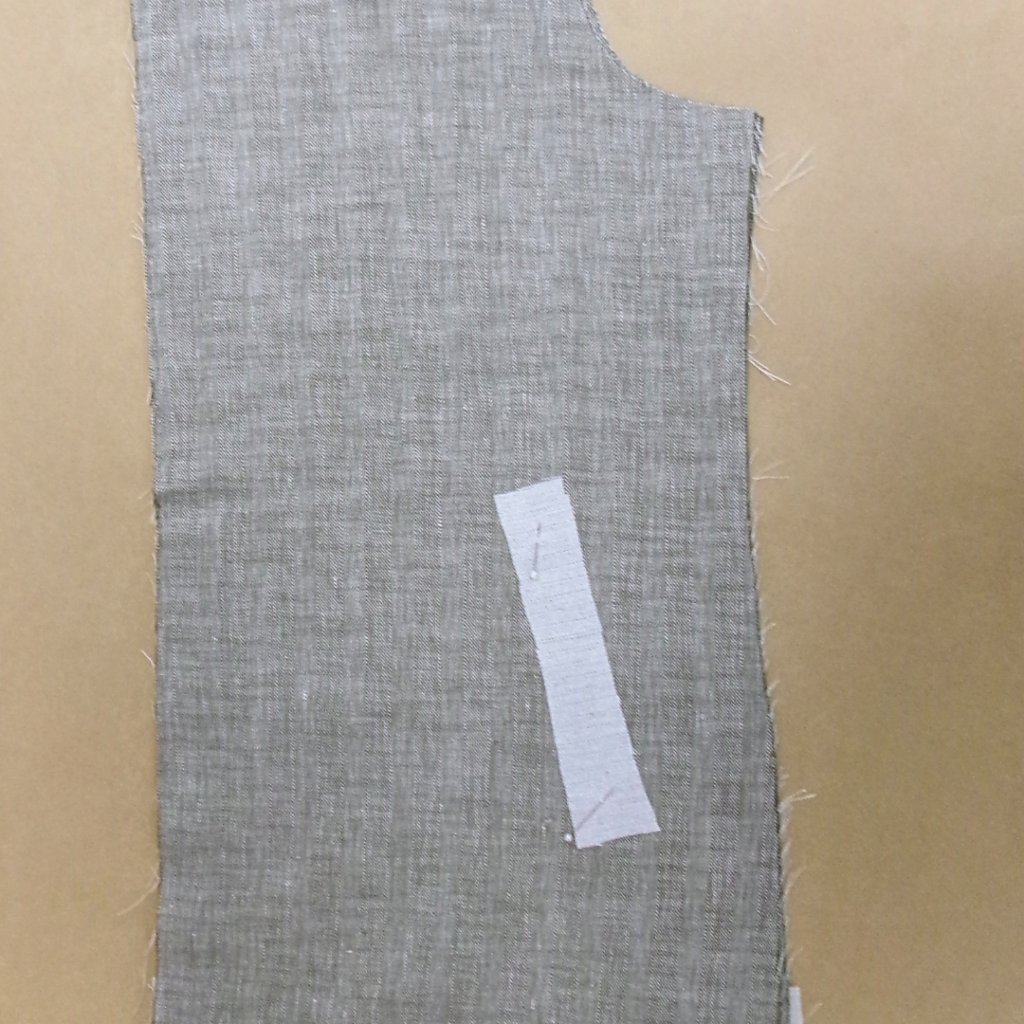
Sew a stitch line in the shape of the rectangle as marked on the pattern. (Optional) Fuse the wrong side on the stitch line.
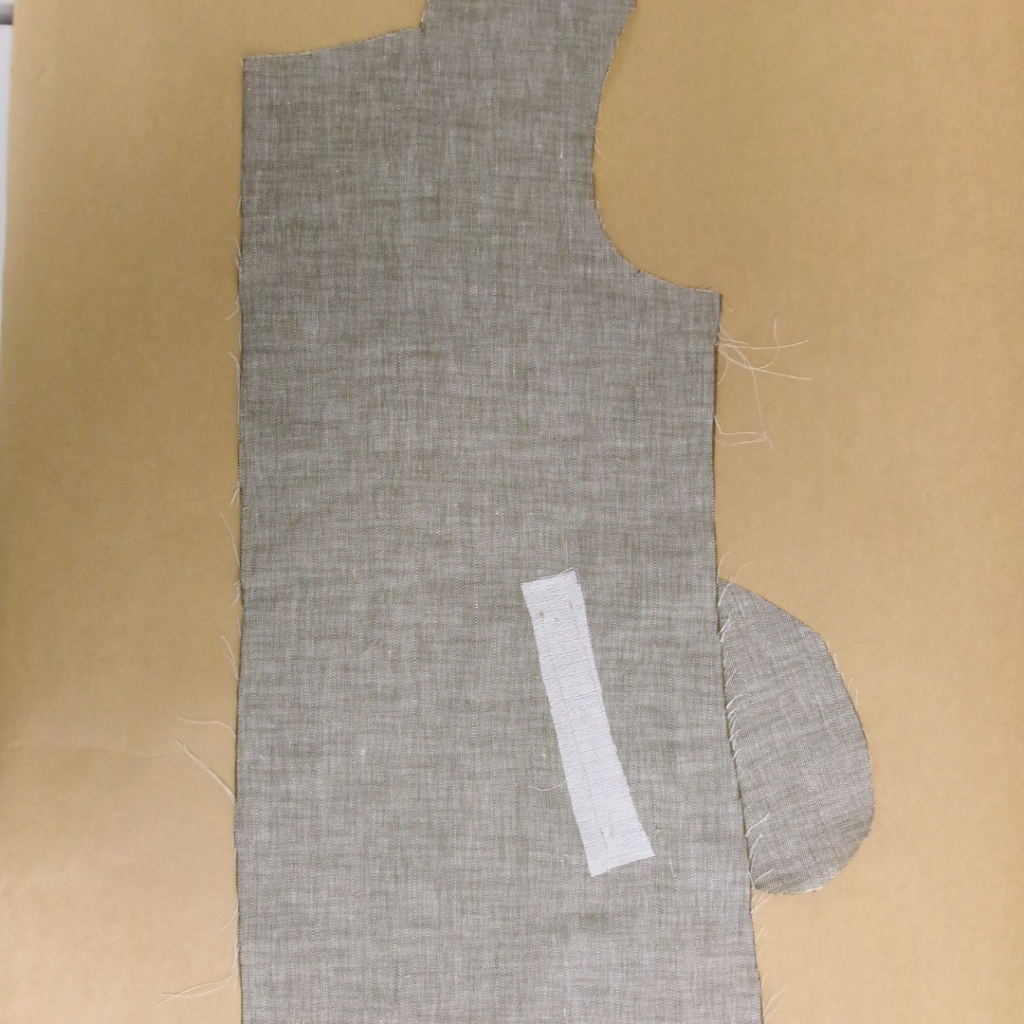
With RST sew the welt pocket to the marking on the front body (2). With RST stitch the pocket bag (9) to the welt.
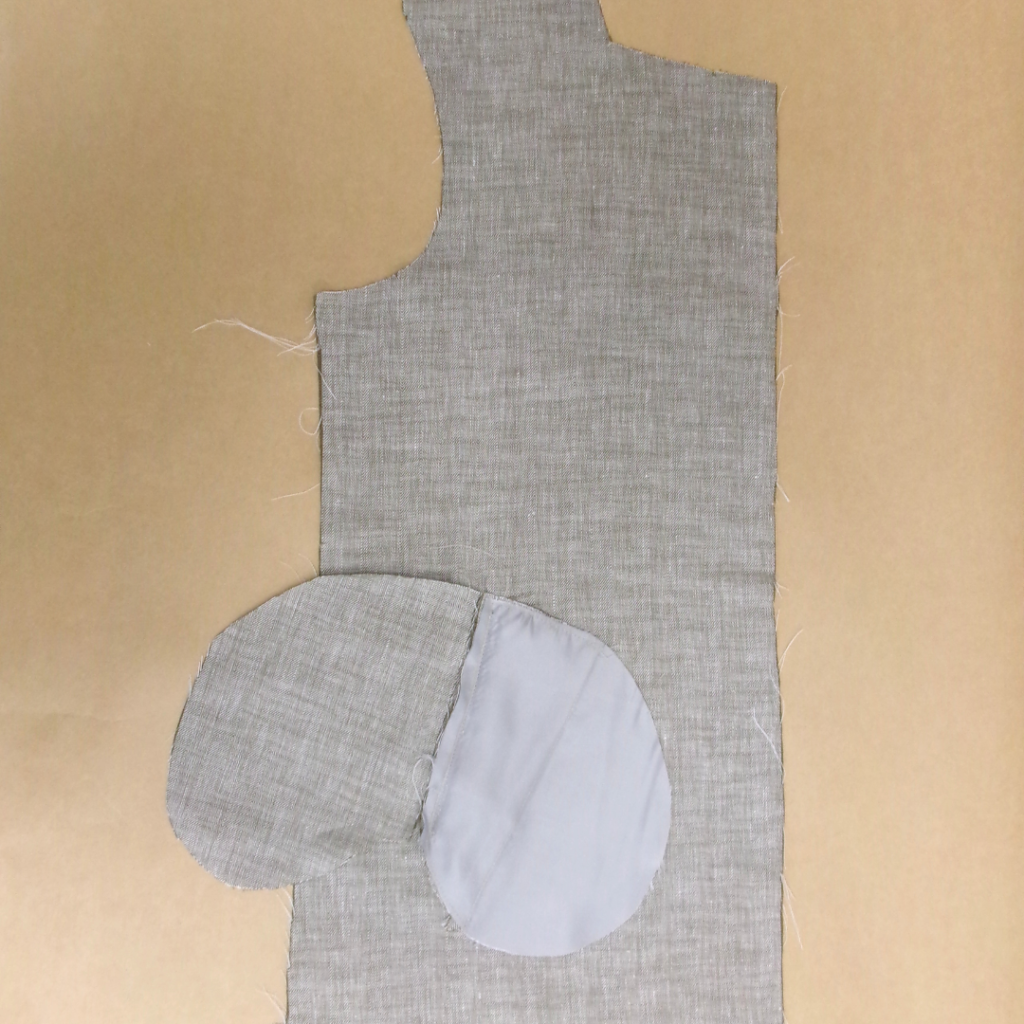
With RST sew the pocket bearer (10) to the opposite side of the pocket welt and bag.
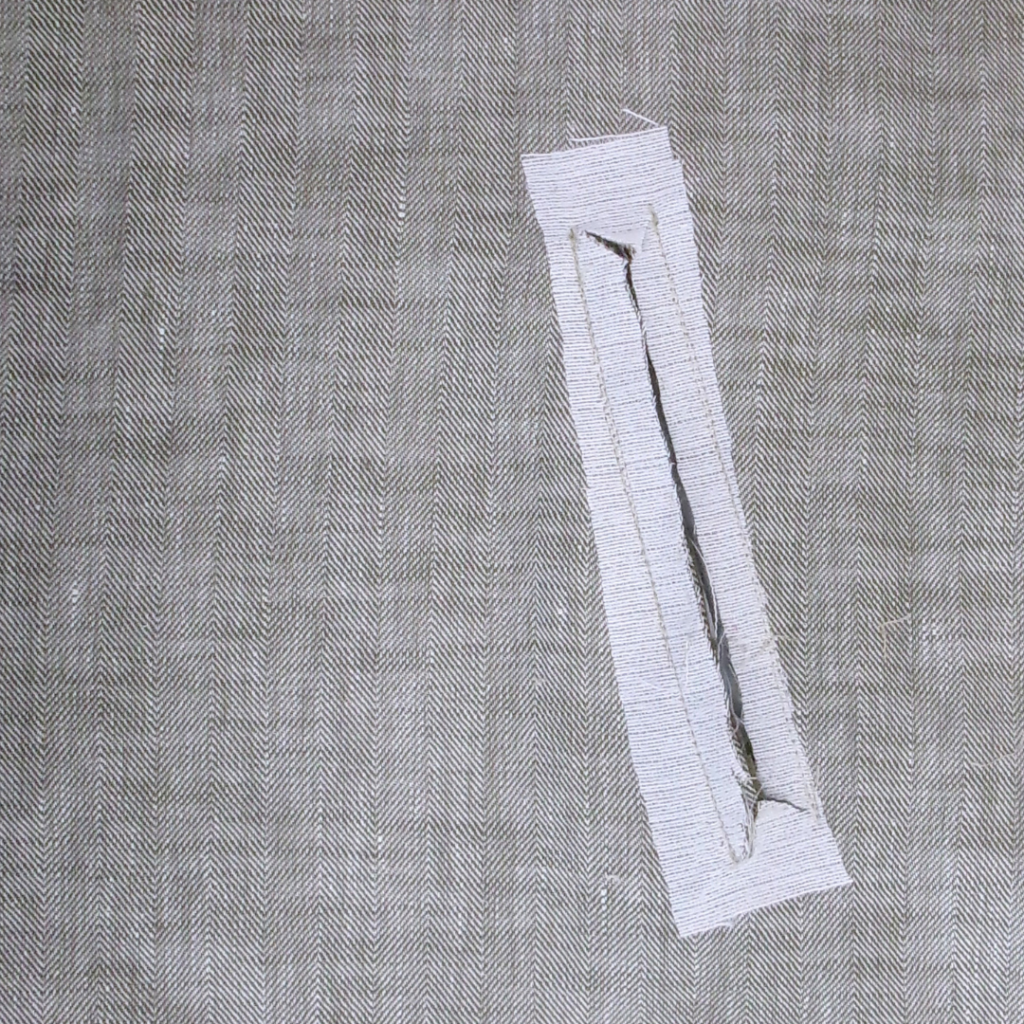
Cut in between the pocket bag, welt and pocket bearer and clip an inverted “V” at each end of the cut line, turn the pocket to the inside with the welt to the right side and sew both pockets together.
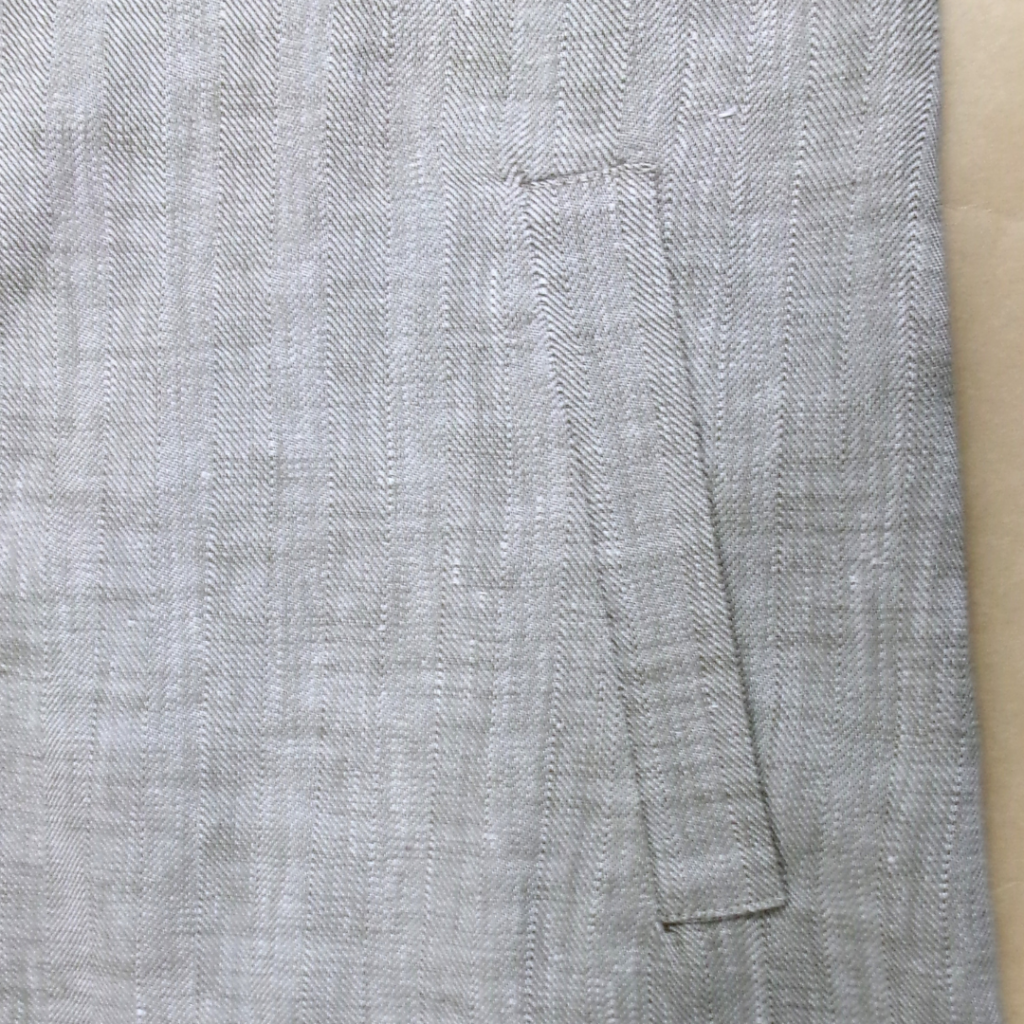
Neaten the around the pocket with an overlocker or serger. Sew and edge stitch to the top and base of the welt.
PATCH POCKETS:
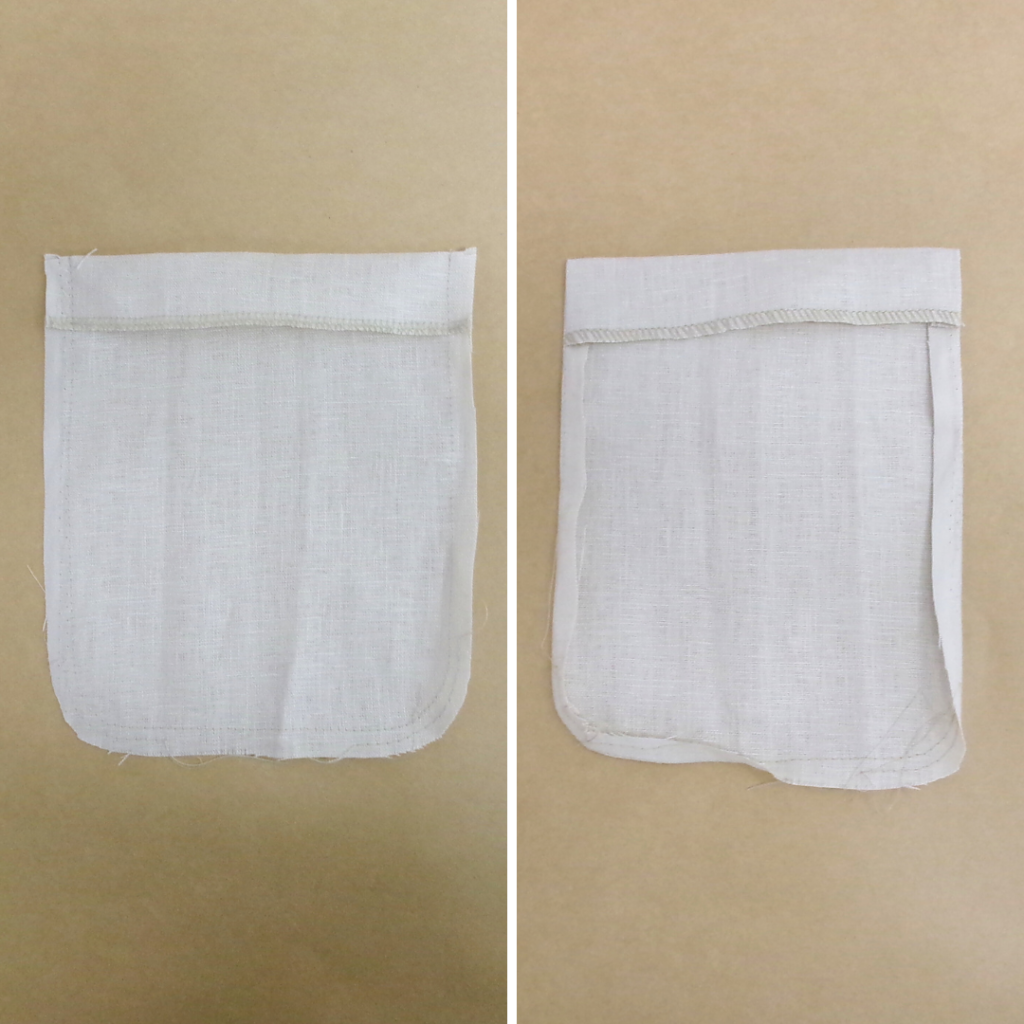
With RST turn the top of the pocket to the inside along the fold line, stitch down each side of the turn back and clip the corners.
Sew a stitch line the width of the seam around the pocket as a guide for when you sew the pocket to the front body followed by sewing a large stitch around the corners of the pocket and slightly ease in. Press the seam allowance of the pocket to the inside.
Pin the pockets to the front body following the markings, once in place stitch the outer edges of the pocket with an edge stitch.
COLLAR:

With RST sew the centre back seams of the fused under collar (8) together and press open.
With RST lay the fused top collar (7) on the under collar and sew the outer long edges together, turn to the right side, press the seam towards the under collar and sew an understitch on the side of the under collar.
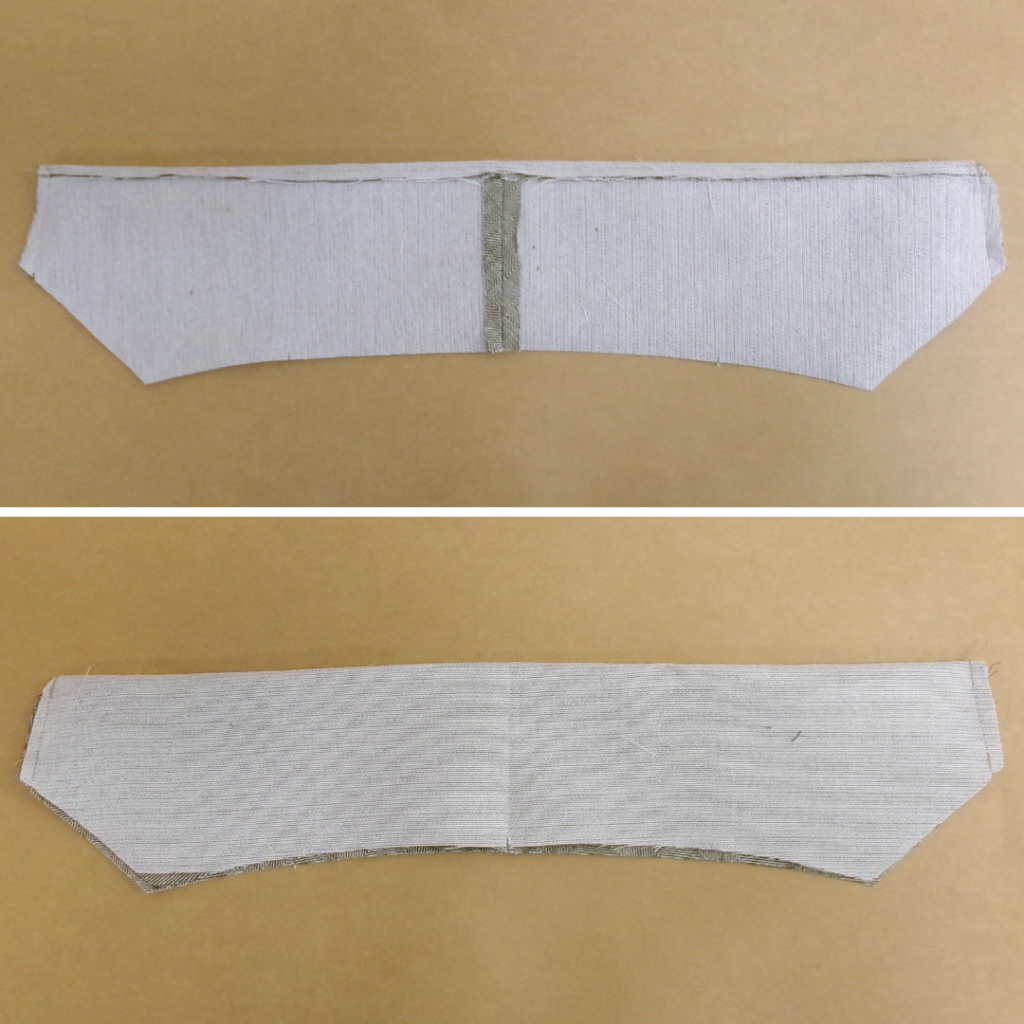
With RST sew each end of the top collar to the under collar, clip the corners and turn out to the right side. Press and sew a stay stitch to the cut edges of the collar to hold in place.
Press the collar and put aside until arriving at Step 17.
BODY:
Neaten the hem of the front (2) and back (1) body with an overlocker/serger.
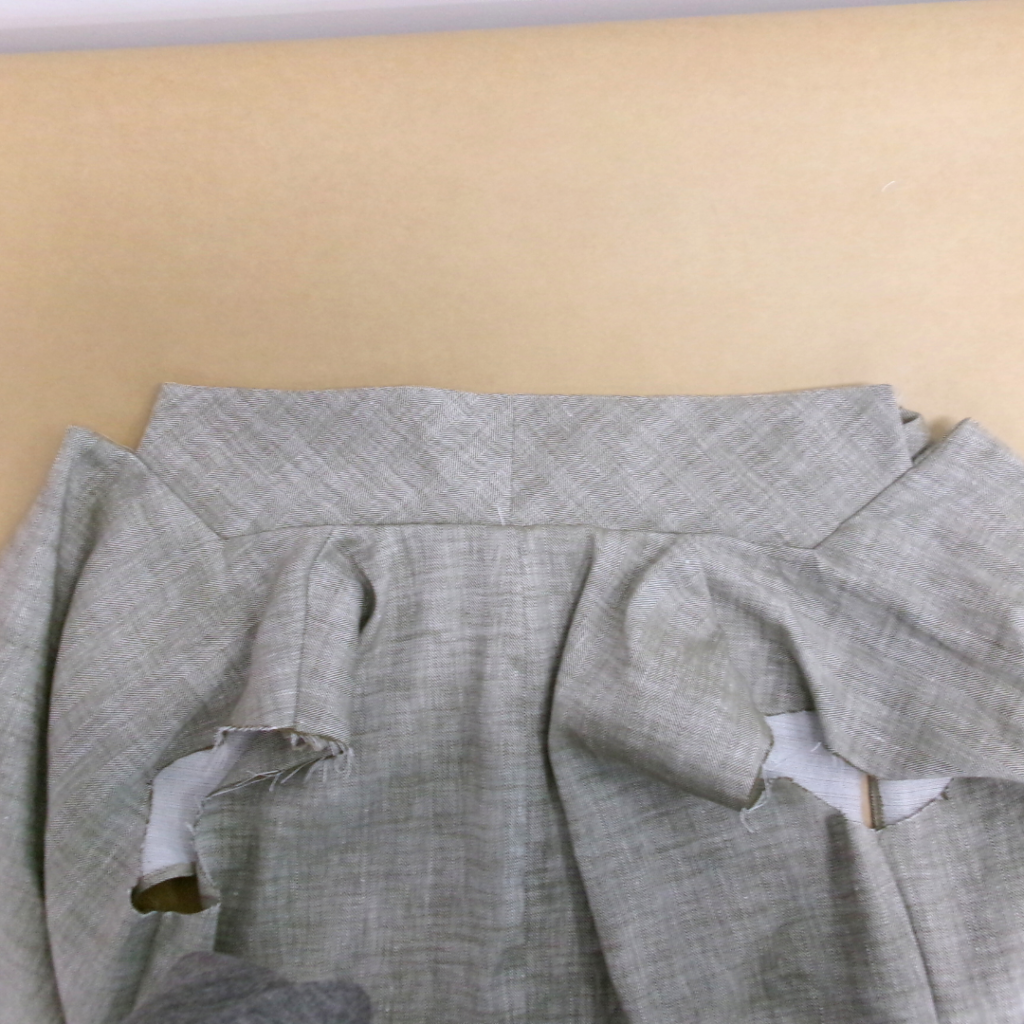
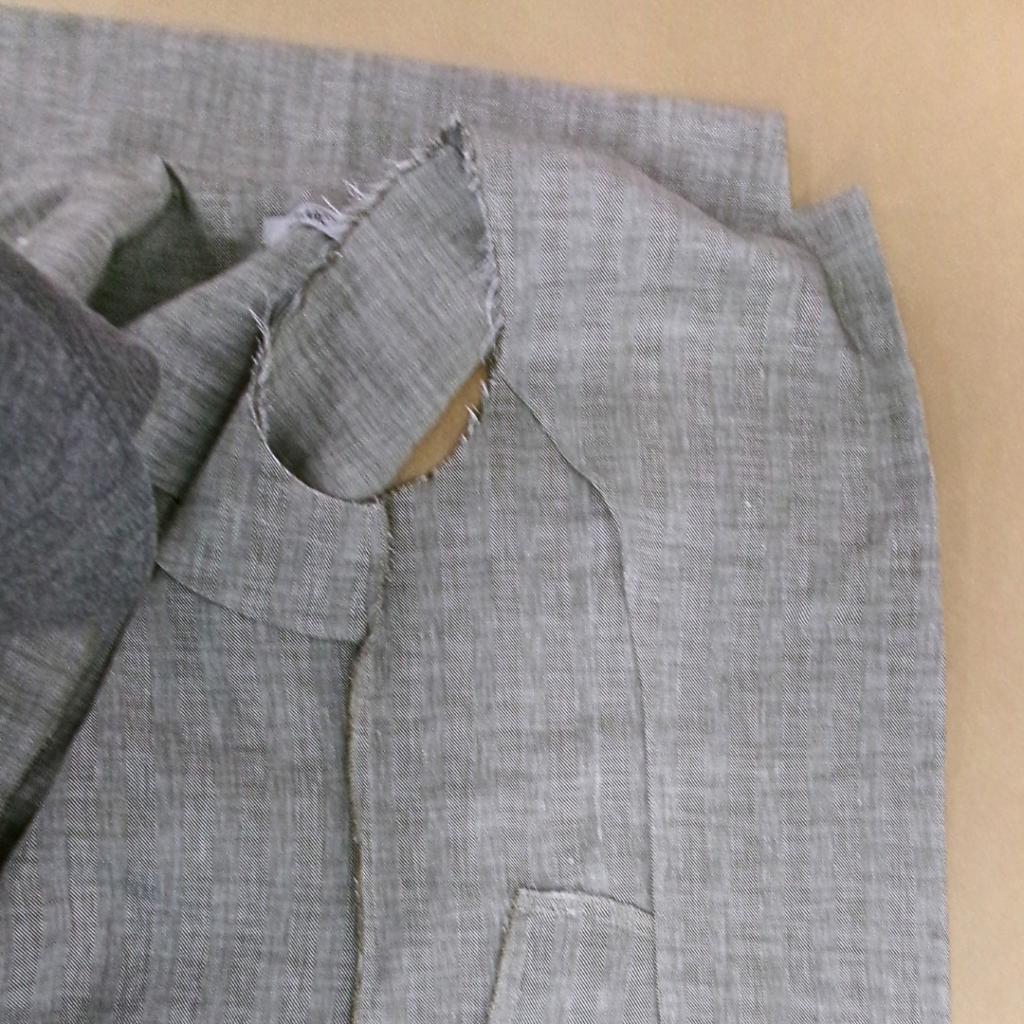
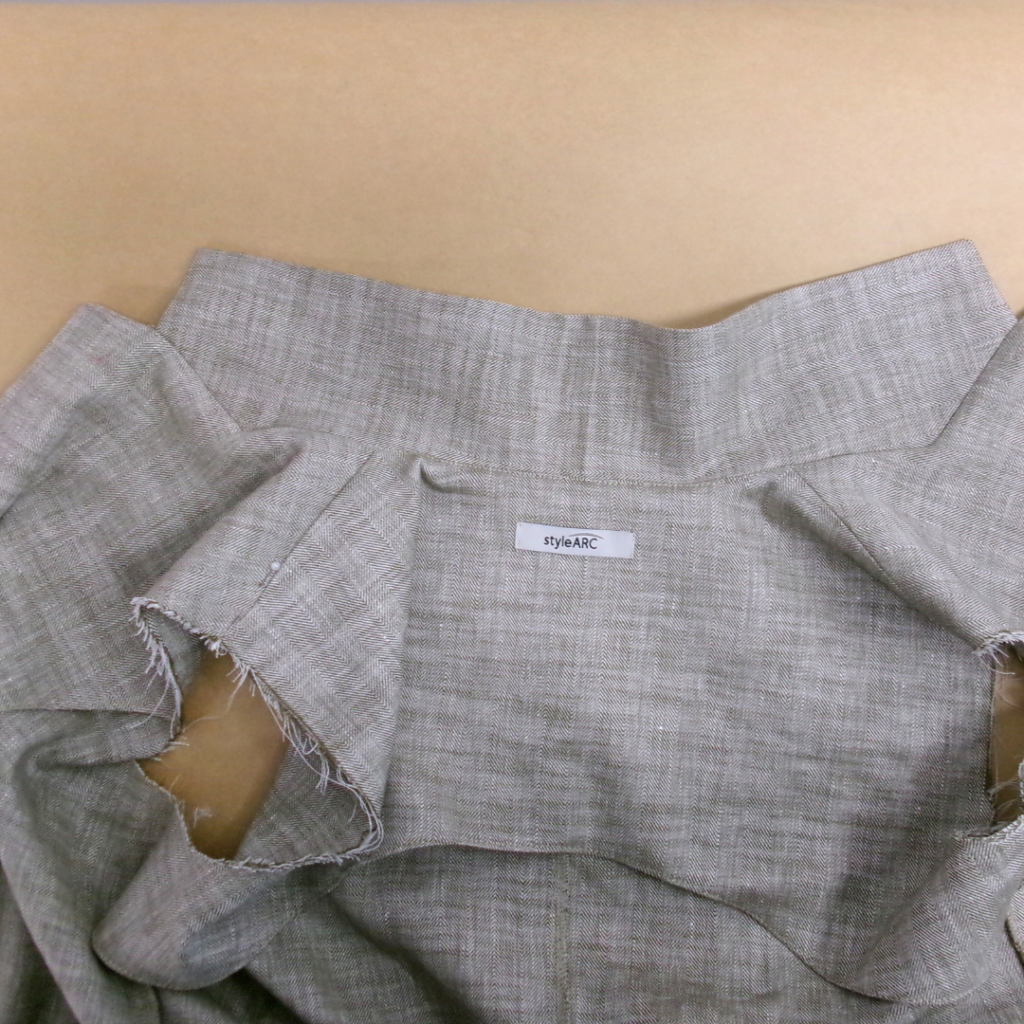
Neaten each side of the vent with an overlocker/serger, followed by turning the neaten edge of the vent to the inside and top stitch.
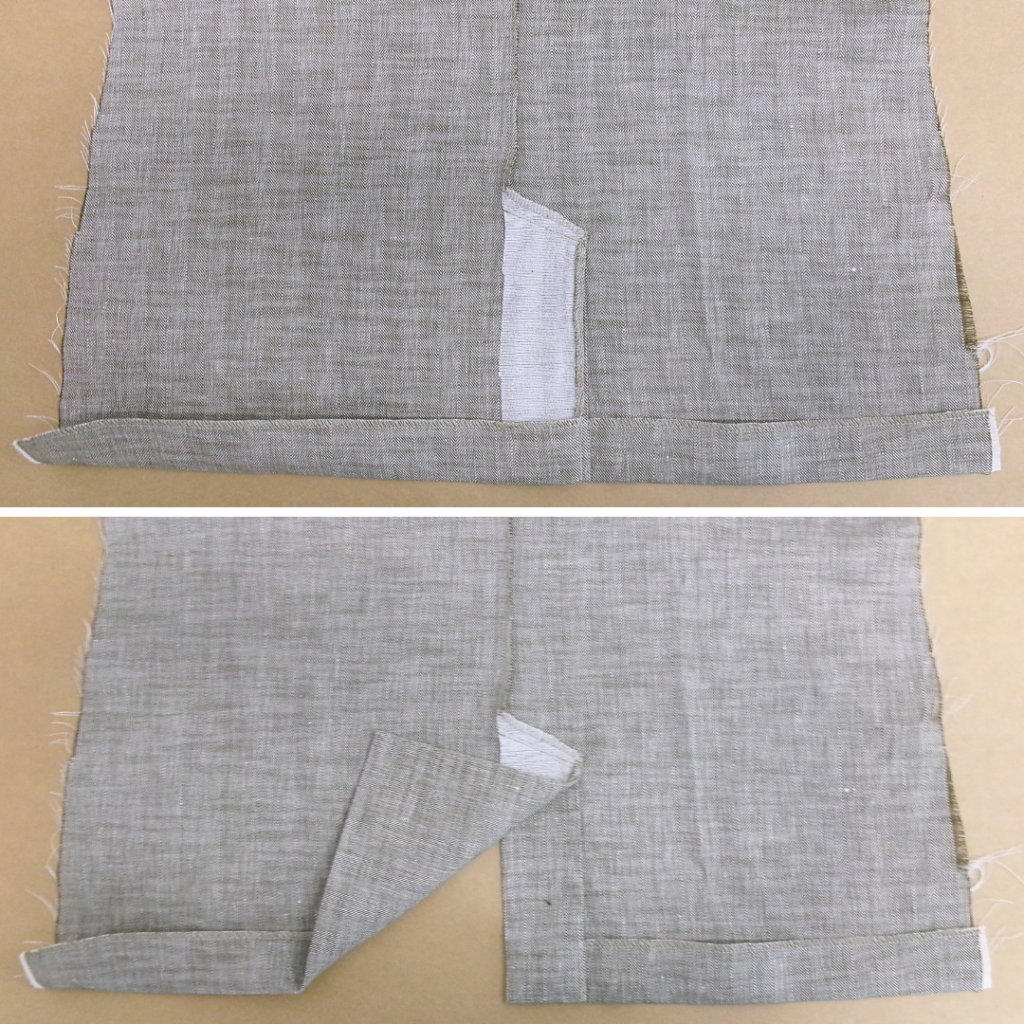

With RST sew the centre back seams together. Start at the neck and stitch down to the top of the vent, and with the needle down turn the corner and stitch across the top of the vent. Neaten the seam with an overlocker/serger and press toward the wearer’s left. Pin the vent into position and sew a top stitch to the top of the vent to hold in place.
With RST turn up the hemline and stitch to the lower edge of the under vent, clip the corner and turn out to the right side.
With RST and with the top vent folded inward stitch the hem of the body to the hem of the vent, turn out to the right side and press.
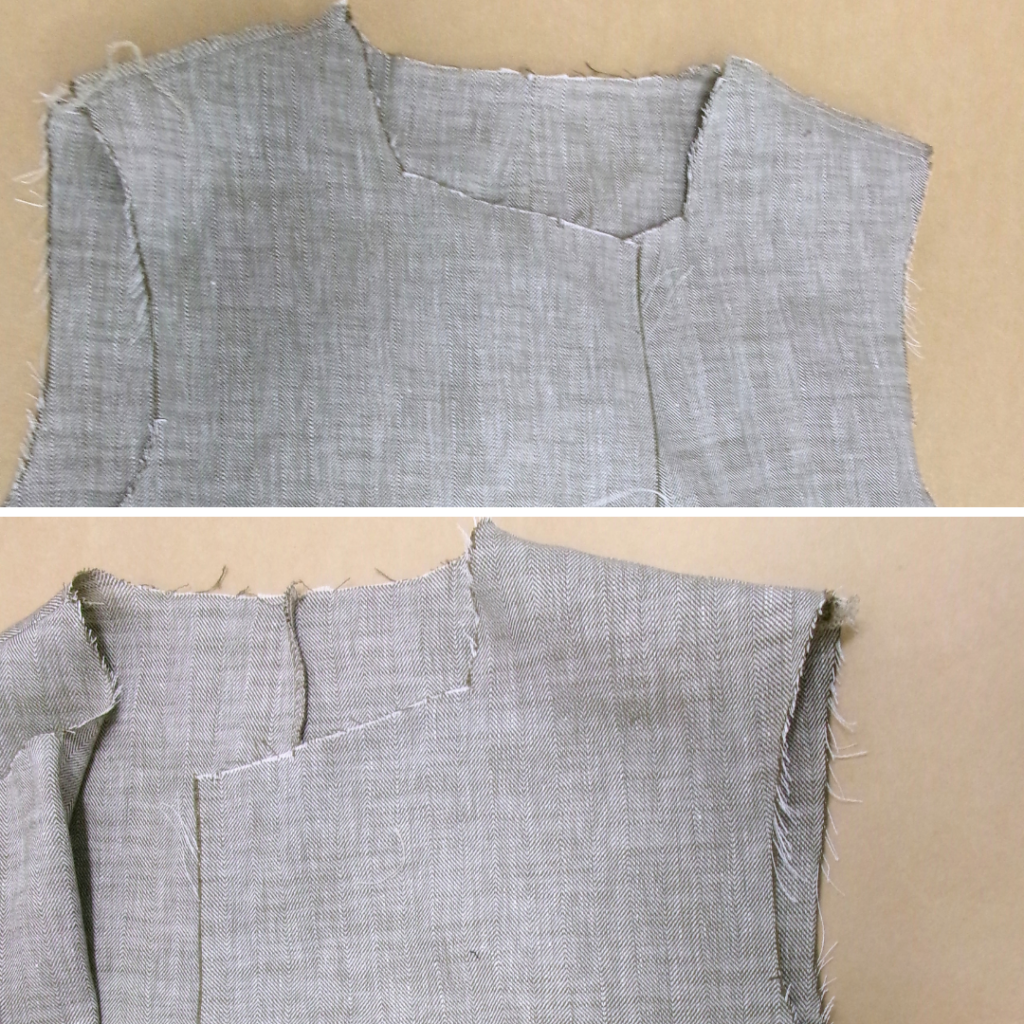
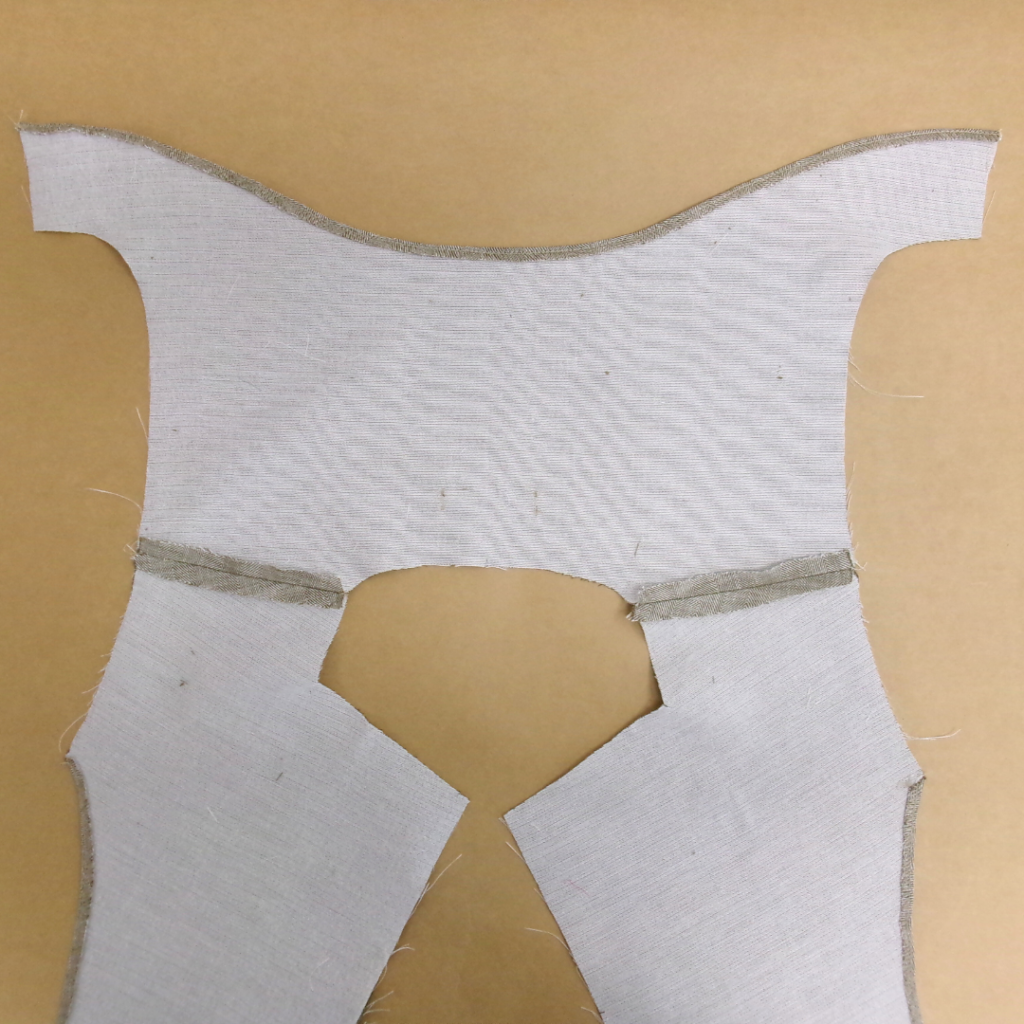
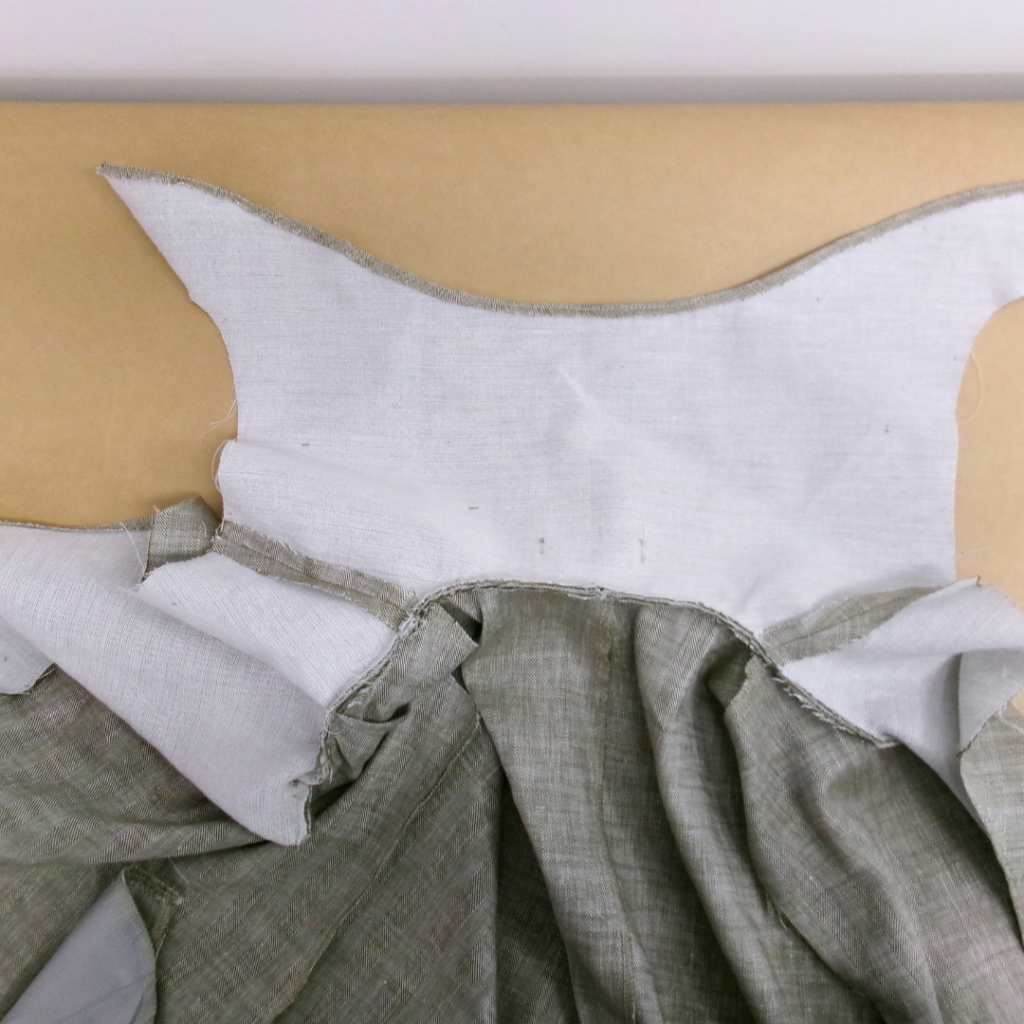
With RST sew the front and back shoulder seams and press open.
Sew the collar to the neckline matching the notches as you sew; start sewing at the centre front notch, and when arriving at the revere notch keep the needle down and turn the corner, clip and continue sewing finishing back at the opposite centre front notch.
NECK FACING:
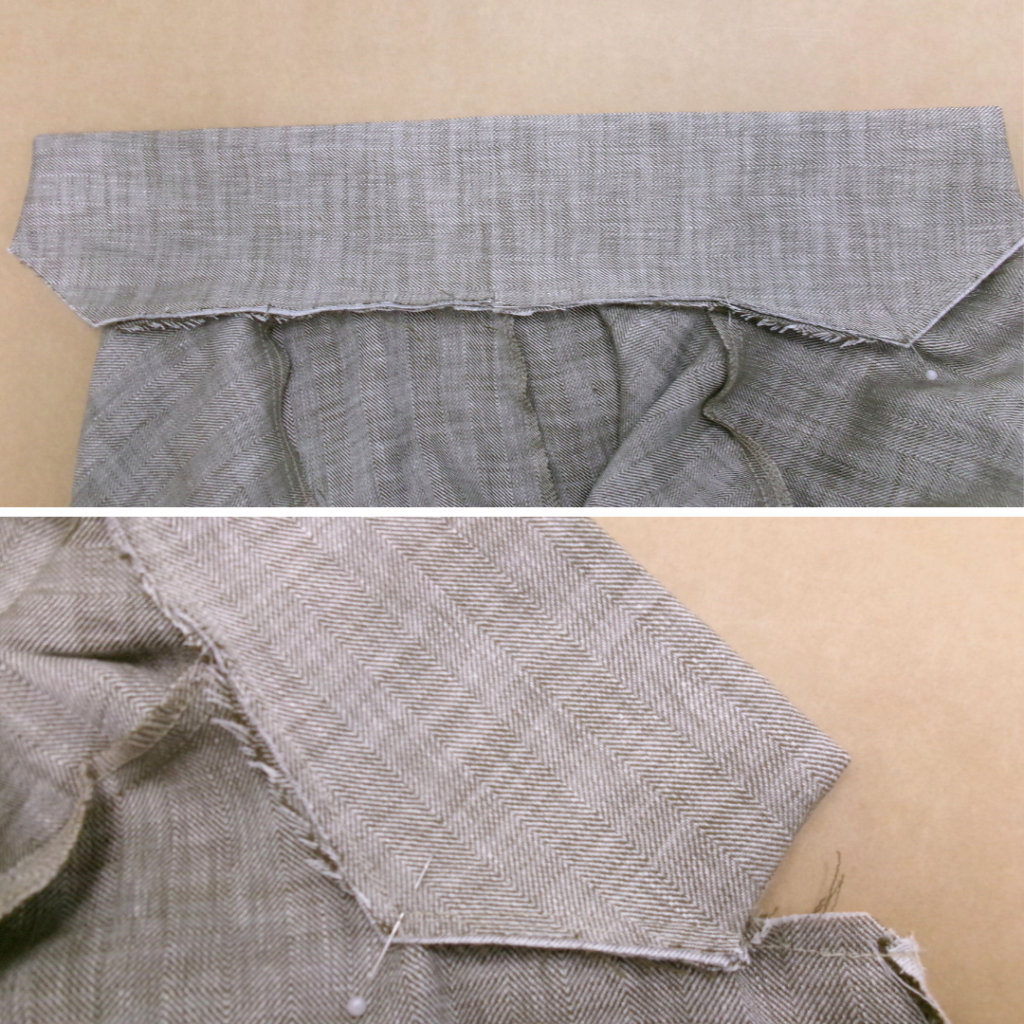
Neaten the lower edge of the back facing (4) and both outer edges of the front facings (3).
With RST sew the front and back shoulder seams of the facings together and press open.
With RST sew the front facing to the front of the body, press the seam towards the facing and sew an under stitch close to the seam on the side of the facing stopping at the break line notch, turn to the right side and continue sewing the under stitch on the side of the body finishing at the neckline. This is so the understitch isn’t visible on the revere.
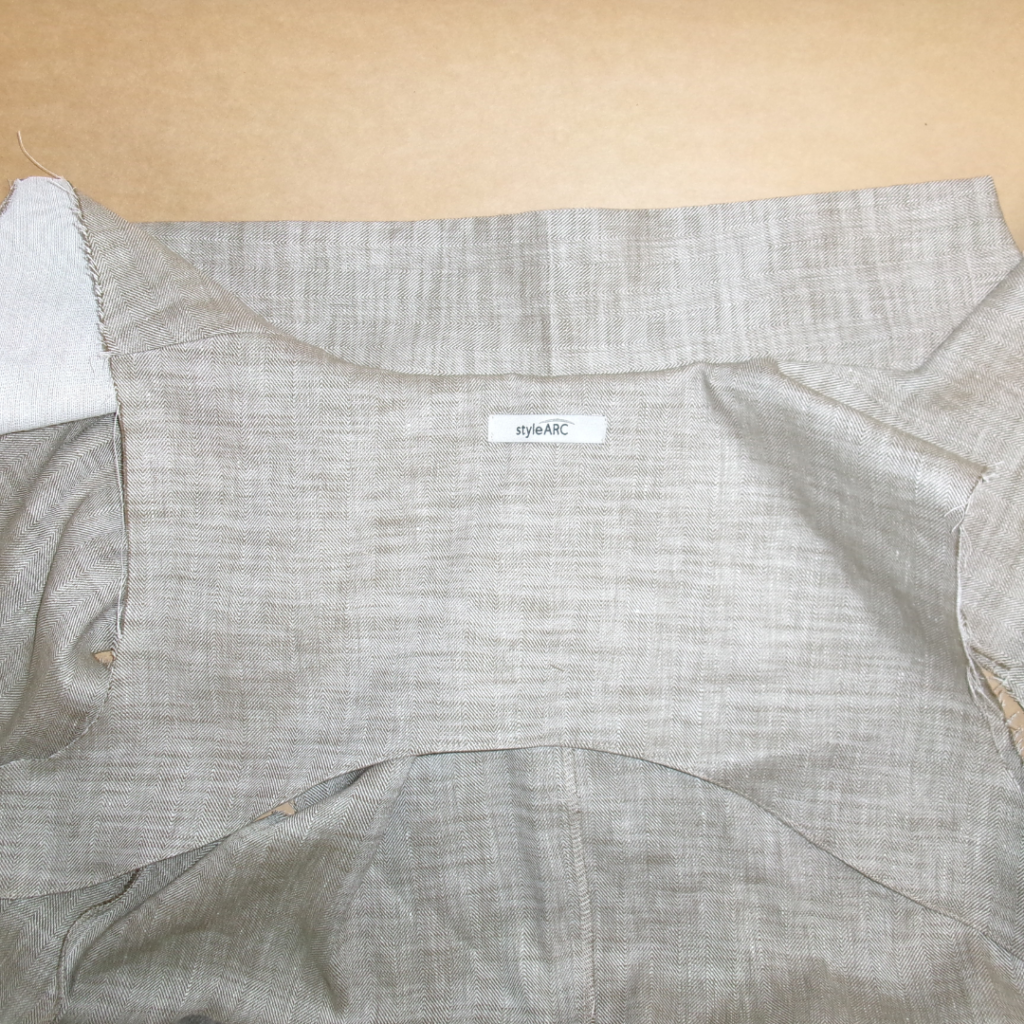
With RST sew the neck facing to the neck of the body sandwiching the collar in between as you sew, press the seam towards the body and sew an understitch on the side of the back neck facing.
With RST sew the hem of the front facing to the hem of the jacket, clip the corner and turn out to the right side.
BODY CONTINUED:
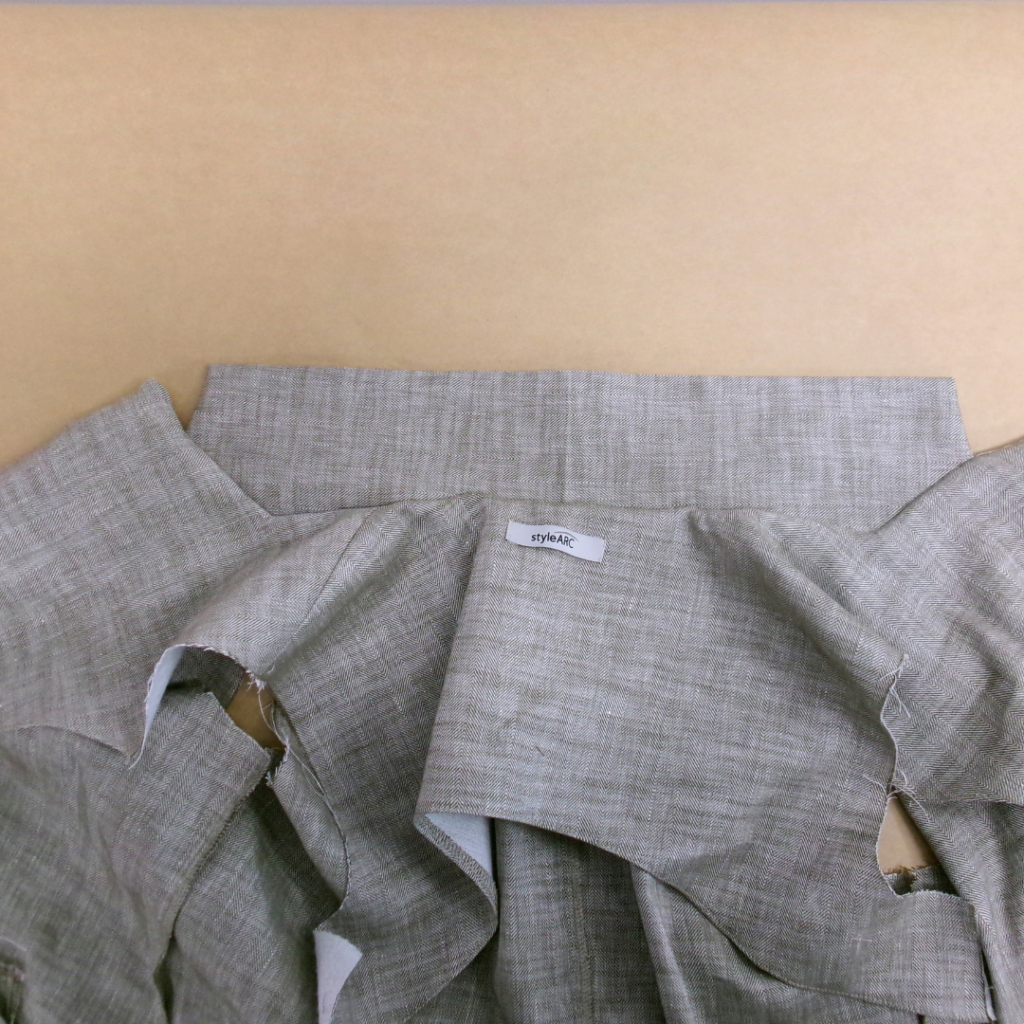
With RST sew the front and back side seams together, neaten with an overlocker/serger and press towards the back.
With RST sew the side seam of the back armhole facing to the side seam of the body.
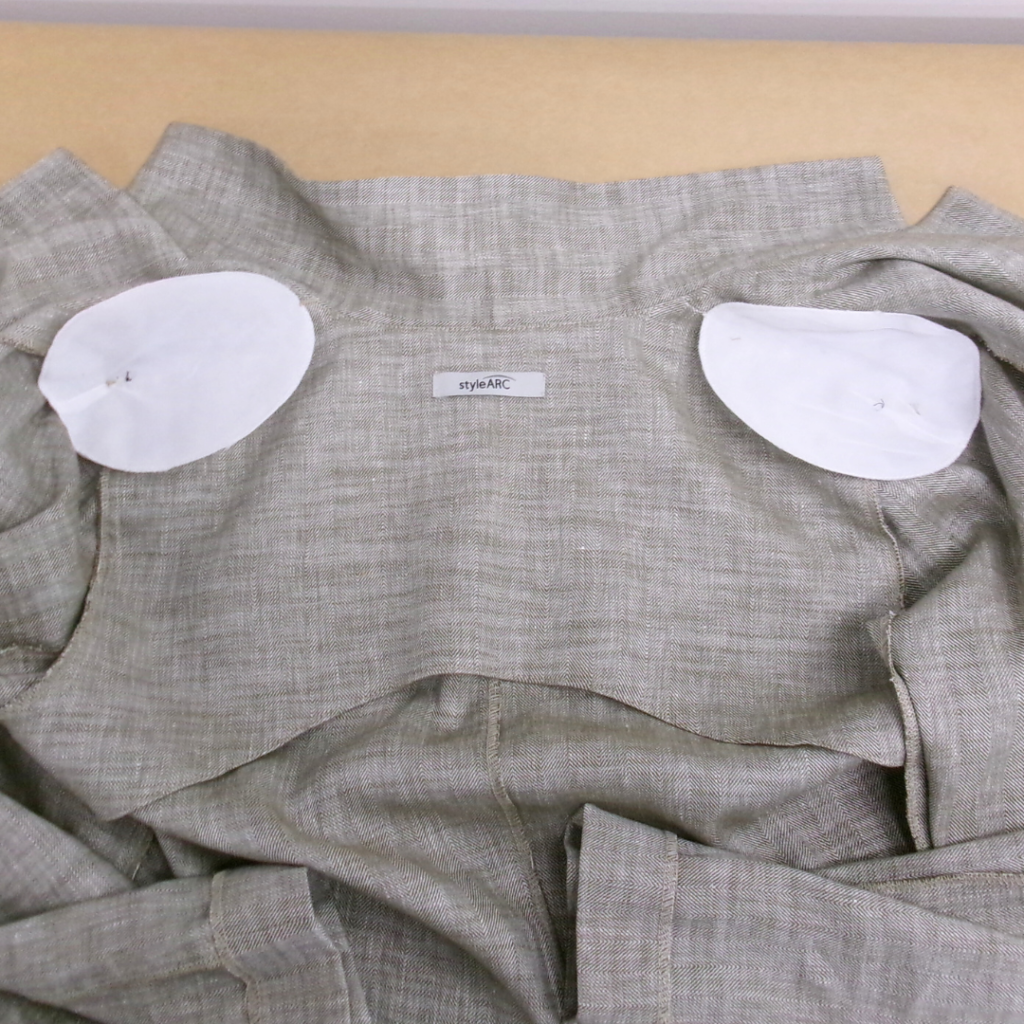
If using shoulder pads, sew to the shoulder seam with a hand stitch. Refer to helpful hints.
Pin the front and back facing armholes to the body armholes and baste stitch together.
SLEEVES:
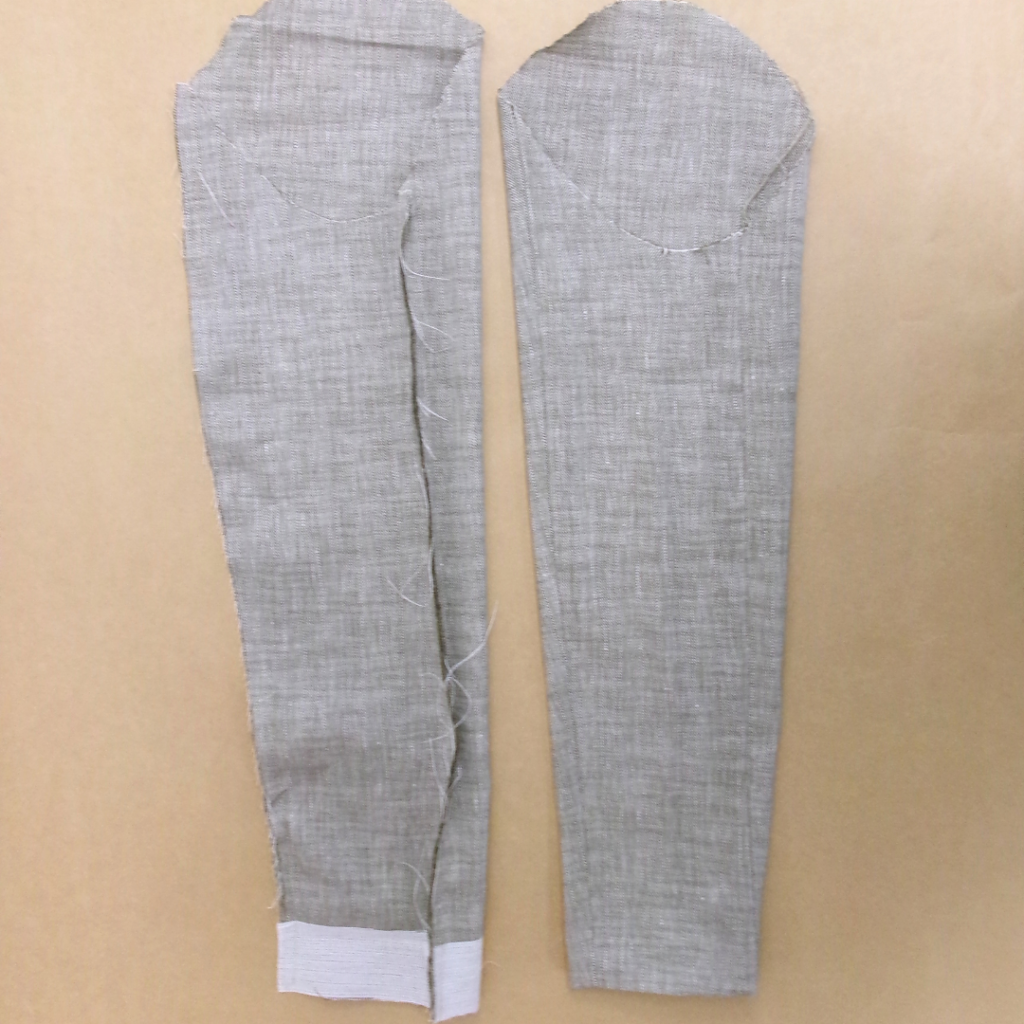
With RST sew the top sleeve (5) seams to the undersleeve (6) seams matching the notches as you sew, neaten the seams with an overlocker/serger and press the seams towards the back.
Sew a large stitch to the head of the sleeve and slightly draw in, this makes it easier to sew the sleeve head into the armhole.

With RST sew the sleeves into the armholes matching the notches as you sew. Note, the side seam of the body matches the notch on the under sleeve. Neaten the armhole seam with overlocker/serger and press towards the sleeve.
COMPLETION:
Make the buttonholes on the right front as marked on the pattern and sew the buttons to align with the buttonhole on the left front.
Hand stitch the hem of the body and the hem of the sleeves.
Press your new jacket!
