BRIM
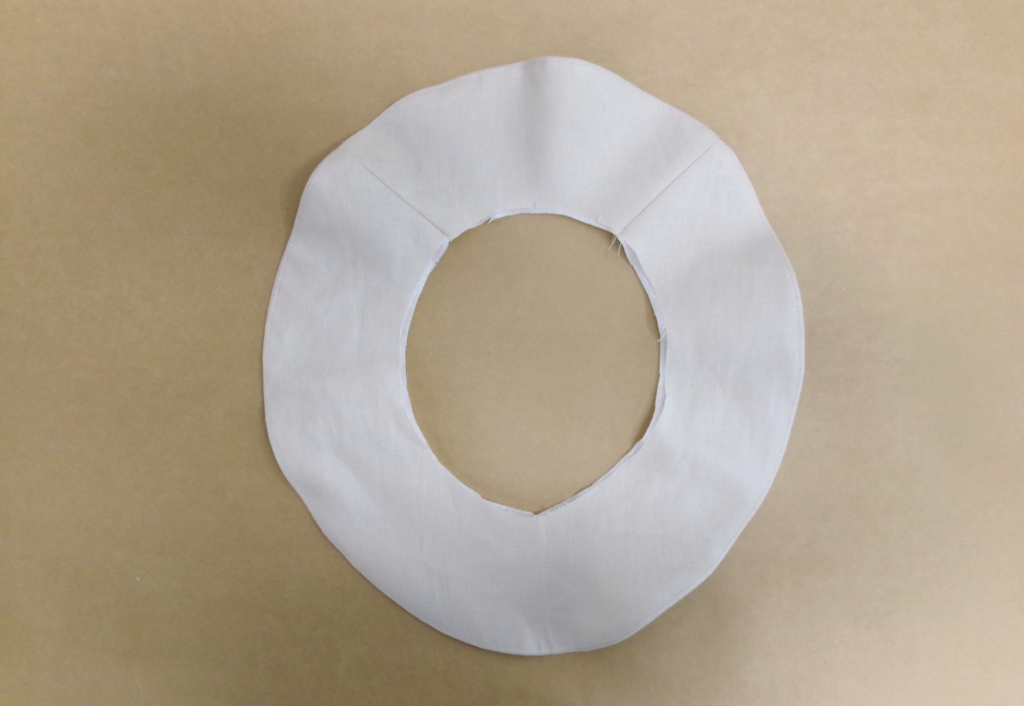
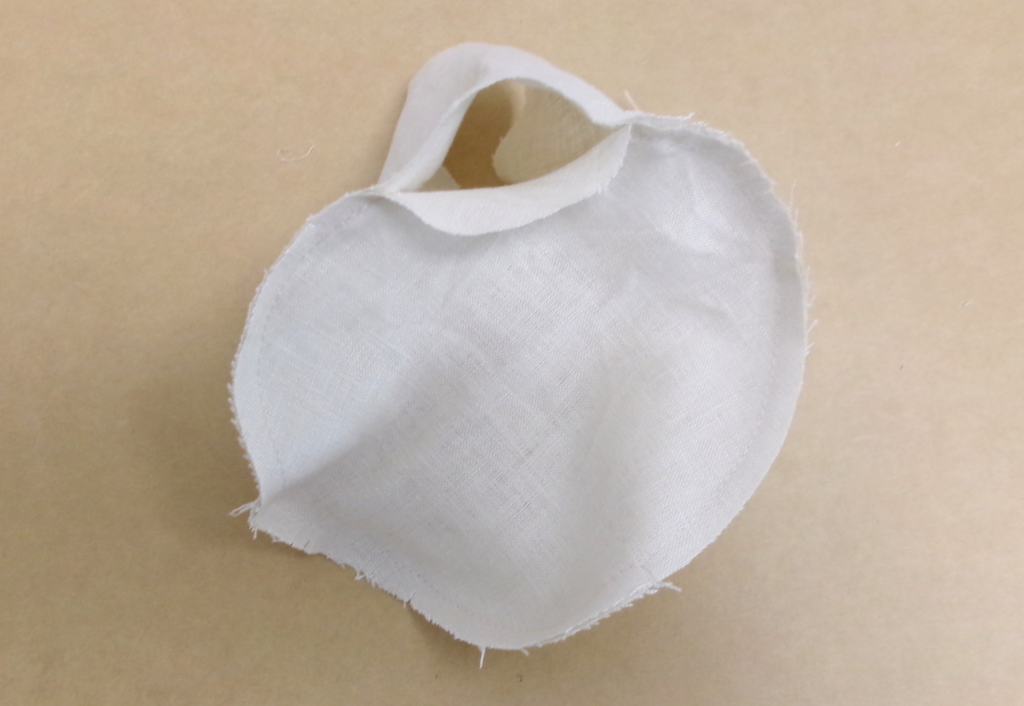
With RST, sew the back brim (5) to the brim (4) and press the seam open, repeat for the second brim. You will now have two brims (circles).
With RST and matching the notches and seams, sew the outer edges of the brims together, clip the seams, turn out to the right side and understitch the seam on the side of the under brim; press and sew a basting stitch around the raw edges of the brim to hold in place.
MID PANEL
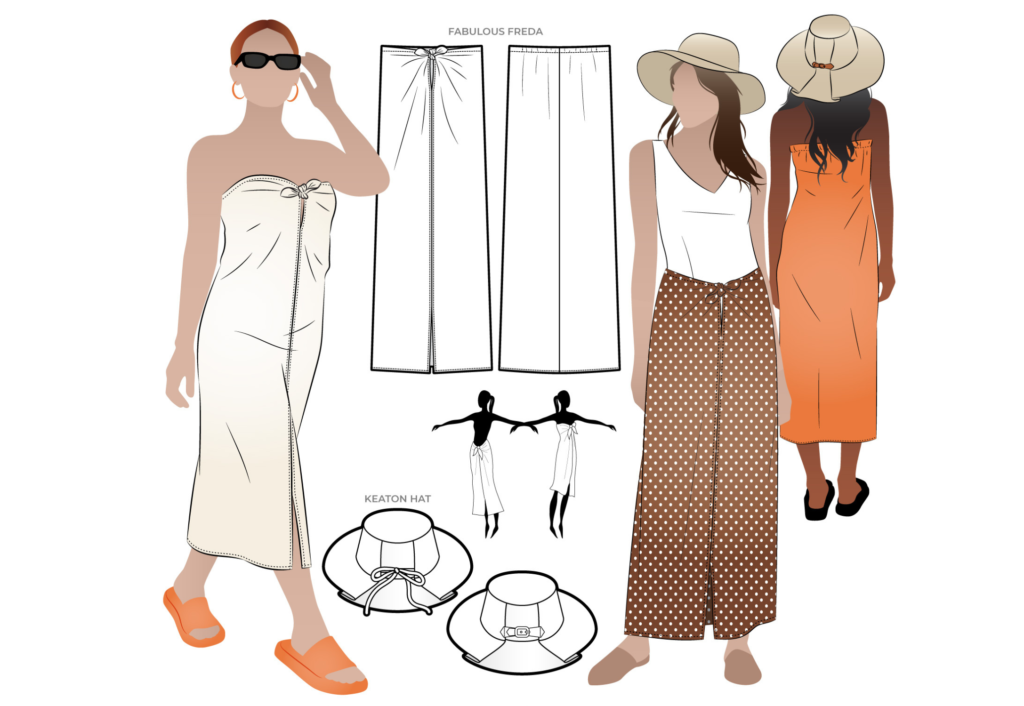
Decide which adjustable trim you are using – elastic or ties. If using a belt and buckle, this will be stitched on top of the completed hat.
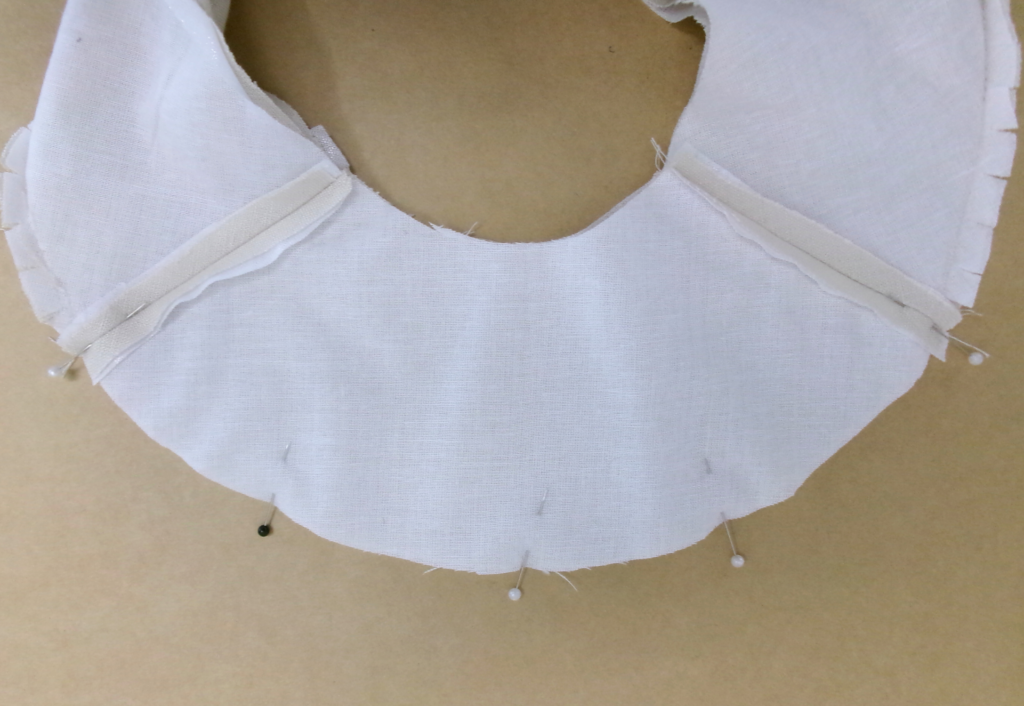
If using the ties, sew two ties, turn them out to the right side and stitch them to the back seams close to the brim. If using the elastic, stitch each end of the cut elastic to the mid back seams. Once the hat is completed a stitch is sewn on top of each side of the elastic to hold in place.
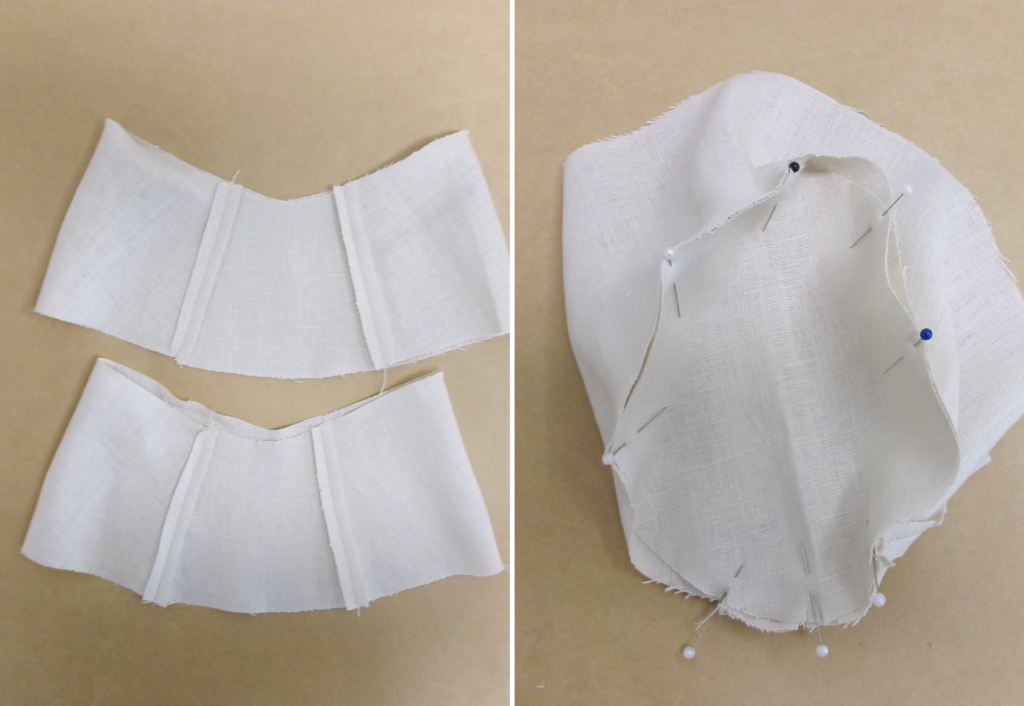
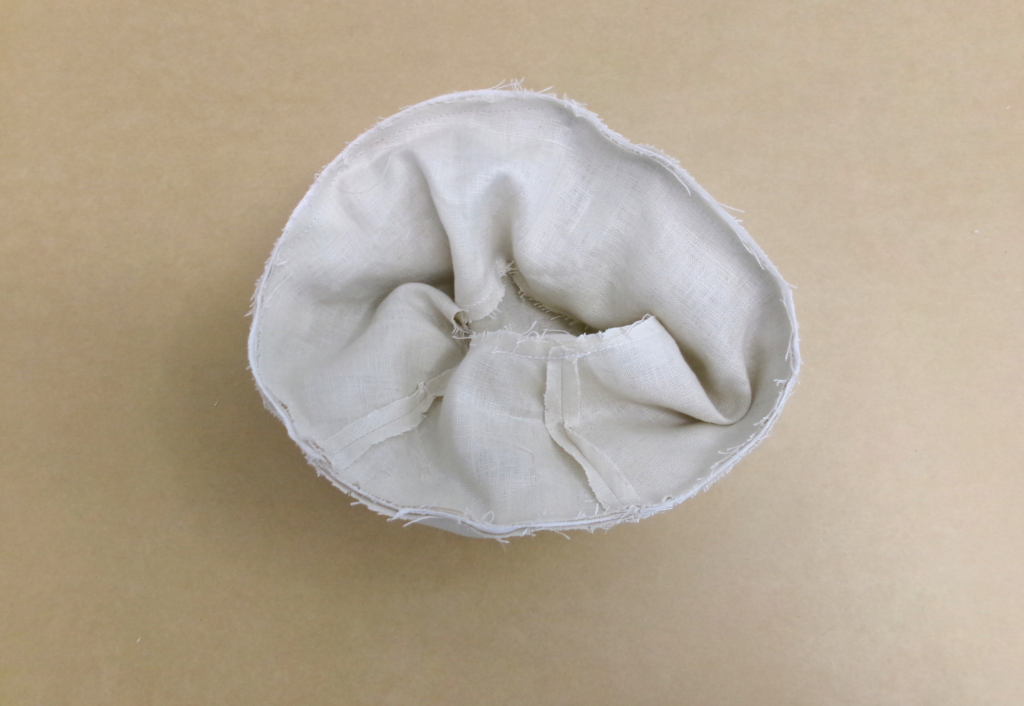
With RST and matching the notches sew the mid front (2) to the mid back (3) and press the seams open, repeat for the inner mid panels (lining). You will have two mid panels one for the outer hat and one for the inside hat.
With RST and matching the notches, sew the top (1) panel of the main fabric to the main mid panel, repeat for the inner hat (main or lining) but leave an opening to enable the hat to be turned out.
COMPLETION
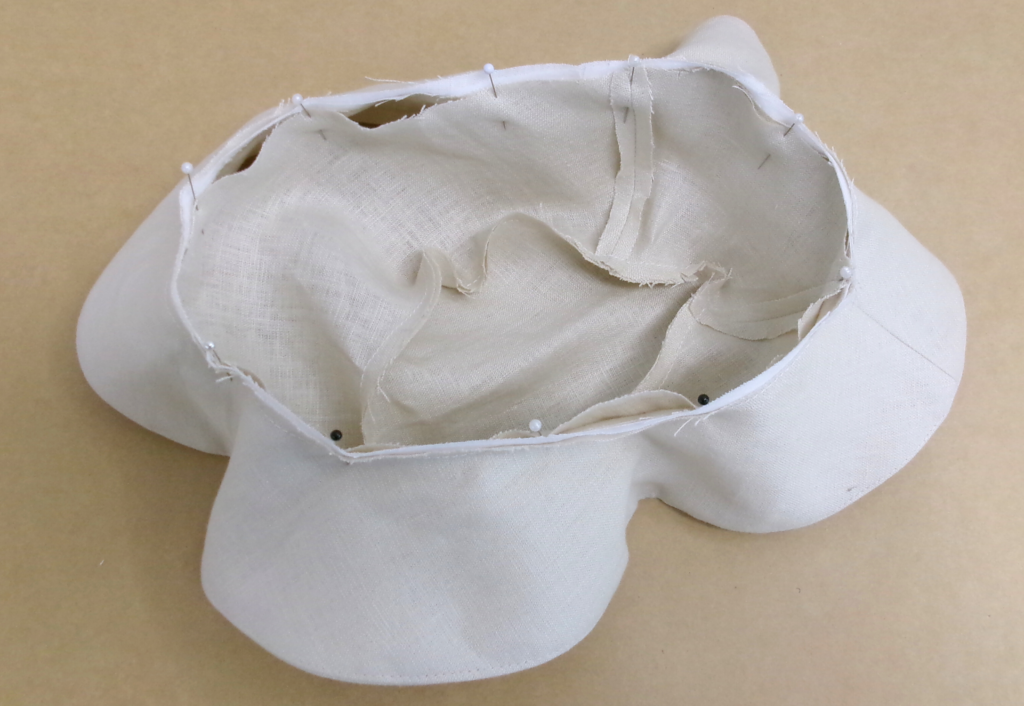
With RST and matching the notches and seams, pin outer the mid panel to the outer brim, once in place stitch together.
Repeat for the inside mid panel (lining) and underside of the brim, sandwiching the brim in between the mid panels.
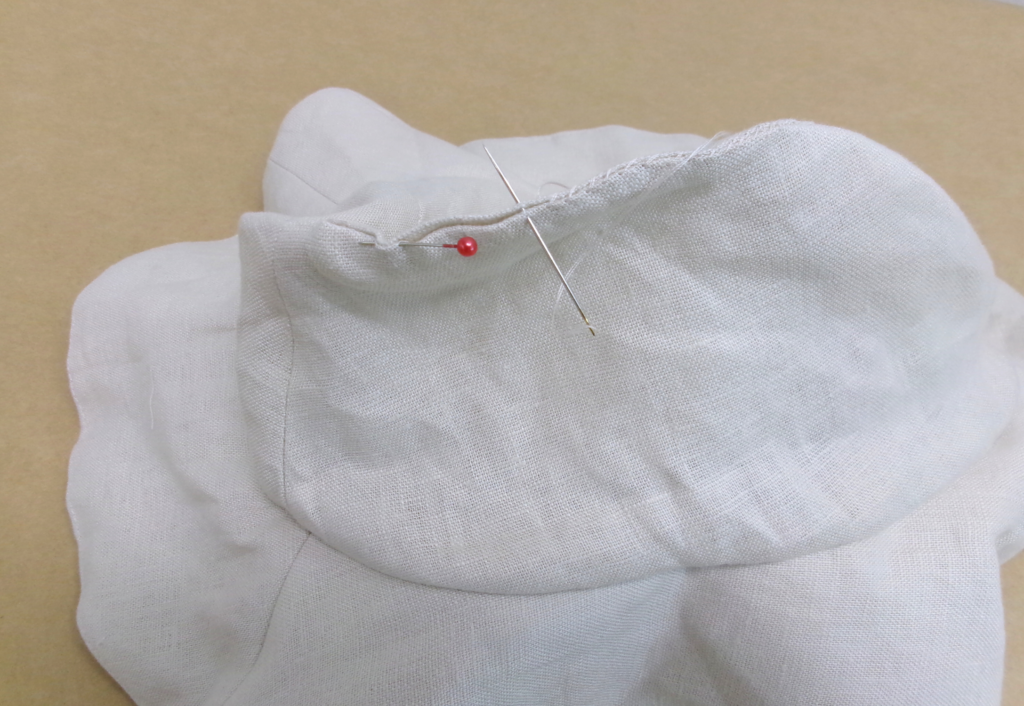
Using the opening, turn the hat out to the right side and hand sew up the turn out opening.
If you used elastic as an adjuster, sew a top stitch to each side of the elastic, stretching it out as you sew.
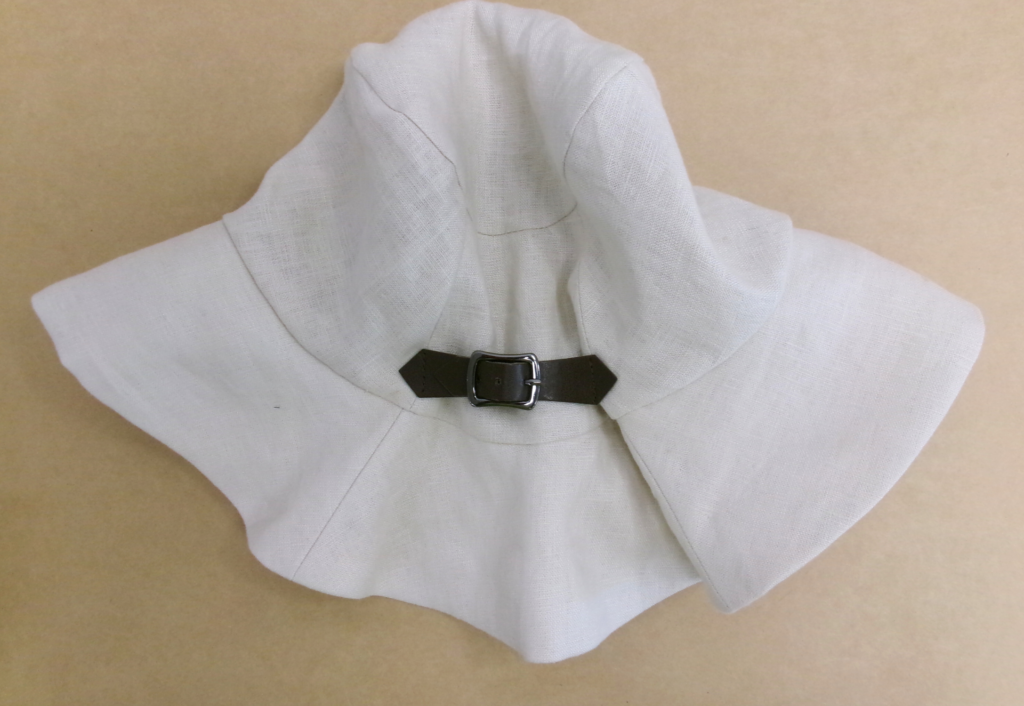
If you are using a belt & buckle adjuster, top stitch it to the seam of the mid back close to the brim.
Clip any loose threads and press your new hat taking care to press the back two inverted knife pleats (pressed pleats are optional).

