Harmony Woven Top Tutorial by Lou Sheffer from Sew Much to Design
Follow her on Instagram @sewmuchtodesign
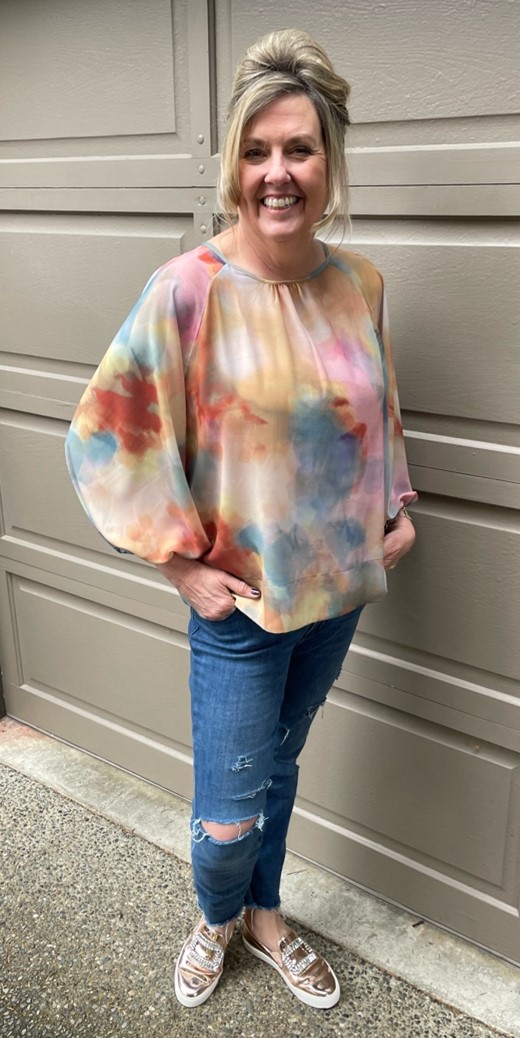
Introducing the Verona Top by Style Arc. This is a stylish top, a contemporary take on a classic bohemian style. It is a pull on top with a button and loop closure and fashion forward gathered sleeves. It is a medium level of difficulty due to the gathering and binding around the neckline, otherwise it sews together easily. It has a wide hem facing and a relaxed square fit, sitting high on the hip. I chose to lengthen the body of my Verona because I am so tall. I lengthened it by 3″ so it would hit mid hip.
This is the perfect top for styling on its own or to wear under layers in cooler weather. It is a fun design that can be sewn up in a variety of woven fabrics. The bodice can easily be lengthened to create a tunic or dress version as well. Lengthening or shortening the sleeves also adds even more options and combinations of style.
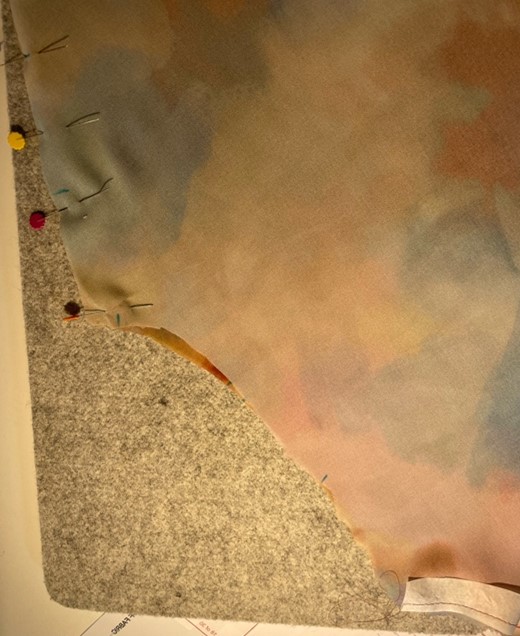
Before you cut out the Verona pattern pieces make sure to take note of the pattern pieces. The sleeve pieces are cut on the bias. This is easy to do, simply lay the pattern on the fabric with the grain line going in the right direction at a 45 degree angle to the selvage. You will need to select a wider fabric for this reason. All seam allowances for this pattern are 1 cm unless otherwise indicated at 4mm. I chose a fun digitally printed chiffon from a local fabric store because I felt that the drape would be perfect for the gathers at the neckline and to accent the full sleeves without too much bulk.
CONSTRUCTION:
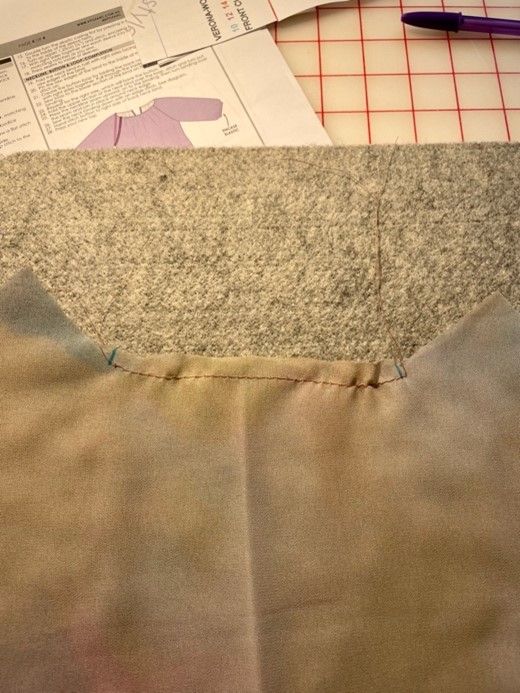
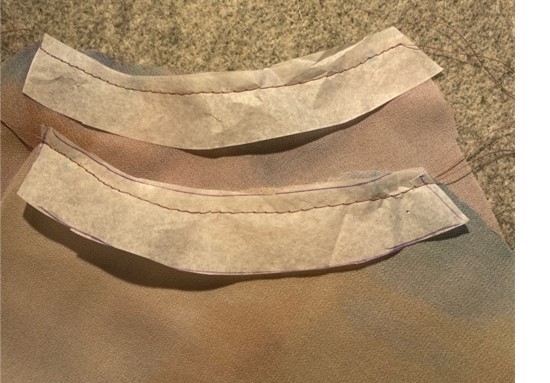
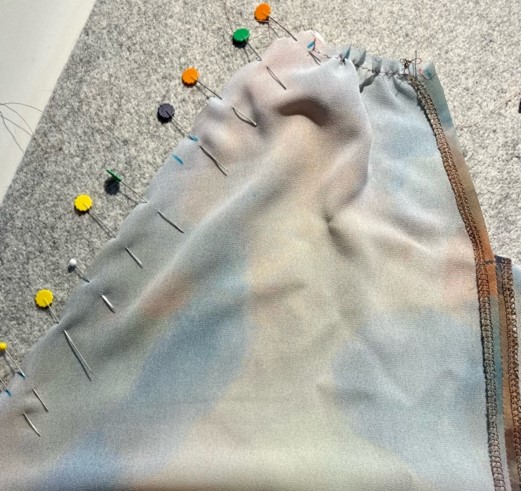
Sew a gathering, or baste stitch between the notches marked on the front pattern piece.
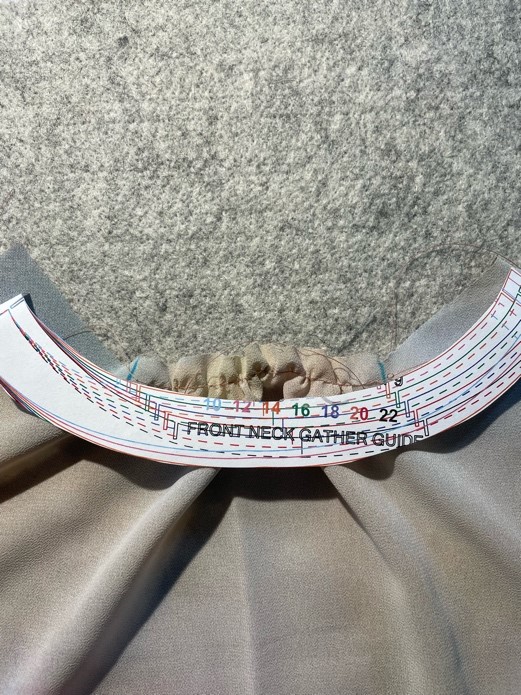
Gather the stitch until it matches the length between the notches on the front neck gathering guide, included with the pattern pieces.
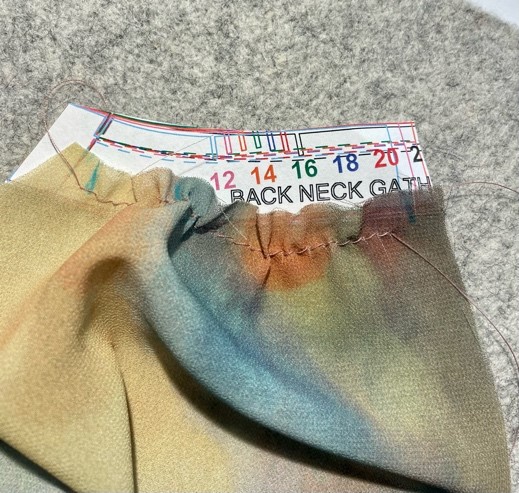
Repeat this gathering technique for the two back pattern pieces using the back gathering guide.
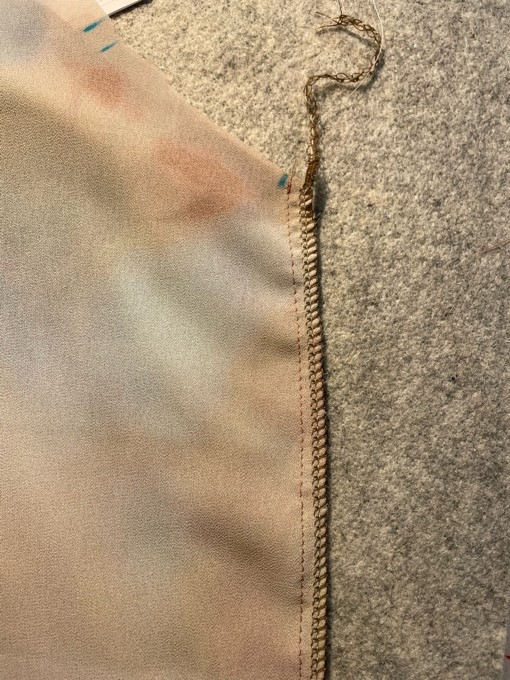
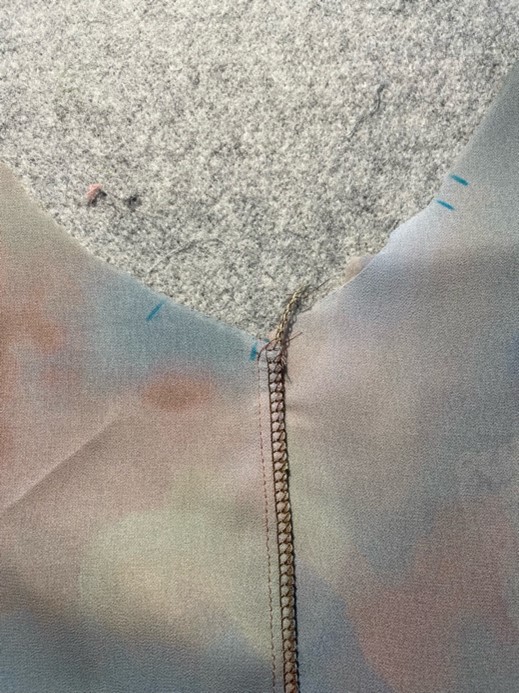
With right sides facing sew the front and back side seams together, matching notches as you sew.
Press side seams to the back and finish with an overlocker or zig zag stitch.
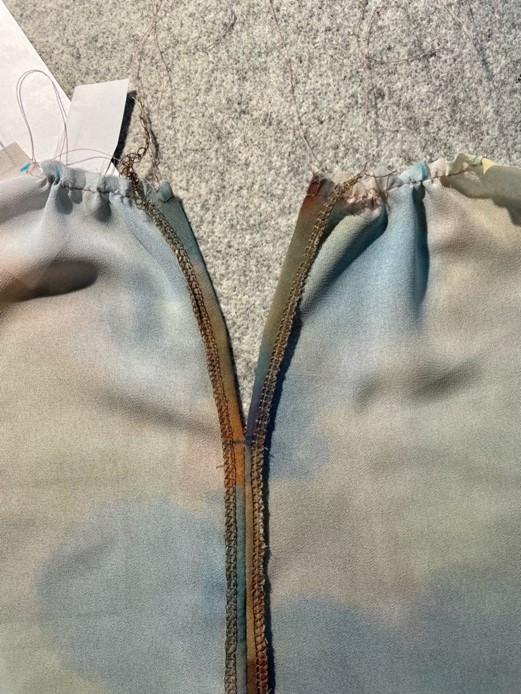
Finish each edge of the two back pieces with an overlocker or zig zag.
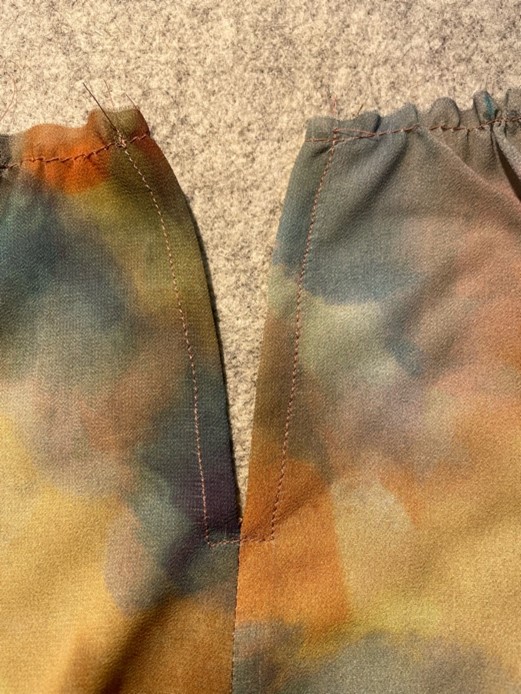
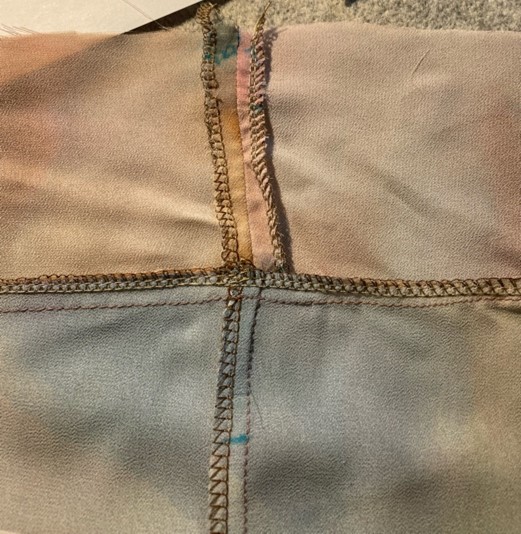
Sew the centre back seam with right sides facing, starting at the hemline and finishing at the split notch. Press the centre seam open.
Turn to the right side and sew a top stitch around the split.
Finish the short sides of the hem facing with an overlocker or zig zag. With right sides facing sew front and back hem facing together along the short edge, matching notches, then press seams open.
With right sides together, sew the hem facing to the bottom of the bodice hemline, matching notches as you sew. Finish with an overlocker.
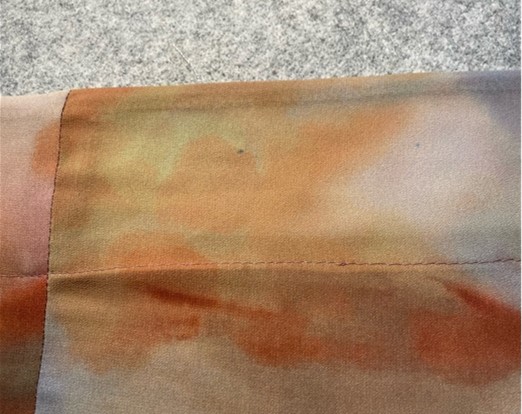
Press seam down towards the hem facing. Turn your fabric to the right side and sew a flat stitch as close to the seam as possible on the facing side.
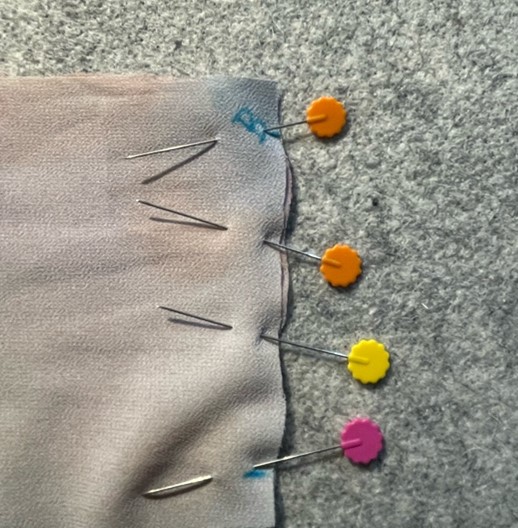
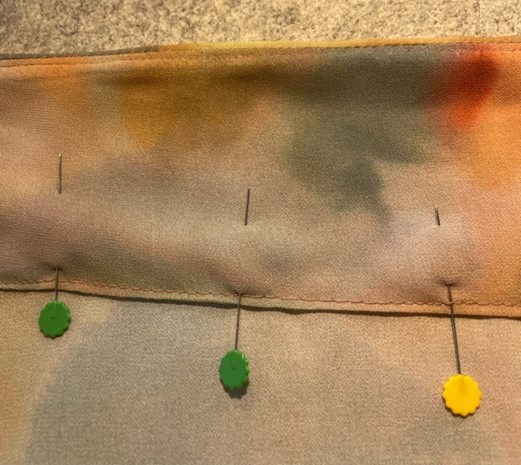
Pin the hem facing down to the main bodice and sew a top stitch to the top edge of the hem facings.
SLEEVE CONSTRUCTION:
As the sleeves have been cut on the bias sew the sleeve neck guide to the head of the sleeve, matching notches to ensure the sleeve does not stretch.
With right sides facing sew the under-arm seams together, matching notches as you go. Press seams to the back and finish with an overlocker.
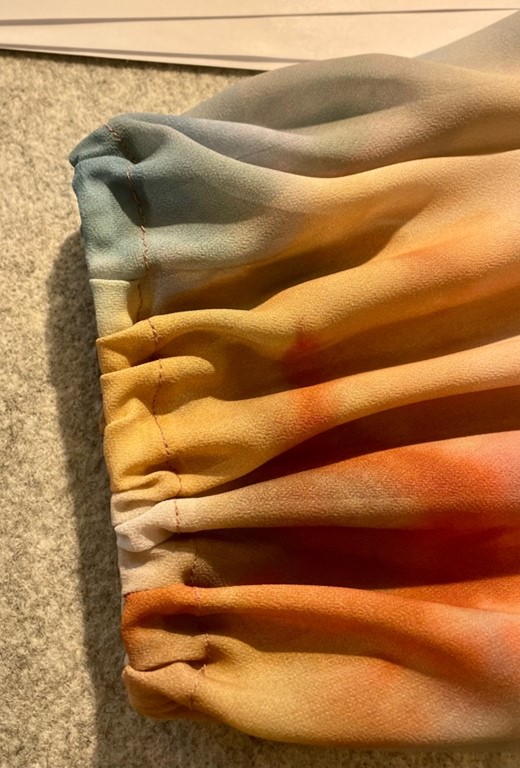
Refer to the elastic size chart and cut two lengths of elastic, one for each sleeve. Lay one end over the other on each piece and sew together. Test the tightness of each elastic loop on your arm to make sure it is a comfortable fit. Double turn the elastic casing first by pressing a 6mm (1/4″) seam allowance to the inside of the inside hem. Place the elastic loop on top of the turned hem, then turn again, 1/2″ and stitch encasing the elastic.
With right sides together sew each sleeve into the front and back bodice, matching notches as you sew.
NECKLINE & BUTTON LOOP:
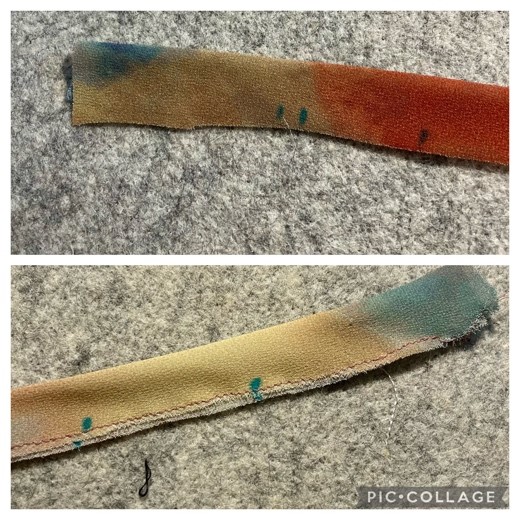
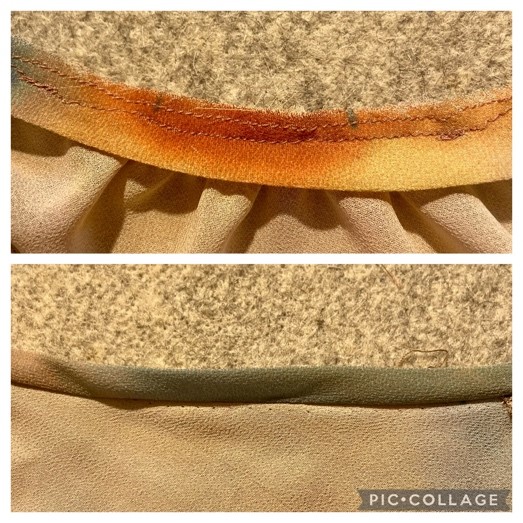
Fold the neck binding in half right sides facing out. Sew a stay stitch along the raw edges of the binding.
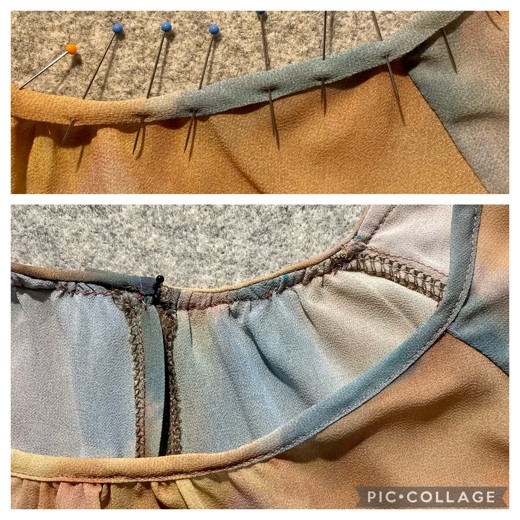
Pin the raw edges of the binding to the inside of the neckline. Stitch in place.
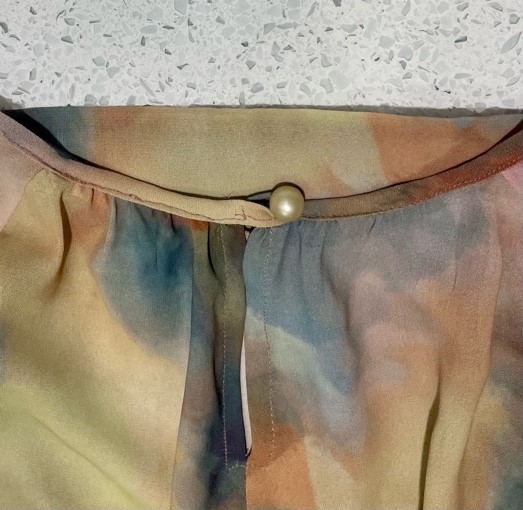
Create the button loop by folding the back neck loop pattern piece in half with right sides together. Pull through the inside to create the Rouleau loop. Sew the loop to the lower section of the binding on the left side of the back neck binding.
Repeat for the right side, which will have the button stitched to it.
Fold the upper section of the neck binding over the loop, stitch and turn out.
Press the neckline seam upward, into the binding, then turn the binding over the seam and pin in place around the neck edge. Sew the neck binding down with an edge stitch.
Hand stitch a button to the right side of the back neck binding.
Your new Verona Top is finished!!
This is a modern take on a classic bohemian style top. The gathered neckline and raglan sleeve make it a versatile make for your wardrobe. You will be able to wear it with a variety of things already in your wardrobe, only adding to its versatility. It will look great in pattern or plain fabric- perhaps one of each?
After all… There is Sew Much to Design
Happy Sewing,
Lou Sheffer

